- Woocommerce
- Shopify Apps
Table of Contents
You can find the WCPA General settings at Settings –>Custom Product Addons
The changes you are making on these sections will take effect on every custom forms. It has a global scope of WooCommerce custom product addons.
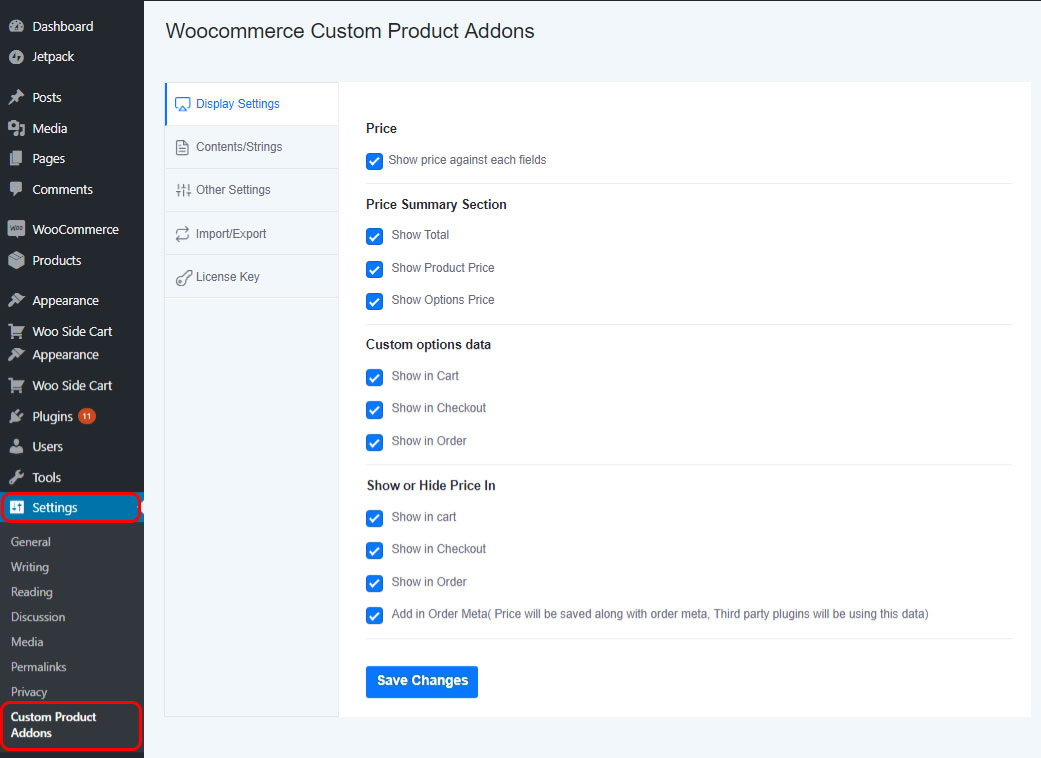
General settings provides 4 tabs, namely;
Show price against each fields: It shows price against the fields in which of them enabled pricing.
Price Summary Section: It shows/hides the Total, Product price and Options price by ticking or un-ticking the respective checkboxes.
Custom options data: Here you can set where(Cart, Checkout or Order) to show/hide custom options data.
Show or Hide Price in: Here you can choose where(Cart, Checkout, Oder, Order-meta) to show/hide price.
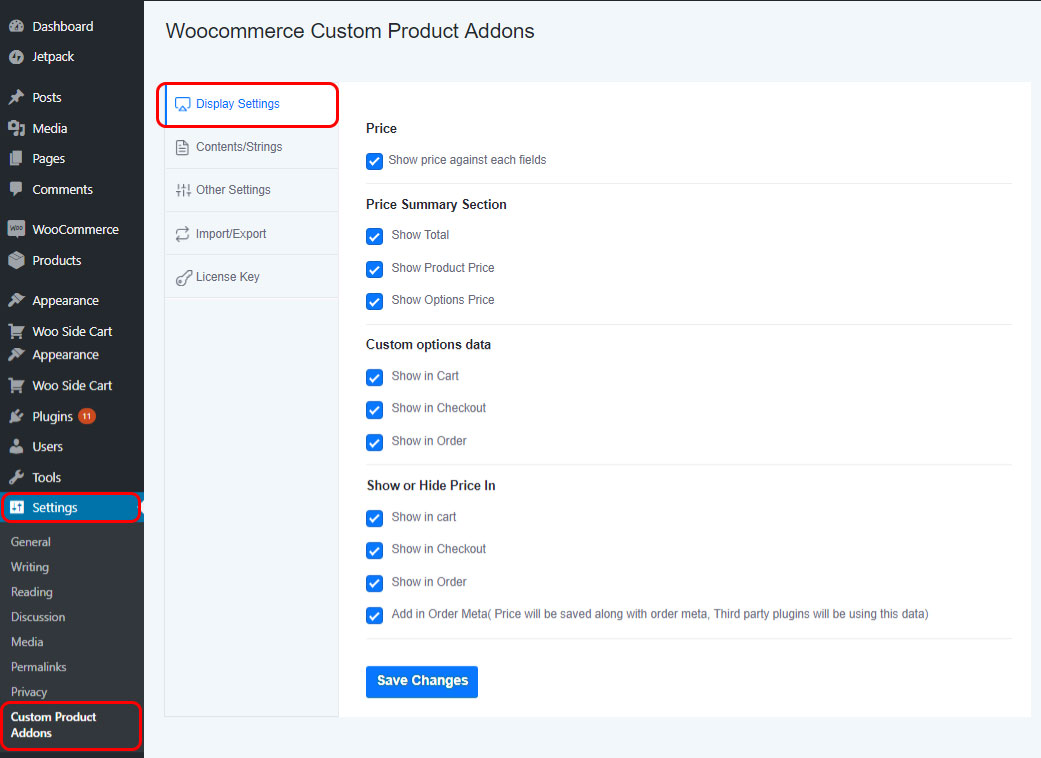
You can change the label names for Options Price, Product price, Total and Fee.
Format for showing price in the field options can be changed from here.
And it provides an option to change the button text of Add to Cart button in case if the product listing page contains custom fields.
You can assign a prefix for product price like ‘Starting at’ as well.
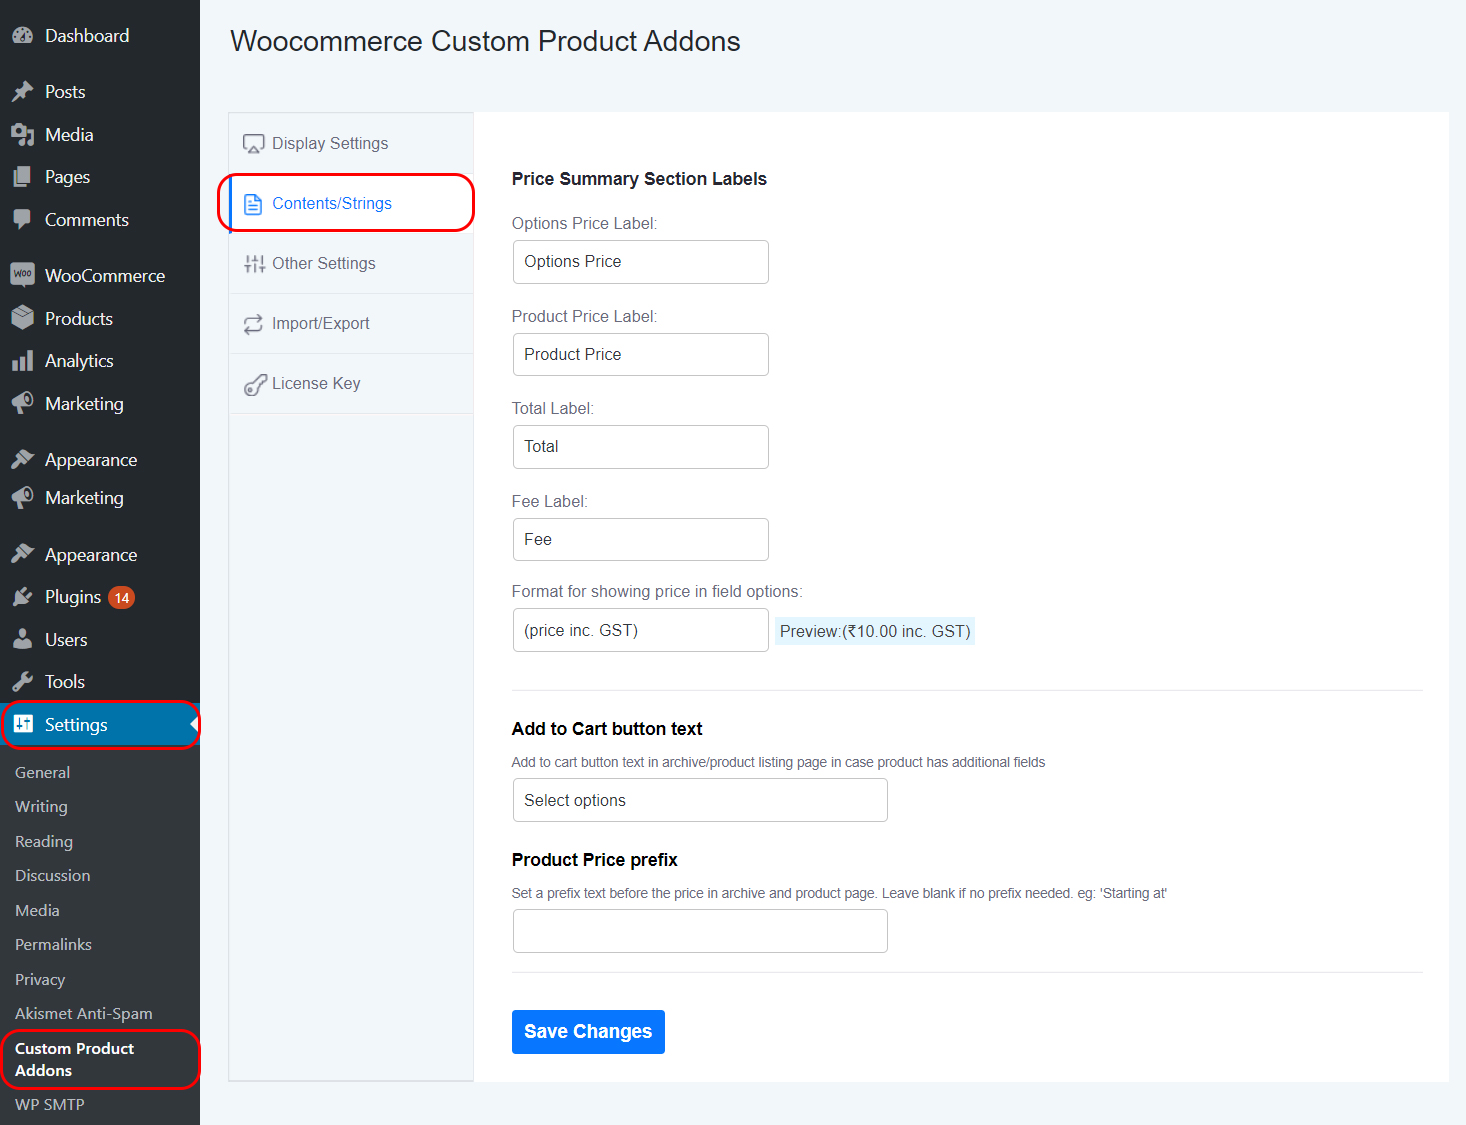
Load form in recency order: If a product contains multiple forms, then the form will load in the recency order of creation.
Hide empty fields in cart: It hides empty fields in Cart, Checkout and Order.
Update summary price as quantity change: Once you tick this option the price in the price summary section will be updated as quantity changes.
Show JSON code editor for form builder: The JSON code for the form will be shown and you can make manual changes if you want.
Use Jquery Sumo Selector for multi selector dropdown: The customized multi-select option can be enabled through this option.
Load all custom plugins scripts(for datepicker,colorpicker,SumoSelect) in all pages: By default custom scripts will be loading in the product page only. But if you want to use custom fields in quick view pop ups, it needs to load scripts in all pages.
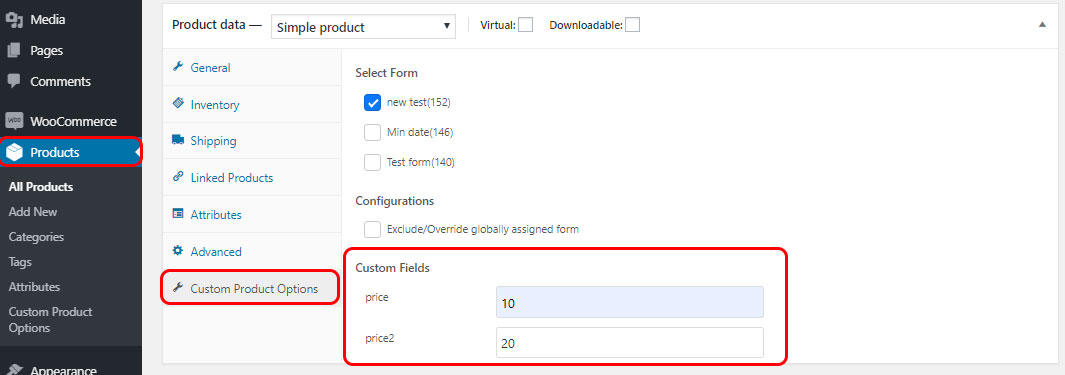
Custom fields for Products: It shows a custom field on the back-end every product page once it is added. You can set a default value at the settings page where we are adding the custom field. And there is an option to re-assign another value from the product page. If you didn’t set any value it will take the default value.
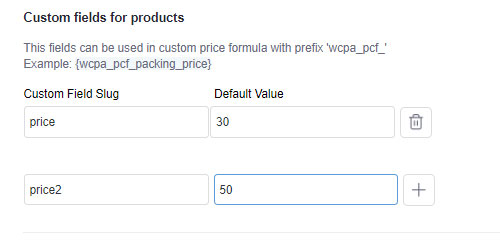
Mainly we are using the custom field to set prices. Suppose every product uses a special price that you can set as a custom field and assign the price once and it will affect all the products. If a single product has some changes in the value then we can reassign it from the product page.
reCAPTCHA: You can enter the reCAPTCHA site key and secret key in the preferred columns if you want to use this feature.
Google Map API: You want to enter Google Map API key in the column to use Google Maps in your website.
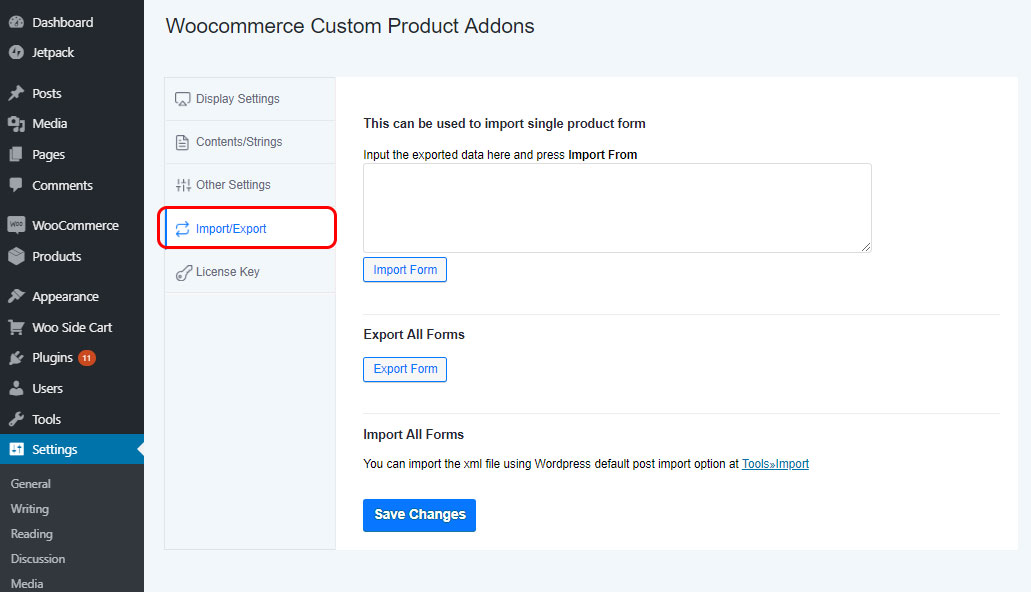
This tab of settings is mainly used to Import and Export forms.
In the first column, you can paste the copied string from export form option of each forms to import it.
Export All Forms: You can export all forms by clicking the button. It downloads an xml file containing form data.
Import All forms:
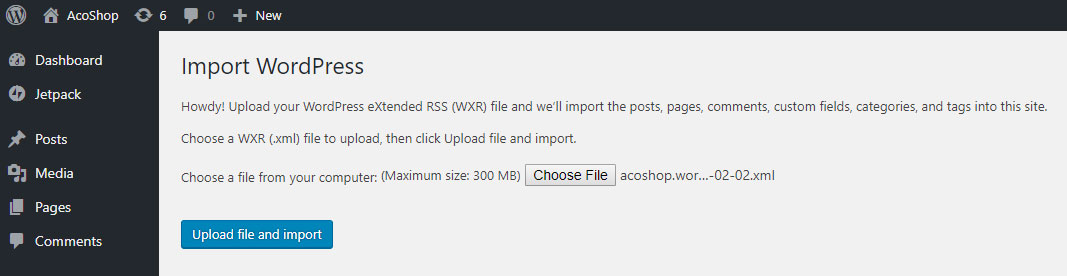
You can import the xml file using WordPress default post import option at Tools»Import.
By clicking that link you will navigate to:
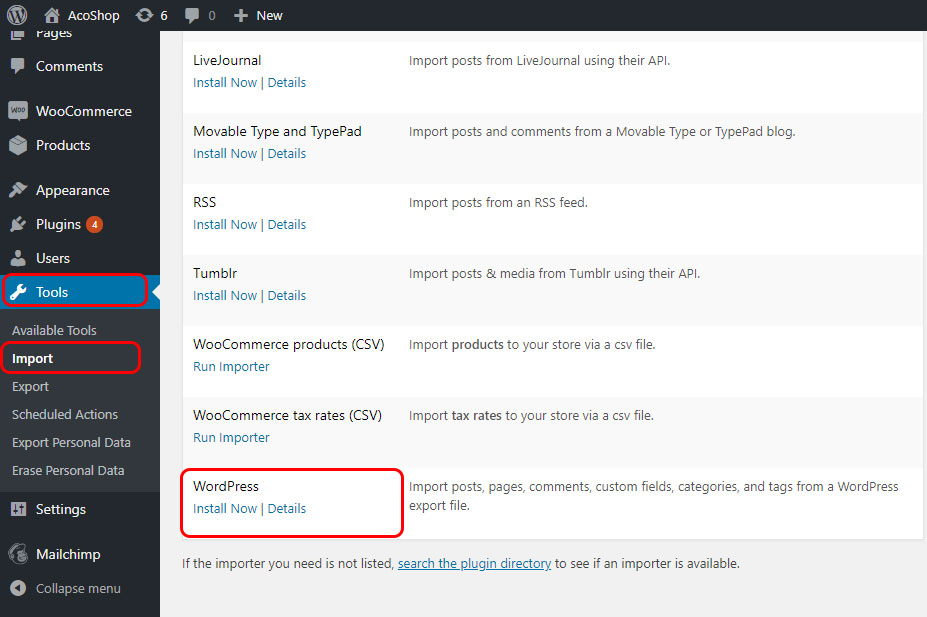
If the importer is not installed yet, you need to click on the Install Now. After installation or already installed just click on the Run Importer link.

Upload the downloaded xml file there and click on the Upload file and Import. It will import all the forms.
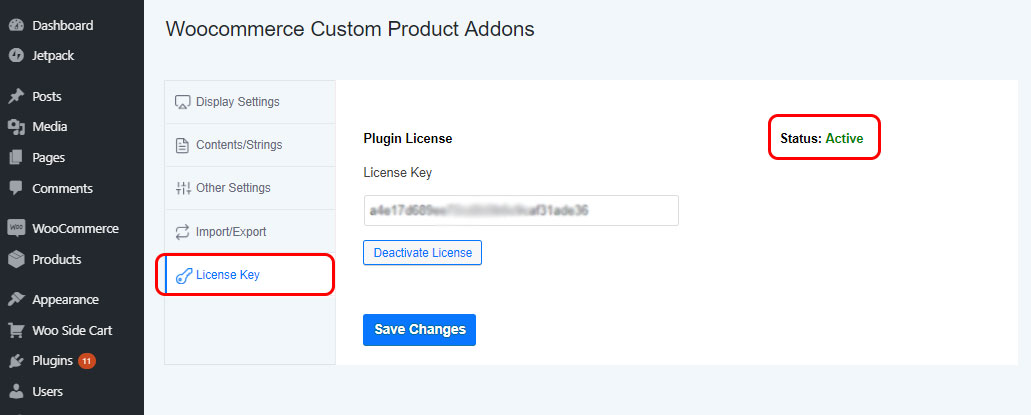
The license key of the product is entered here. And click on the activate license button. You can also deactivate the license from here. The status section will show your current status of the license.
If you have questions about our plugin(s), are experiencing issues with any of our plugin


 Login
Login
 Cart
Cart BUY THIS PLUGIN