- Woocommerce
- Shopify Apps
- WordPress
1. Go to Dashboard-> Badges-> Add New Badge. Enter your Badge Title.
2. Go to Timer Status and enable Timer.

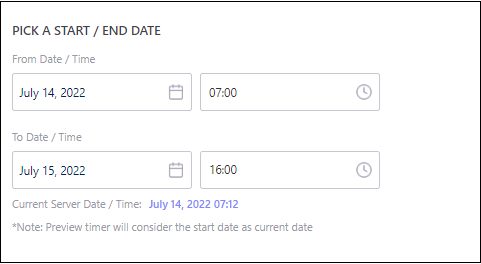
3. Then choose start and end dates.
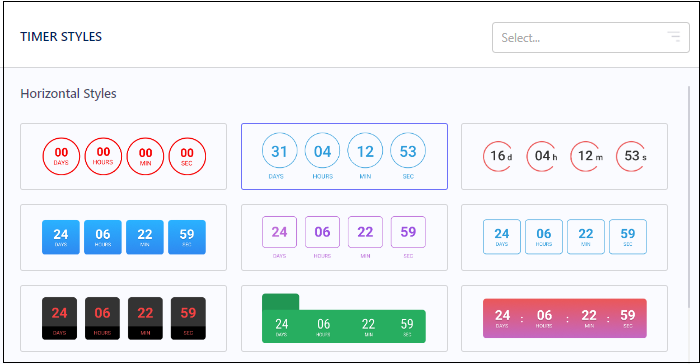
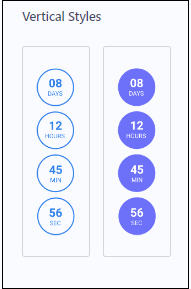
4. Then choose your Timer Style. You can choose horizontal or vertical styles from the list of styles.
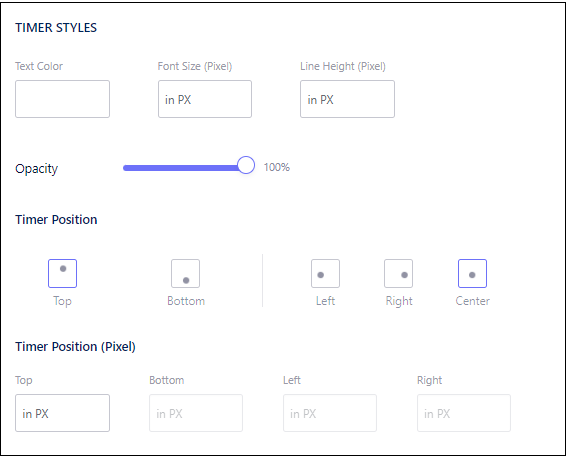
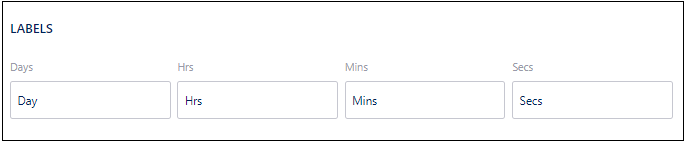
5. Then customize your timer by changing the color, position, and labels.
6. If you want, you can enable timer for Product Detail Page.

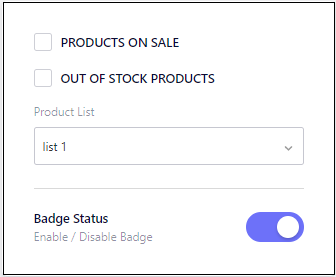
7. Now select, which products you want to apply the timer. Products On Sale or Out of Stock Products or a Product List. And also enable/disable the badge.
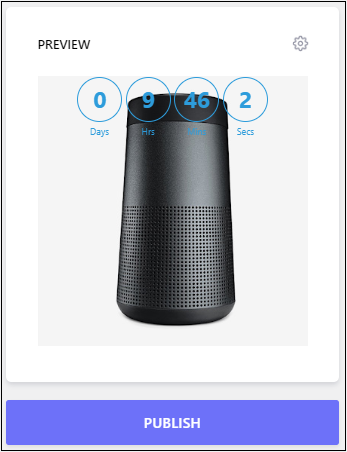
8. You can see a Preview of the timer. Now Publish your Badge.
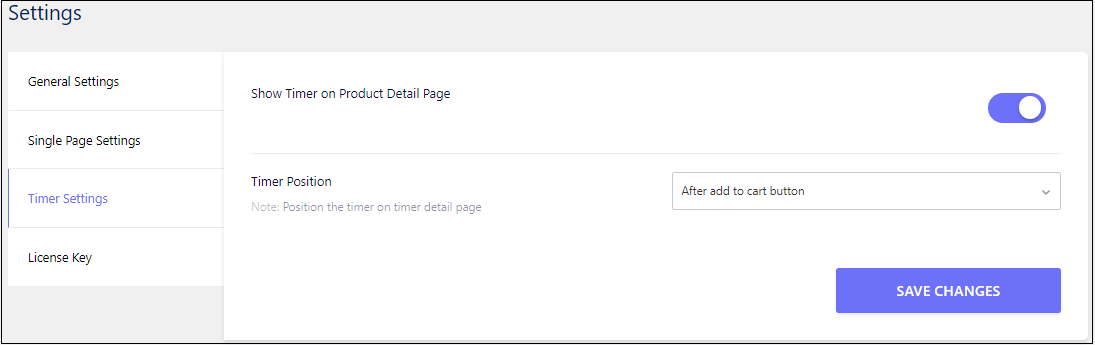
9. Go to Dashboard-> Badges-> Settings-> Timer settings
Enable Show Timer on Product Detail Page and choose the Timer Position and Save your changes.
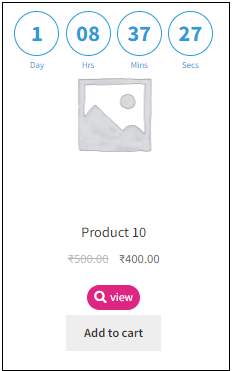
10. You’re done. You can check the shop page. Below is an example of timer on shop page.
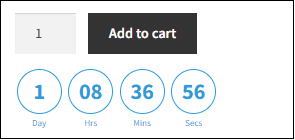
11. And here is an example of timer in product detail page if Timer Position is set as After Add to Cart Button.
If you have questions about our plugin(s), are experiencing issues with any of our plugin


 Login
Login
 Cart
Cart BUY THIS PLUGIN