- Woocommerce
- Shopify Apps
- WordPress
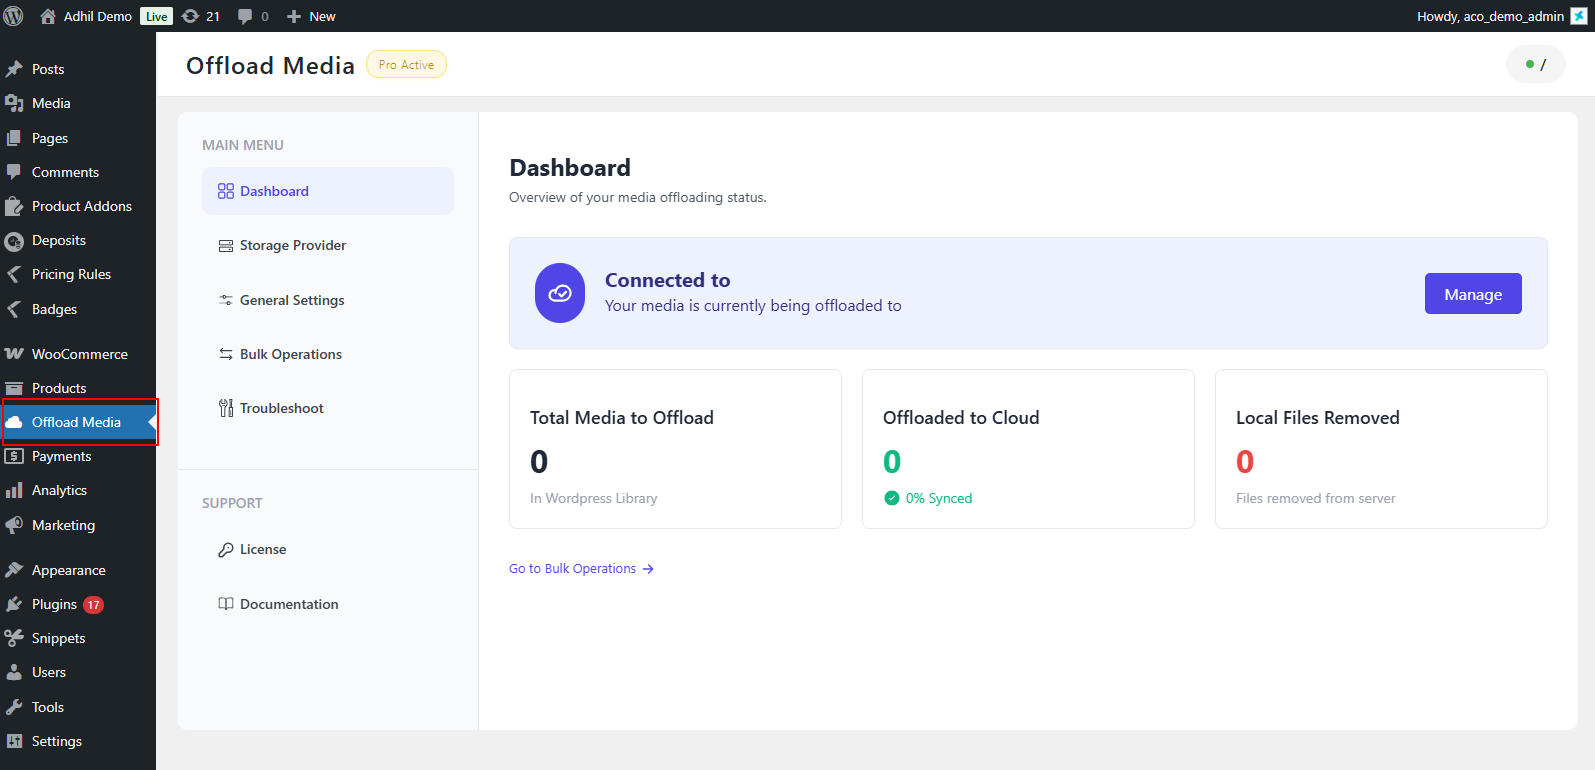
Offload Media is a WordPress plugin that transfers files from your Media Library to cloud storage services.
It supports providers such as Amazon S3, Google Cloud Storage, DigitalOcean Spaces, Cloudflare R2, Wasabi, and MinIO. Once the files are offloaded, your media is delivered directly from the cloud instead of your local hosting server.
By serving files from cloud storage, the plugin reduces the load on your server, improves website speed and overall performance, and saves valuable disk space. This makes it especially useful for websites that handle large media files or receive high traffic.
Follow the steps below to install the Offload Media Pro plugin:
After activation, the Offload Media menu will appear in your WordPress admin sidebar.
After activating the offload media plugin, copy your License Key from the purchase confirmation page.
Go to Offload Media > License, paste the key, and click Activate.
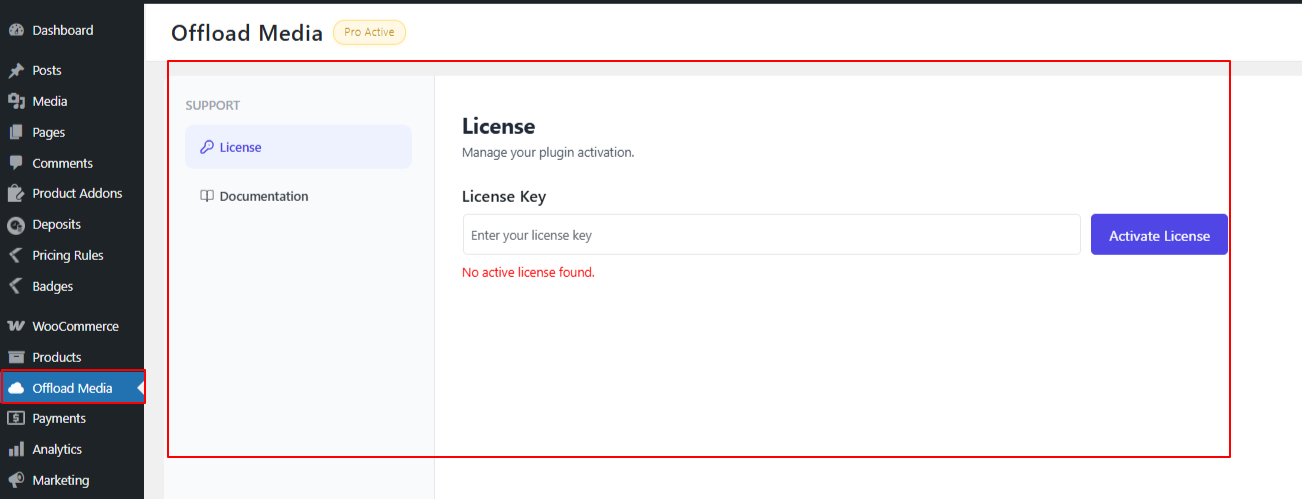
The plugin is now ready to use, and you can now configure the storage provider.
After activating the plugin, go to Offload Media > Storage Provider in your WordPress dashboard. Select your preferred cloud storage provider from the available options.
Next, configure the connection settings by adding your authentication credentials. For better security, you can define the credentials in your wp-config.php file.
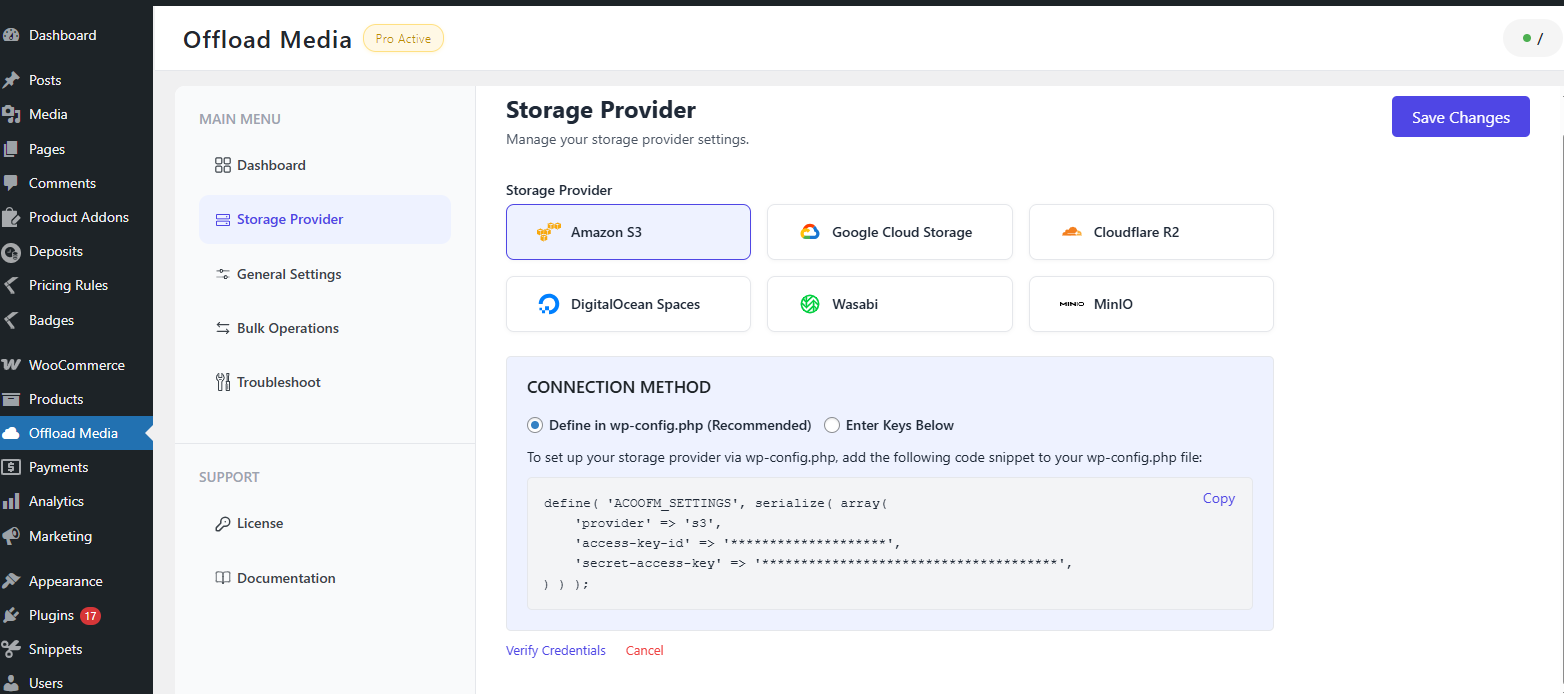
Alternatively, you may enter the access keys directly within the plugin settings. Once the credentials are added, click Verify Credentials and then Save Changes to complete the setup.
To configure your chosen cloud storage provider, please follow the relevant setup guide below. Each guide provides clear steps to create the required access credentials and connect them to the Offload Media plugin.
Amazon S3 (AWS) Quick Start Guide
https://acowebs.com/guideline/plugin-docs-faqs/wordpress-offload-media/quick-start-amazon-web-services-aws/
Google Cloud Storage Quick Start Guide
https://acowebs.com/guideline/plugin-docs-faqs/wordpress-offload-media/quick-start-google-cloud-storage/
DigitalOcean Spaces Quick Start Guide
https://acowebs.com/guideline/plugin-docs-faqs/wordpress-offload-media/quick-start-digital-ocean-spaces/
This section explains the options available under the General Settings page of your Offload Media plugin.
After successfully connecting your storage provider, navigate to:
Offload Media > General Settings
These options control how media files are copied to cloud storage and how they are delivered to your site visitors.
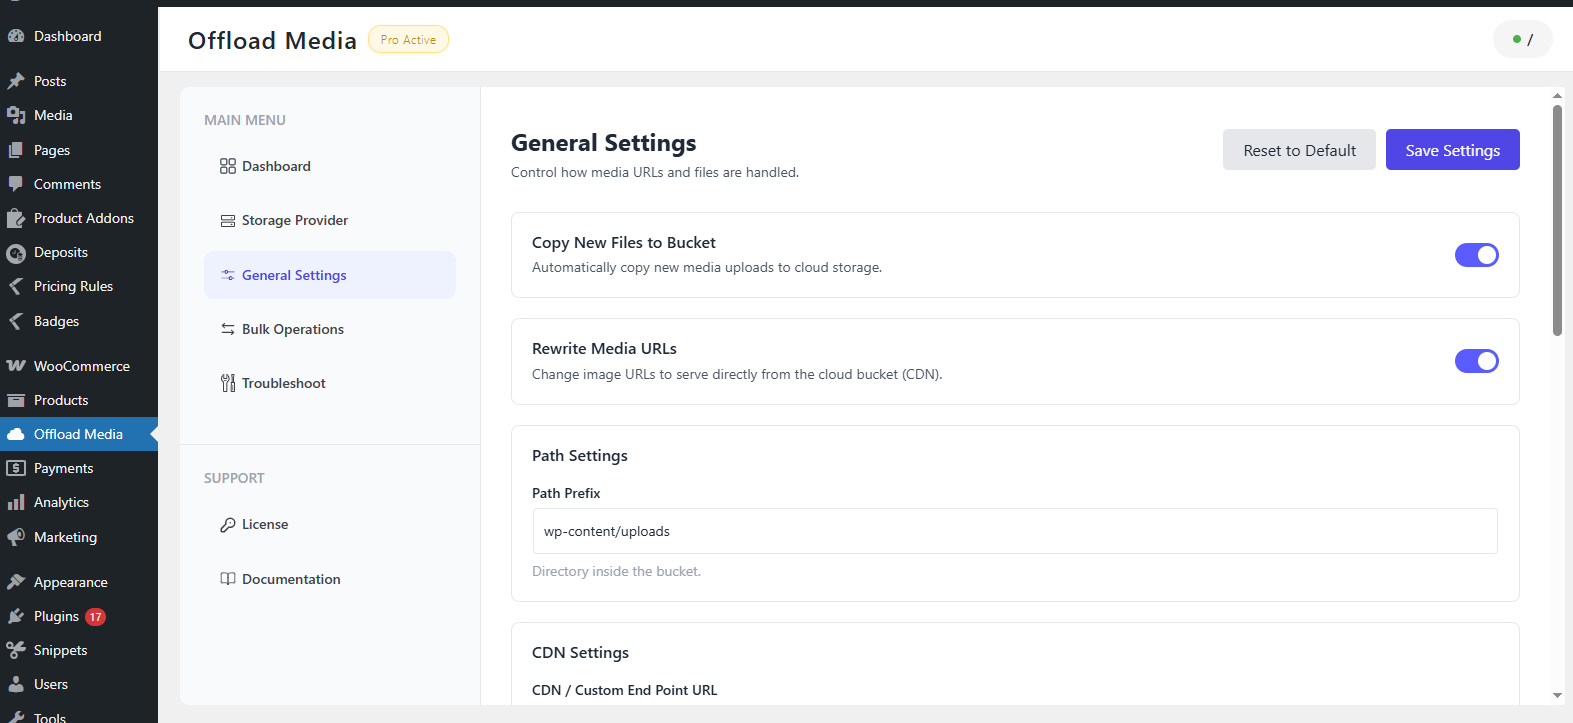
When enabled, all newly uploaded media files will automatically be copied to your selected cloud storage bucket.
If disabled, newly uploaded files will remain only on your local server unless manually offloaded using a sync tool. This setting is typically enabled to ensure automatic cloud synchronization.

When enabled, media file URLs are rewritten to serve directly from your configured cloud storage provider or CDN instead of your WordPress server.
This improves performance by delivering files from optimized cloud infrastructure.
If disabled, media will continue to load from your local WordPress uploads directory even if copies exist in the cloud.

Path Prefix: Defines the folder path inside your cloud storage bucket where media files will be stored. By default, it is saved in the wp-content/uploads folder.
You may modify this path if you prefer a different folder structure within your bucket.
Changing this setting does not affect your local WordPress upload path — only the structure inside the cloud storage bucket.

If you are using a CDN or custom endpoint, enter your CDN domain in the
“CDN / Custom Endpoint URL” box (for example: https://cdn.yoursite.com).
After adding the CDN URL, activate it by ticking the checkbox “Enable CDN / Custom Endpoint” to serve media files through your CDN instead of the default bucket URL.

Presigned URLs allow temporary and secure access to private media files stored in your cloud bucket. These URLs automatically expire after a set time.
Presigned URL Expiry (minutes): Set the expiration time in minutes.This link will expire after the given period, but a new URL will be automatically generated on your site, so you won’t experience any access issues.
After setting the expiry time, enable this feature by ticking the checkbox “Enable Presigned URLs” if you need secure, time-limited access to private files.

This option allows you to specify which file types should be offloaded to cloud storage. Only the listed file extensions will be copied to the bucket.
Examples: jpg, png, etc

This option lets you define file types that should be excluded from offloading. Any files with the specified extensions will stay on your local server.
Examples: pdf, zip
Excluded extensions take priority over included extensions if both are defined.

Controls how many files are processed simultaneously during bulk synchronization operations.
The default value is set to 50, and you can lower this number to reduce the load on your server.
Increasing the value may speed up large sync operations, but could impact performance on smaller hosting environments.

This section allows you to manage bulk actions on existing media files, such as uploading, syncing, or removing files from the cloud or your local server
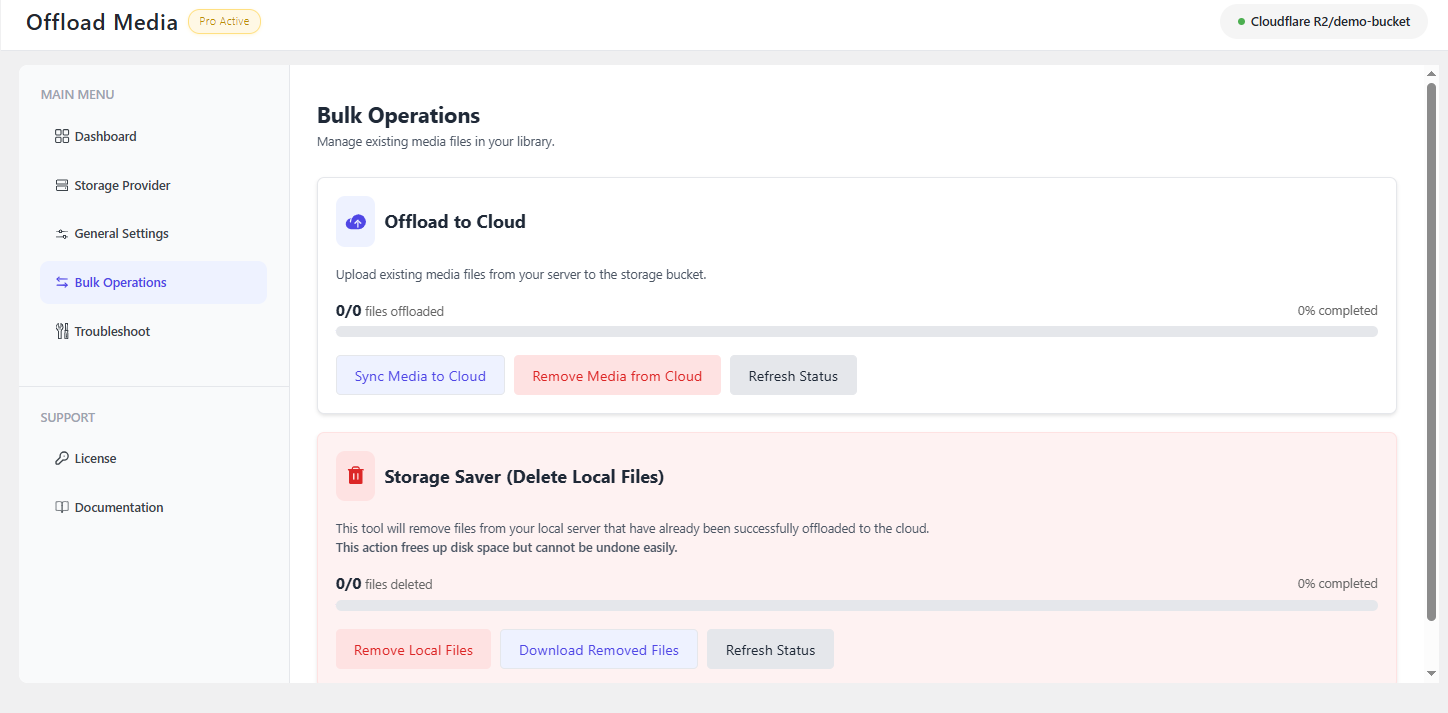
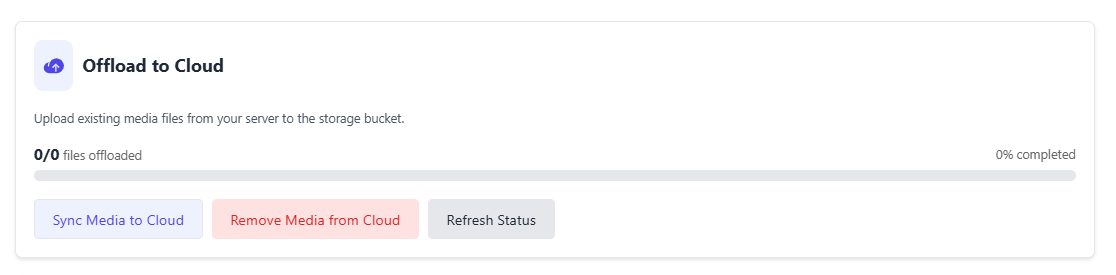
This tool uploads existing media files from your server to your configured cloud storage bucket. It shows the total number of files processed along with the completion percentage.
You can start the upload using Sync Media to Cloud, remove previously offloaded files using Remove Media from Cloud, or click Refresh Status to update the progress display.
This option removes local copies of media files that have already been offloaded to cloud storage, helping you free up server disk space.
The Remove Local Files option deletes the local copies, Download Removed Files downloads the files back from the cloud to your server, and Refresh Status updates the progress display.
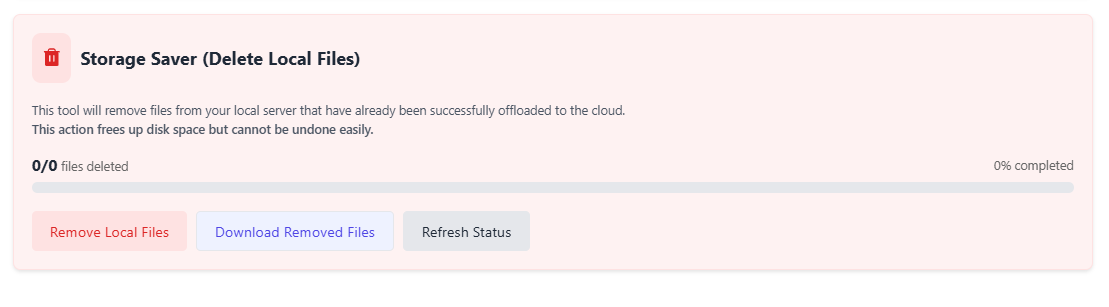
Please note: Before changing cloud storage or resetting the plugin, make sure to download and back up any removed files. Failure to do so may result in permanent data loss.
This section provides tools to help resolve common issues and manage plugin data.
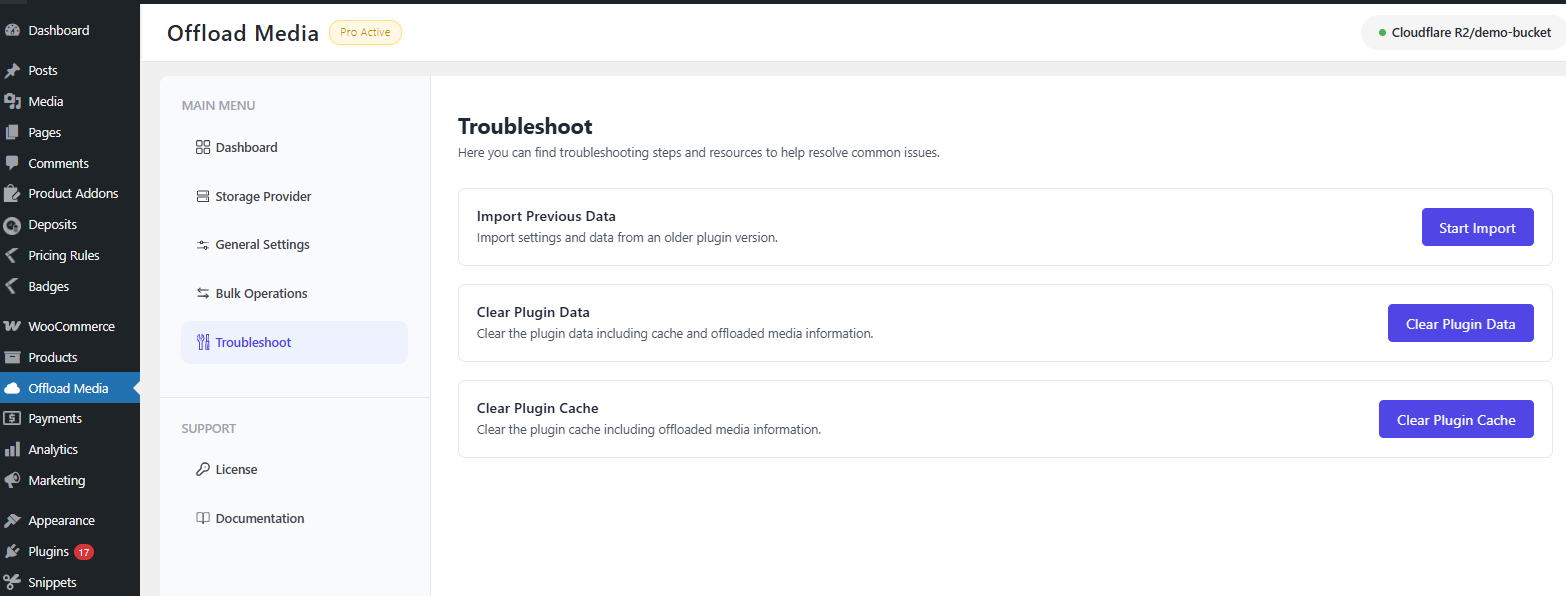
This option allows you to import settings and stored data from an older version of the plugin.
Click Start Import to begin the migration process. This is useful when upgrading from a previous version and you want to retain your existing configuration.

This tool removes all plugin-related data, including cached information and offloaded media records.
Click Clear Plugin Data to reset all plugin-related data. Use this option carefully, as it may remove saved synchronization records and settings.

Click Clear Plugin Cache if you are experiencing incorrect media status, synchronization inconsistencies, or display and URL rewrite issues. This action does not delete any media files; it simply refreshes the cached data to ensure accurate functionality.

If you have questions about our plugin(s), are experiencing issues with any of our plugin


 Login
Login
 Cart
Cart