- Woocommerce
- Shopify Apps
- WordPress
1. Go to Dashboard-> Woocommerce-> Checkout Fields.
2. Then there is an option to add form fields in ‘Billing Fields’ and ‘ Shipping Fields’.

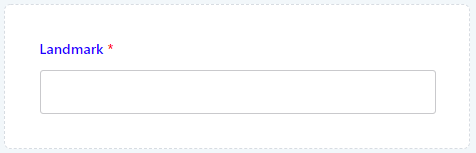
3. Here created a custom field named ‘Landmark’ in Billing fields and Shipping Fields.
4. Save the form. Then note down the unique field name for this field.


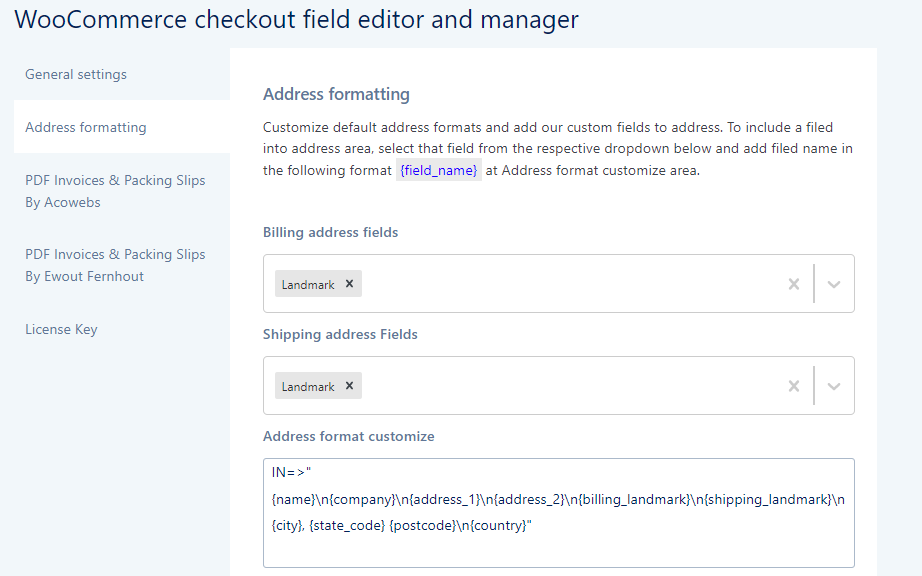
5. Come to Dashboard-> Settings-> Checkout Fields. Select Address Formatting. You can add the custom field in Billing Address or in Shipping Address. Choose where to add it. Then select the field from the respective drop-down menu.
To override default address formats, add values in the “Address format customize” option as the format given below.
US=>”{name}\n{company}\n{address_1}\n{address_2}\n{city}, {state_code} {postcode}\n{country}”
Address format is different for each country, so you can override address format for each country by adding the country code.
Then you can use your unique field name which is enclosed in { }, followed by \n for a new line. As an example, you can write it as \n{billing_landmark}\n{shipping_landmark}.
You can also re-order the address fields as per your requirement.
For example, the final address format for the country India will be like this,
IN=>”{name}\n{company}\n{address_1}\n{address_2}\n{billing_landmark}\n{shipping_landmark}\n{city}, {state_code} {postcode}\n{country}”
6. Save the settings and your custom field ‘Landmark’ will be added to your address field.
If you have questions about our plugin(s), are experiencing issues with any of our plugin


 Login
Login
 Cart
Cart