- Woocommerce
- Shopify Apps
- WordPress
The prime feature of the WooCommerce checkout field editor is to add/manage fields in the default checkout form. The WooCommerce checkout field editor plugin creates an easy path to do this.
Go to WooCommerce -> Checkout Fields after installing the plugin. There exists our form builder.
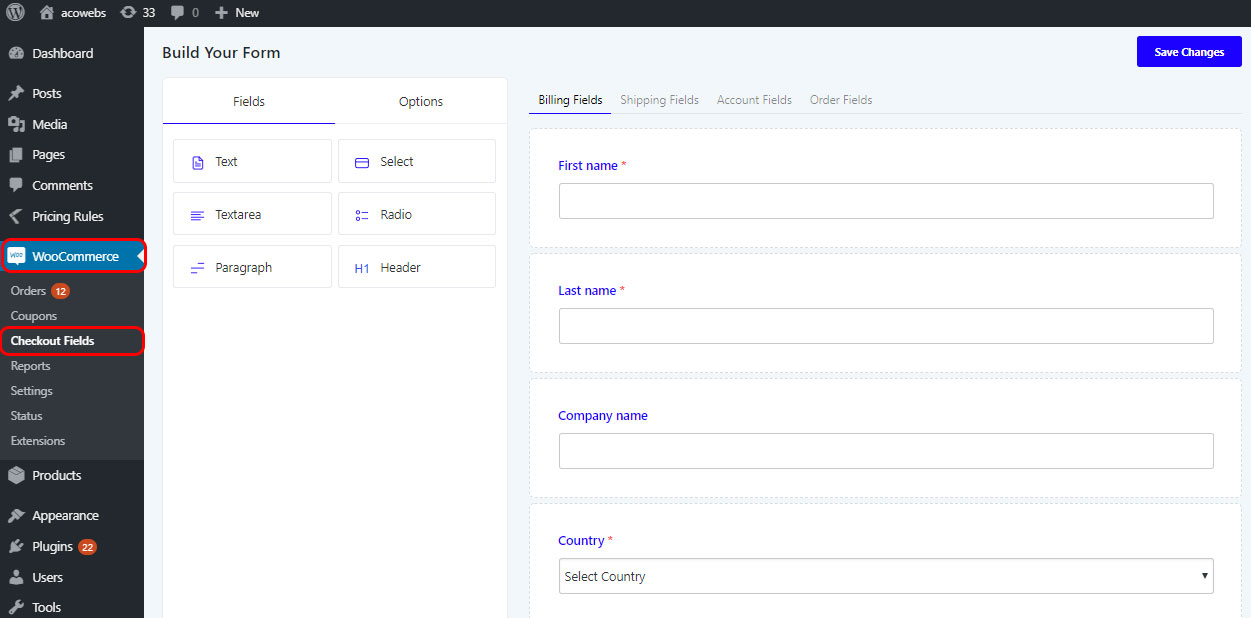
In the left part of the form builder, you can see two tabs; Fields and Options. The tab fields will show the available fields that can be added to the checkout form. The options tab shows the options that can be applied to fields when a field is selected on the right side. In the right side, you can see the default checkout fields as Billing Fields, Shipping Fields, Account Fields, and Order Fields.
The new fields from the left can be dragged and dropped here.
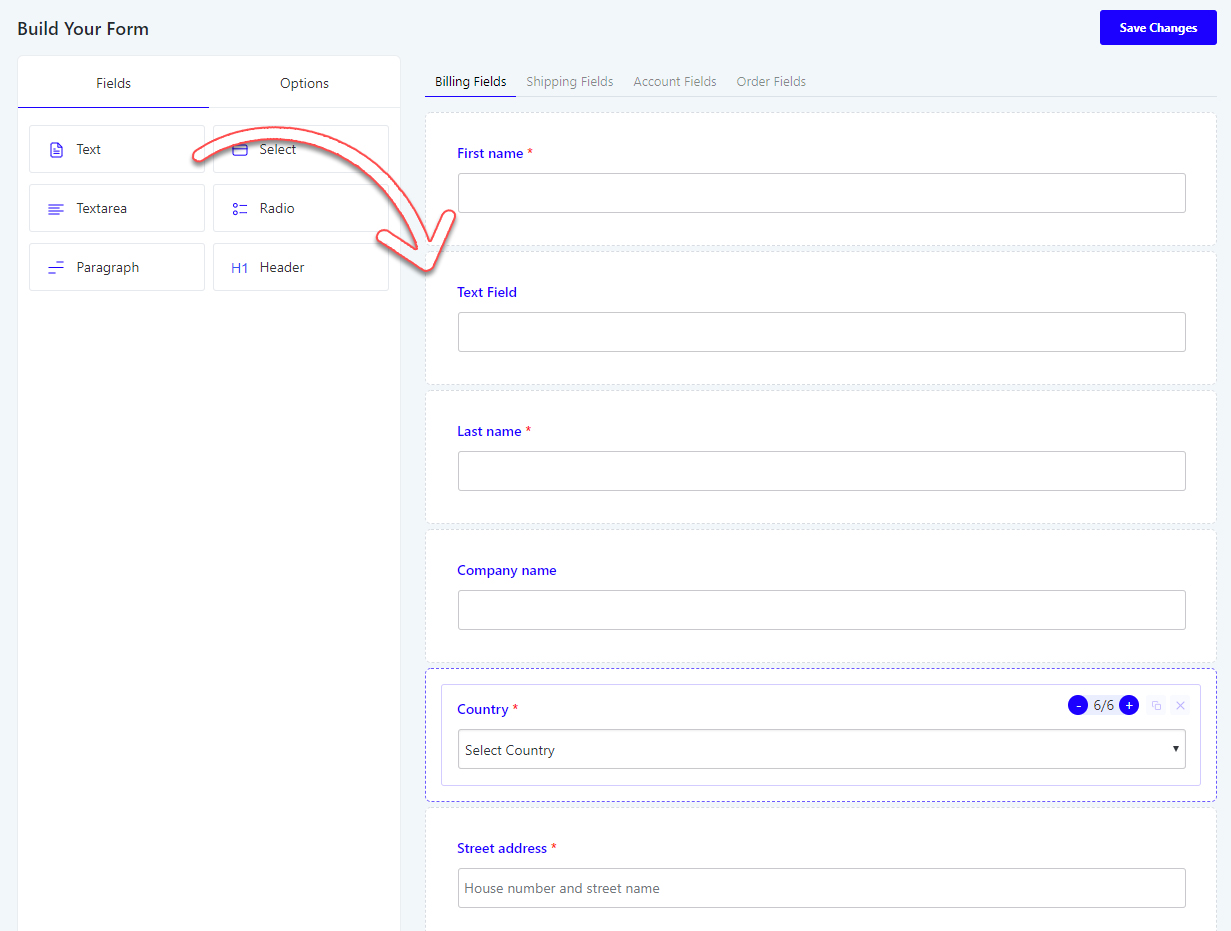
The above screenshot shows how a text field is added inside the default checkout form. You can just drag and drop it wherever you want.
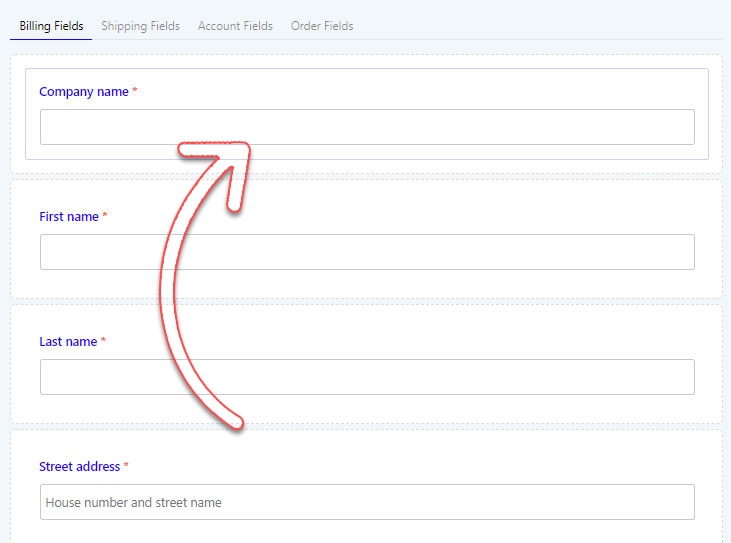
To change the position of a field, just drag and drop it over one another.
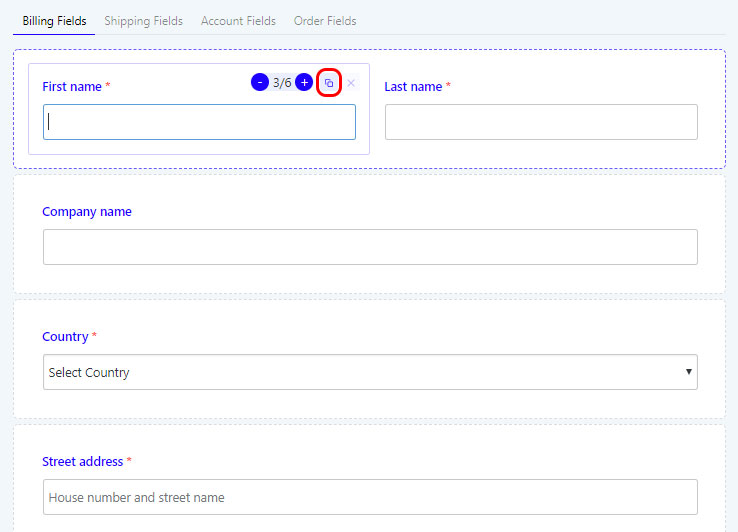
You can adjust the field widths in two modes; full(6/6) and half(3/6). If a field’s size is 3/6, then you can add another 3/6 field in the same line by dragging it there.
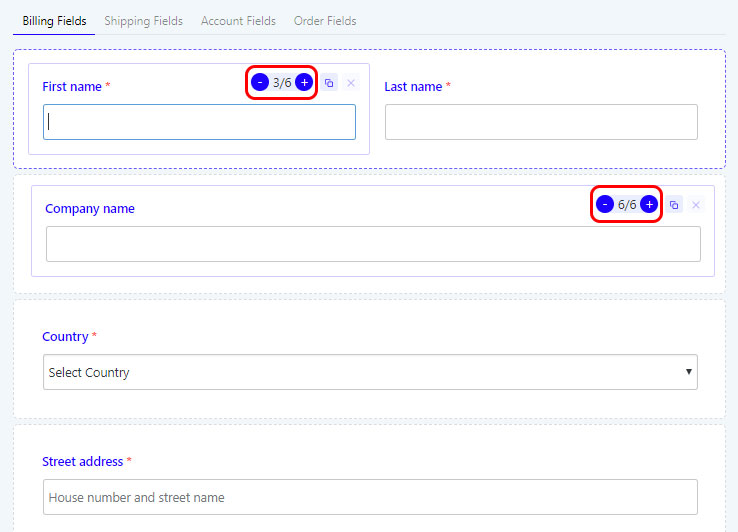
For duplicating, click on the icon shown in the screenshot. It can only be seen when you hover the mouse over the field.
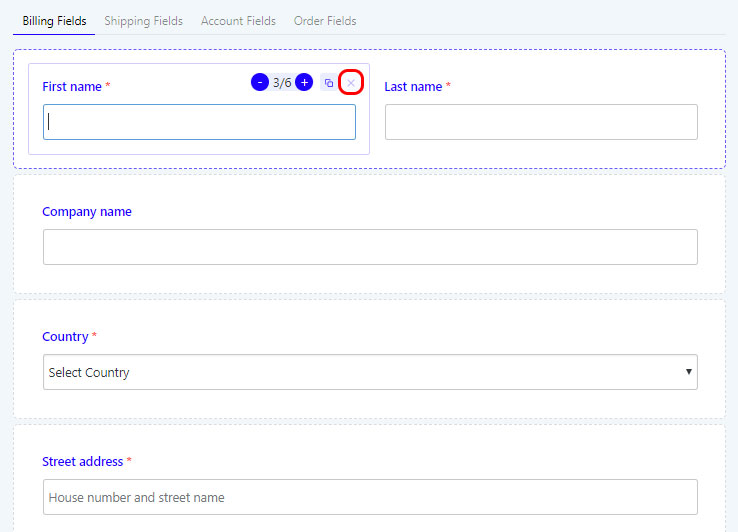
Custom fields can be closed by clicking the icon “X” near the duplicate option at the top-right side of every field. Closing option for built-in fields is disabled by default.
The other tabs Shipping, Account and Order fields can also be edited and add new fields to it like what we done for the Billing fields tab.
If you have questions about our plugin(s), are experiencing issues with any of our plugin


 Login
Login
 Cart
Cart