- Woocommerce
- Shopify Apps
- WordPress
1. Download and install WPML and setup using the site key. You can translate the checkout field by following the steps below.
2. Select the field to edit and add required labels on the original language and save the changes.
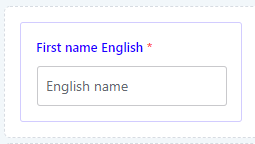
3. Select the other language from the top bar flag listing.
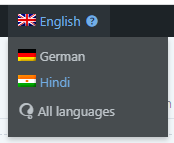
4. Select the field where you want to add a translation. Add required translation and save the changes.
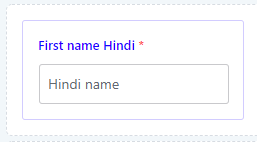
5. Reload the frontend checkout page and check the field name in the default language.
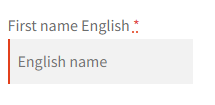
6. Switch to other language. Now you can see added translations.
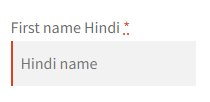
The warning shown on languages other than the default language indicates that the editor can use it only for translating Labels, Values, Help Text, and Place holder values. All other configurations and parameters will be populated from the default language.
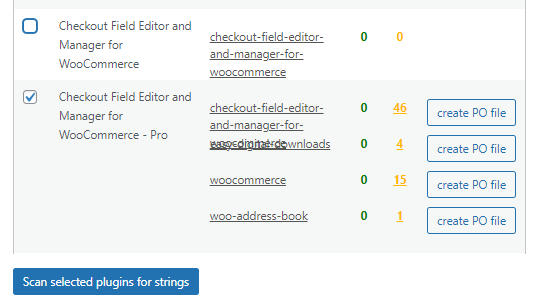
7. To change hardcoded plugin strings, first, go to Dashboard-> WPML-> Theme and Plugin Localization. Select Checkout Field Editor and Manager for WooCommerce. And Scan it for strings.
8. Go to Dashboard-> WPML-> String Translation. Select checkout field editor text domain from domain listing and press the search button.

9. Here you can see strings from the checkout plugin. You can add or edit the translation from here.

If you have questions about our plugin(s), are experiencing issues with any of our plugin