- Woocommerce
- Shopify Apps
- WordPress
Go to the Wasabi website and sign up for an account.
Once the registration is complete, log in to the Wasabi Console. This is where you will manage your cloud storage and create the resources needed for integration.
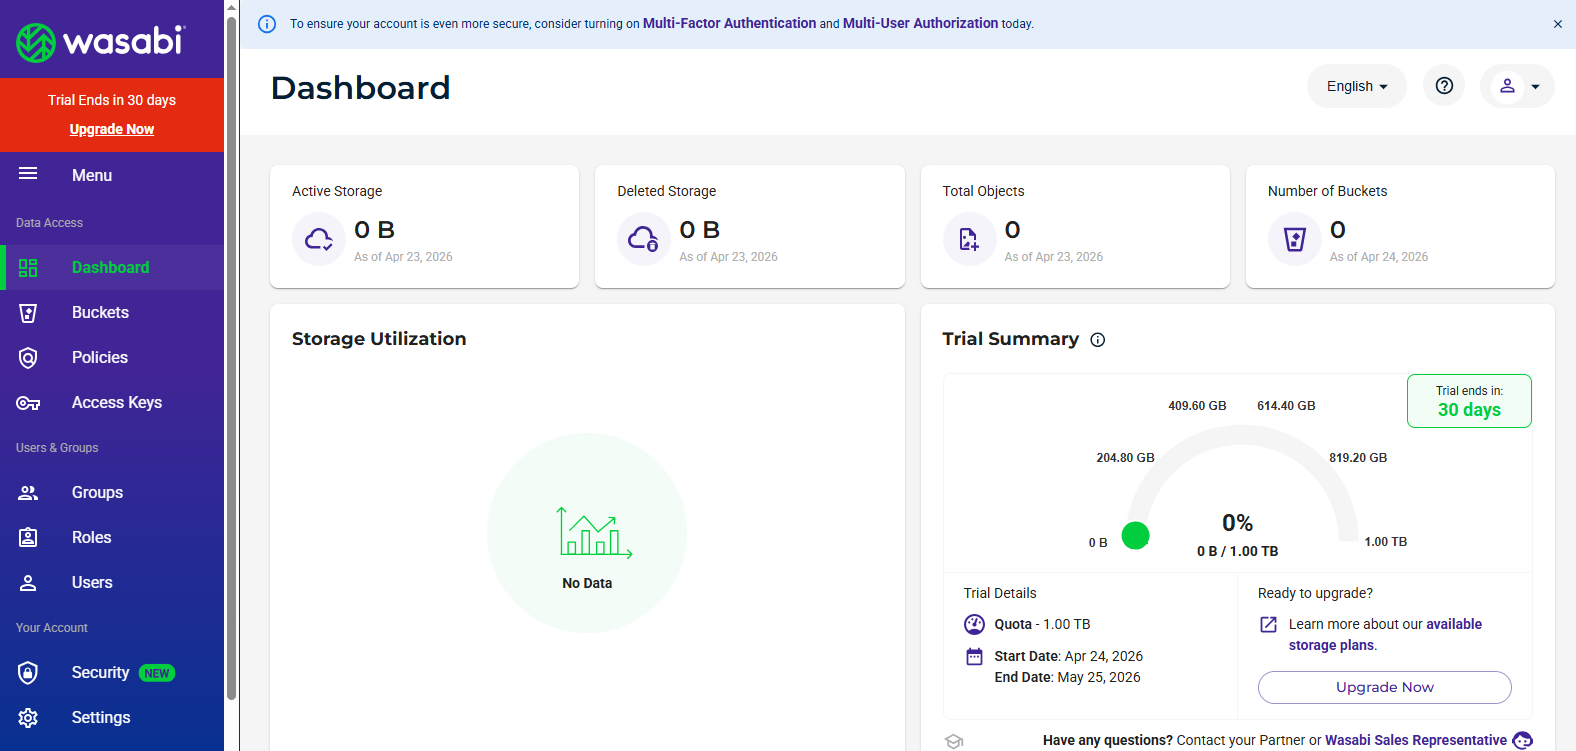
In the Wasabi console dashboard, navigate to the left sidebar and click on “Buckets.”
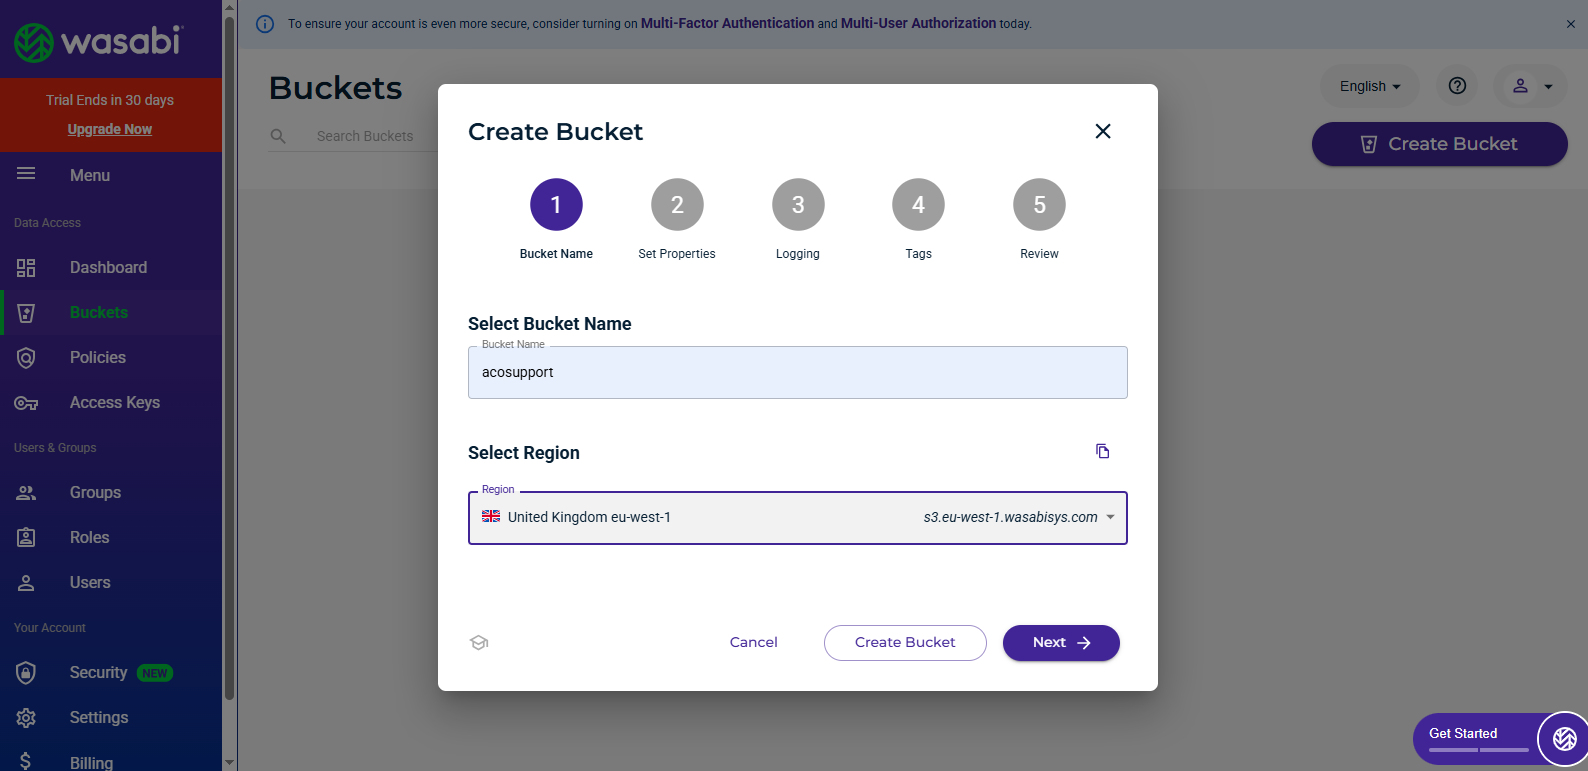
Next, click the “Create Bucket” button to begin the setup process.
You will be prompted to enter a unique bucket name; ensure it follows Wasabi’s naming guidelines. Select your preferred region (e.g., United Kingdom eu – west -1) and click Create Bucket to finish.
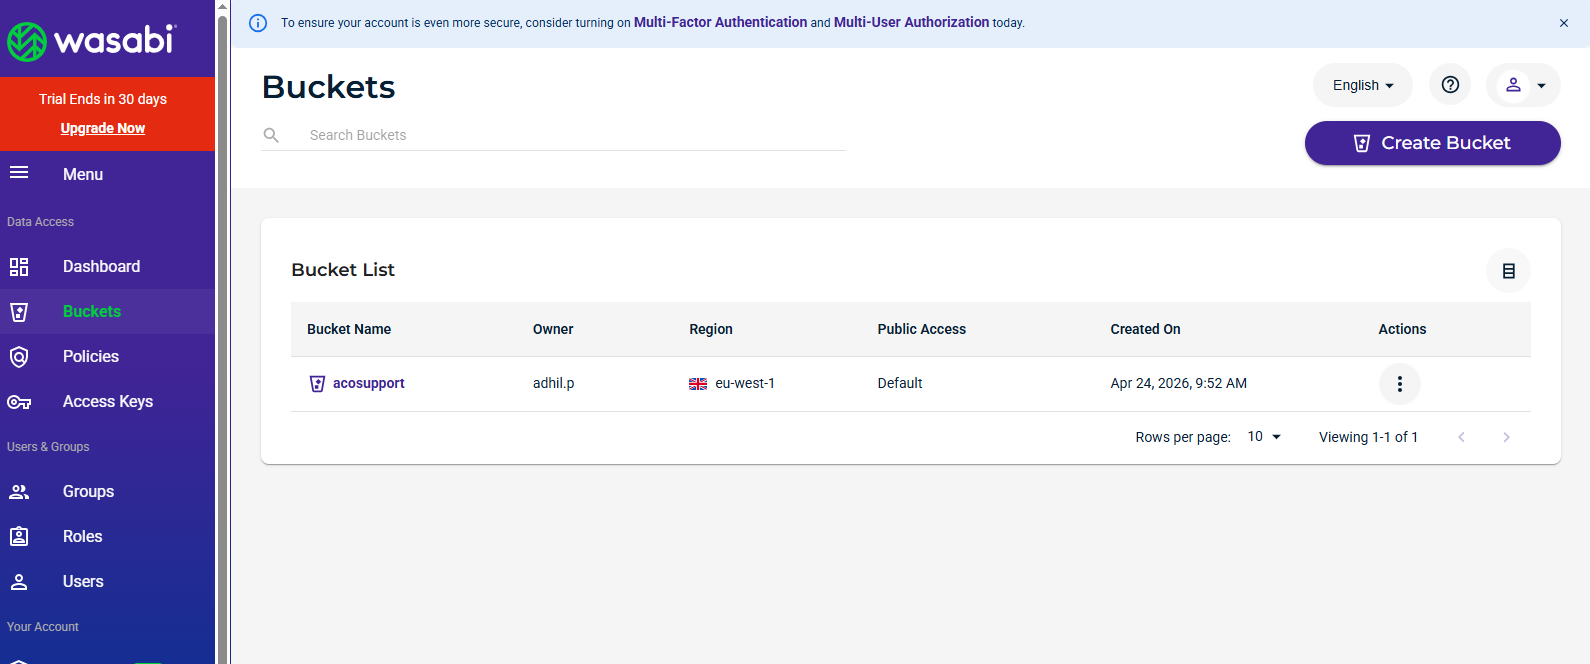
The newly created bucket should now appear in your bucket list.
*Screenshot: Bucket creation form
*Screenshot: Bucket list showing new bucket
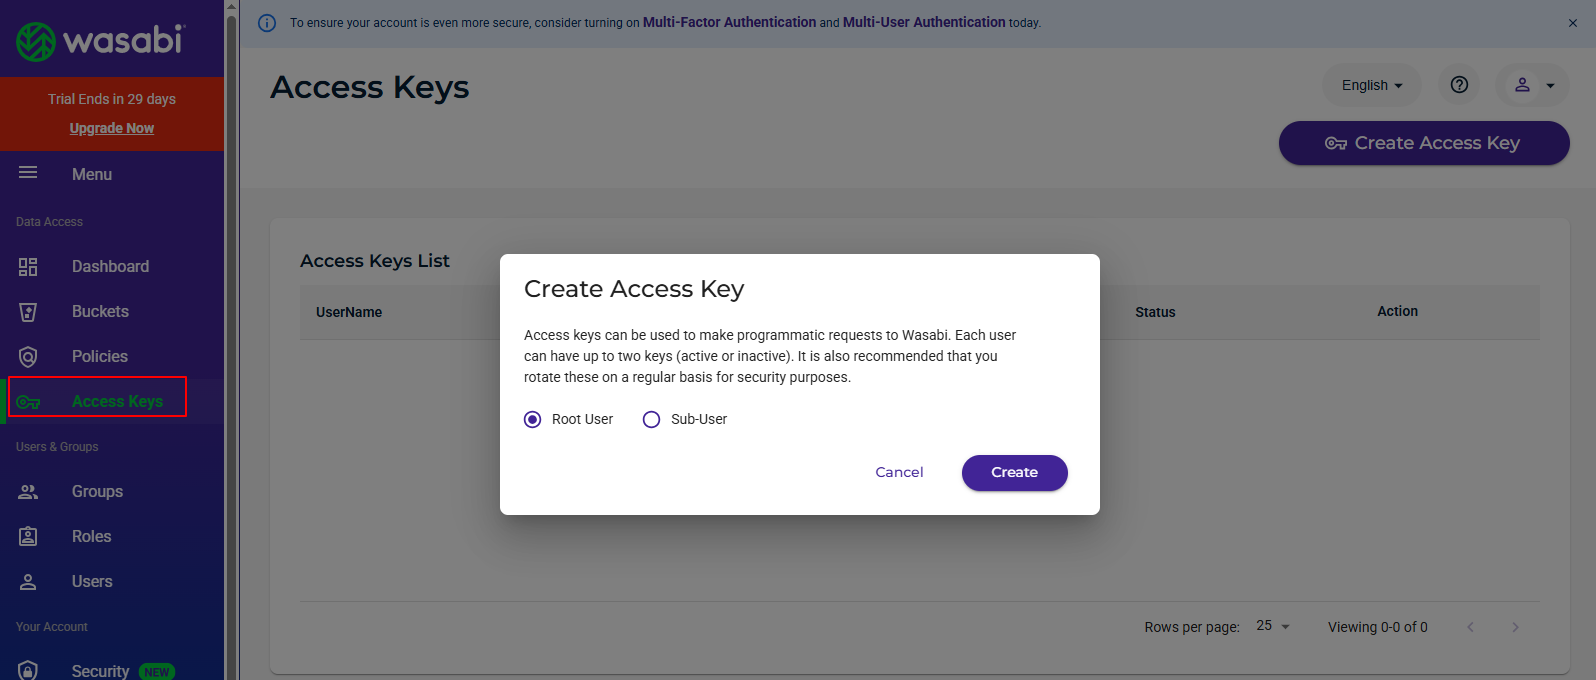
To connect Wasabi with your website, you need API credentials. From the Wasabi Console menu, click “ Access Keys “. Then click “ Create New Access Key “.
You can either use the Root User or create a Sub-User with specific permissions for better security. Once the keys are generated, copy the Access Key ID and Secret Access Key and store them securely, as they will not be shown again.
Step 1: Navigate to the Configuration Page
After successfully installing the plugin, go to the WordPress admin dashboard and select: Offload Media >> Storage provider
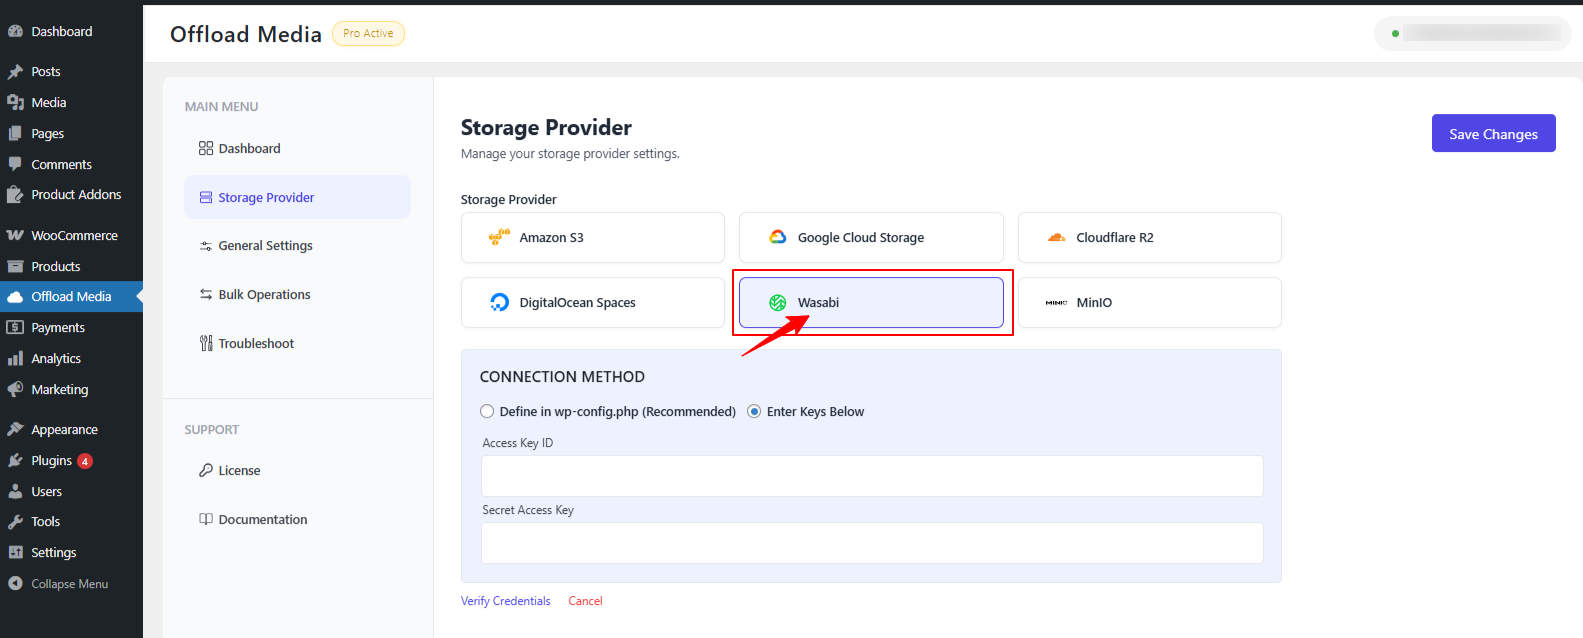
Step 2: Choose Your Cloud Service
On the service selection page, choose the cloud storage service you want to configure.
For this guide, we’ll select wasabi.
Step 3: Enter Cloudflare Credentials
Next, enter the credentials you previously created for your Wasabi account. This typically includes: Access Key ID and Secret Access Key.
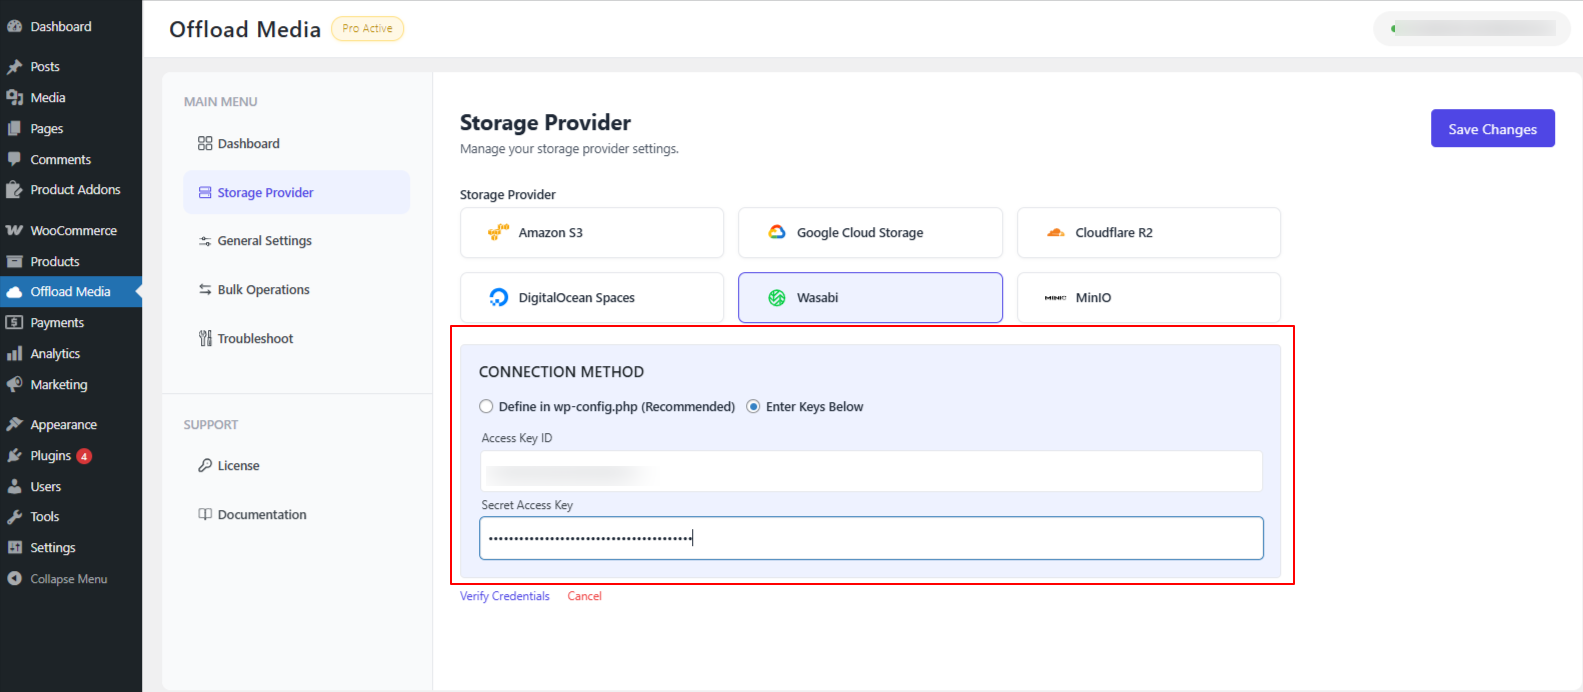
After entering the credentials, click “Verify Credentials” to confirm that the connection is valid.
Step 4: Select the Bucket
Once the credentials are verified, you will see an option to select a bucket from the list.
If you already have a bucket in wasabi, simply select it from the dropdown.
If you do not have a bucket yet, you can use the “Create New” option to create a new bucket directly from the plugin.
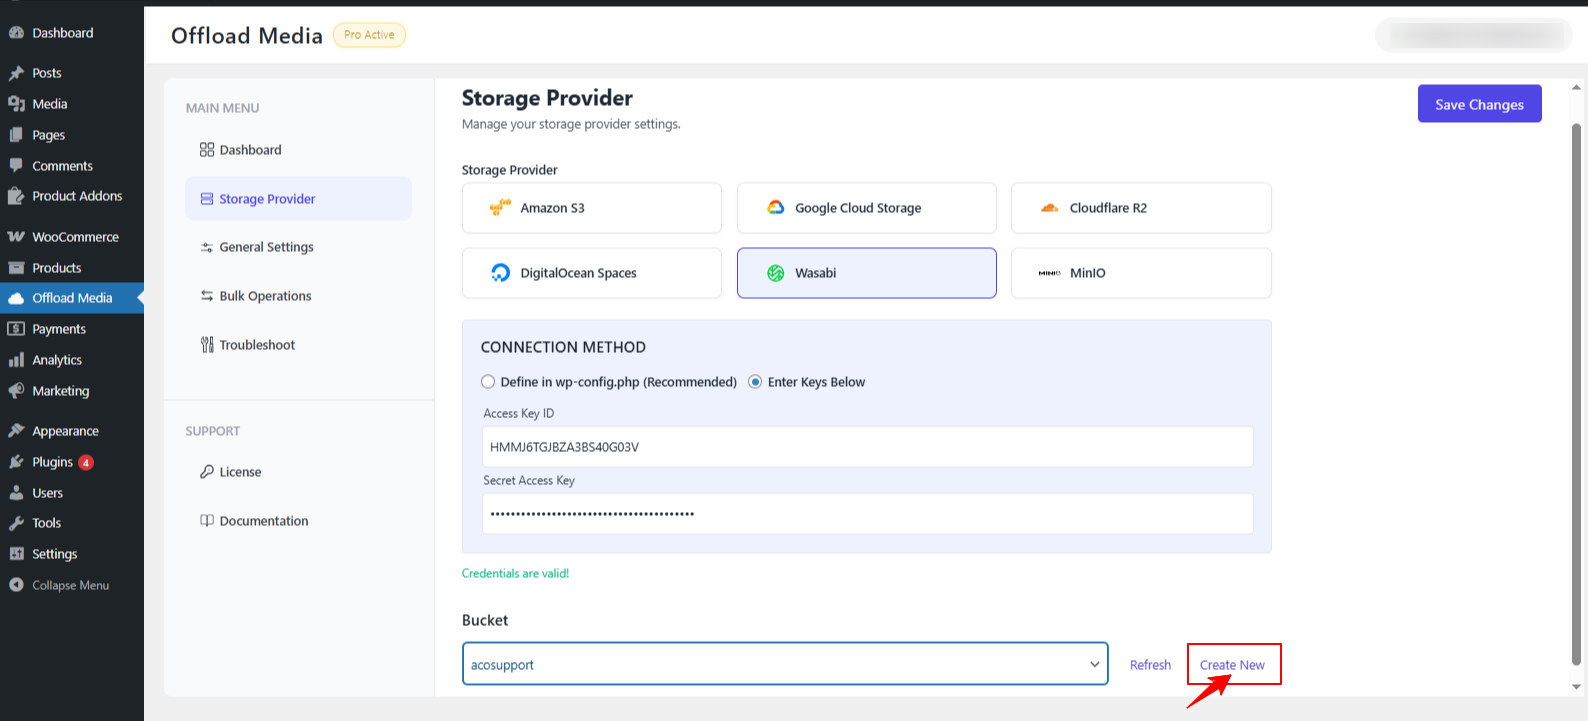
Once you have selected or created the bucket, click “Save Changes.”
Congratulations! You have successfully configured the Offload Media plugin with Wasabi. Your media files are now ready to be seamlessly offloaded to your cloud storage.

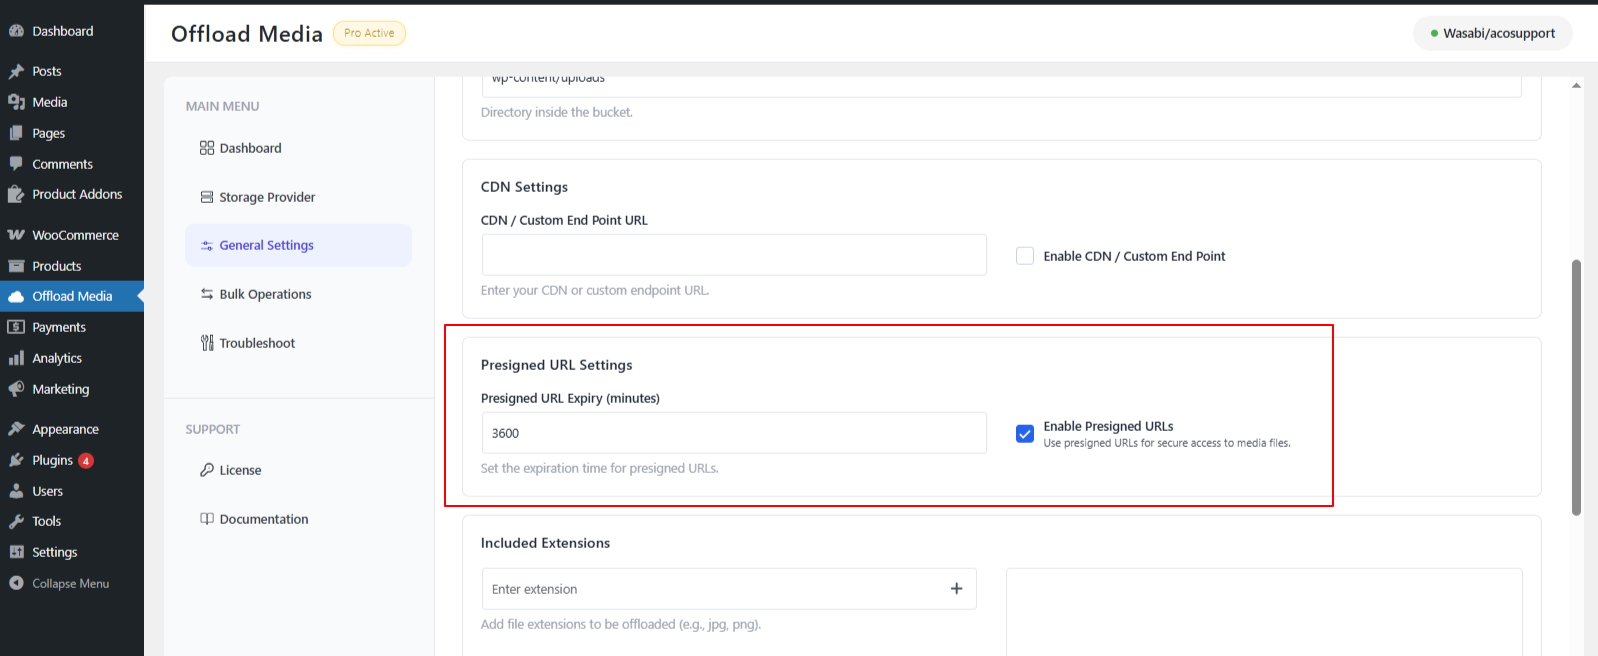
Note: Wasabi does not support public URLs by default. To access your offloaded media, you need to enable the Pre-signed URL option in the plugin settings. You can set the duration of the pre-signed URL based on your needs. The value entered is in minutes. For example, if you want the URL to last 1 hour, set the duration to 60. This setting ensures your offloaded media will display properly in the WordPress media library.
If you have questions about our plugin(s), are experiencing issues with any of our plugin


 Login
Login
 Cart
Cart