














 Login

 Cart
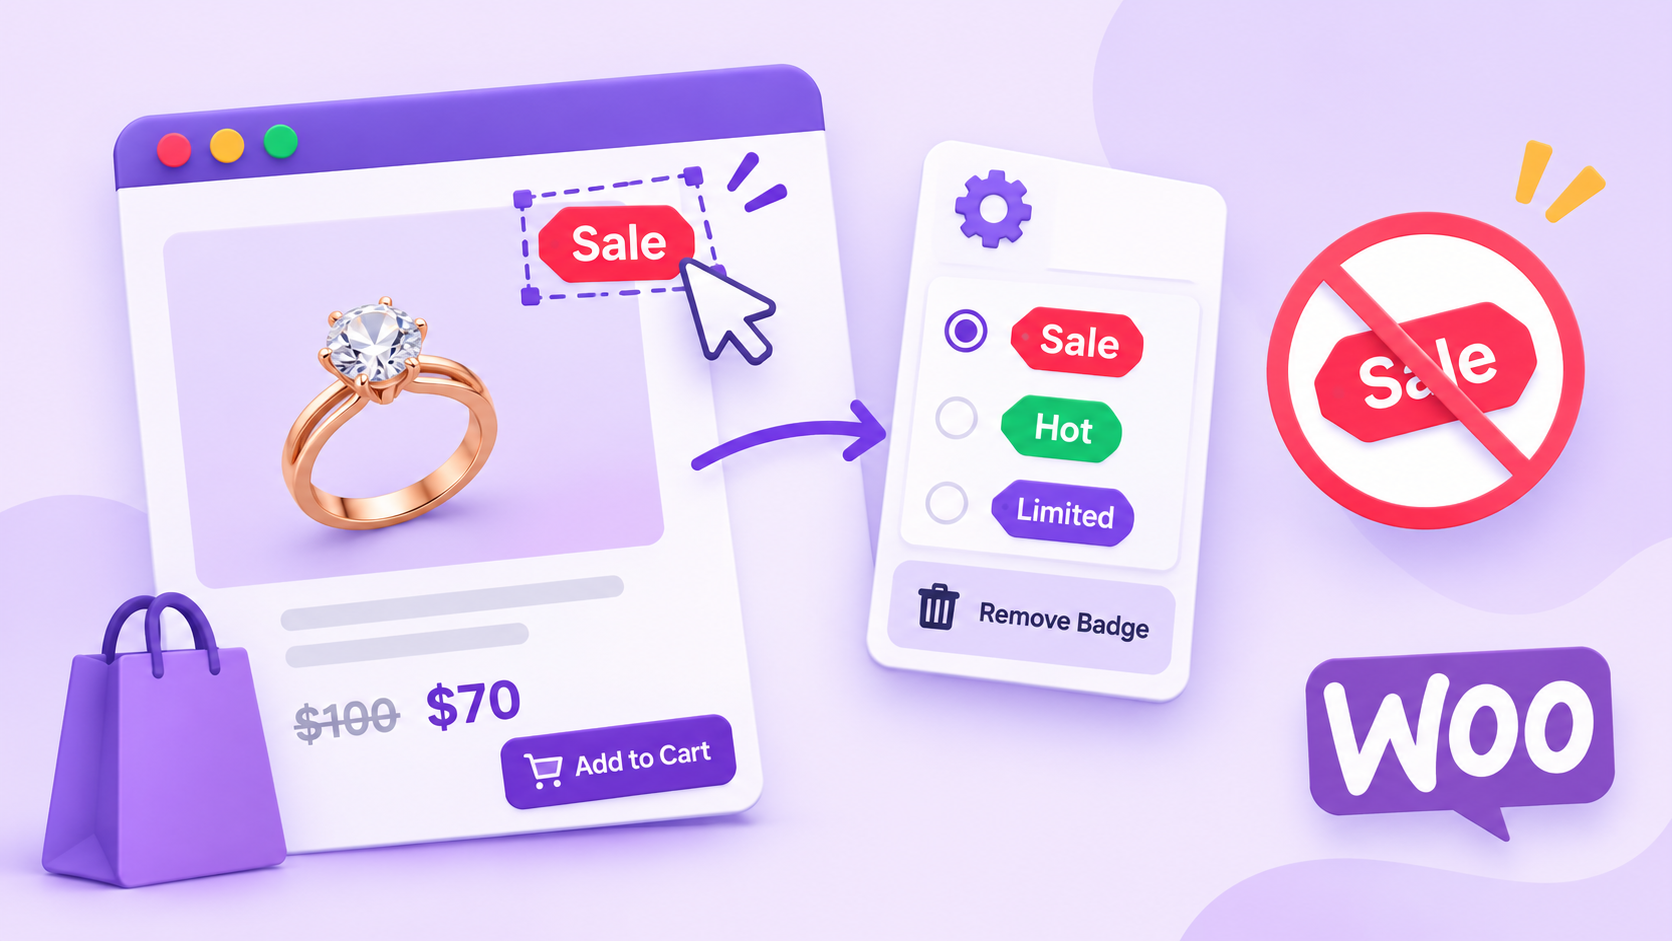



The default WooCommerce sale badge is a small “Sale!” circle that tells shoppers nothing about the deal. You can replace it with a plugin, restyle it with CSS, rewrite or remove it with a PHP filter, or adjust it in your theme or block editor. This guide shows all four, so you can pick the one that fits your skill level.
The badge is rigid by design. It cannot show “Save 25%”, it ignores categories, and it often clashes with your theme. Fixing it takes minutes once you know which method to use.
Before you start: back up your site first (here is how to manually back up WordPress). Add all PHP to a child theme or a code snippets plugin, never to your parent theme. Theme updates erase edits made there.
TL;DR: The “Sale!” badge is a <span class="onsale">Sale!</span> that WooCommerce prints on any product with a sale price, and it’s filtered through woocommerce_sale_flash. There are four ways to change it: a product labels plugin for full control (Method 1), CSS to restyle or hide it (Method 2), a PHP filter to rewrite or remove it (Method 3), and theme or block editor settings, which are limited (Method 4). Use a plugin if you want percentage badges, per-category rules, scheduling, or custom designs. Use CSS for a quick colour change, and PHP if you’re comfortable with code. For the no-code route, WooCommerce Product Labels by Acowebs offers 150+ designs, scheduling, and product rules.
What is the default WooCommerce sale badge?
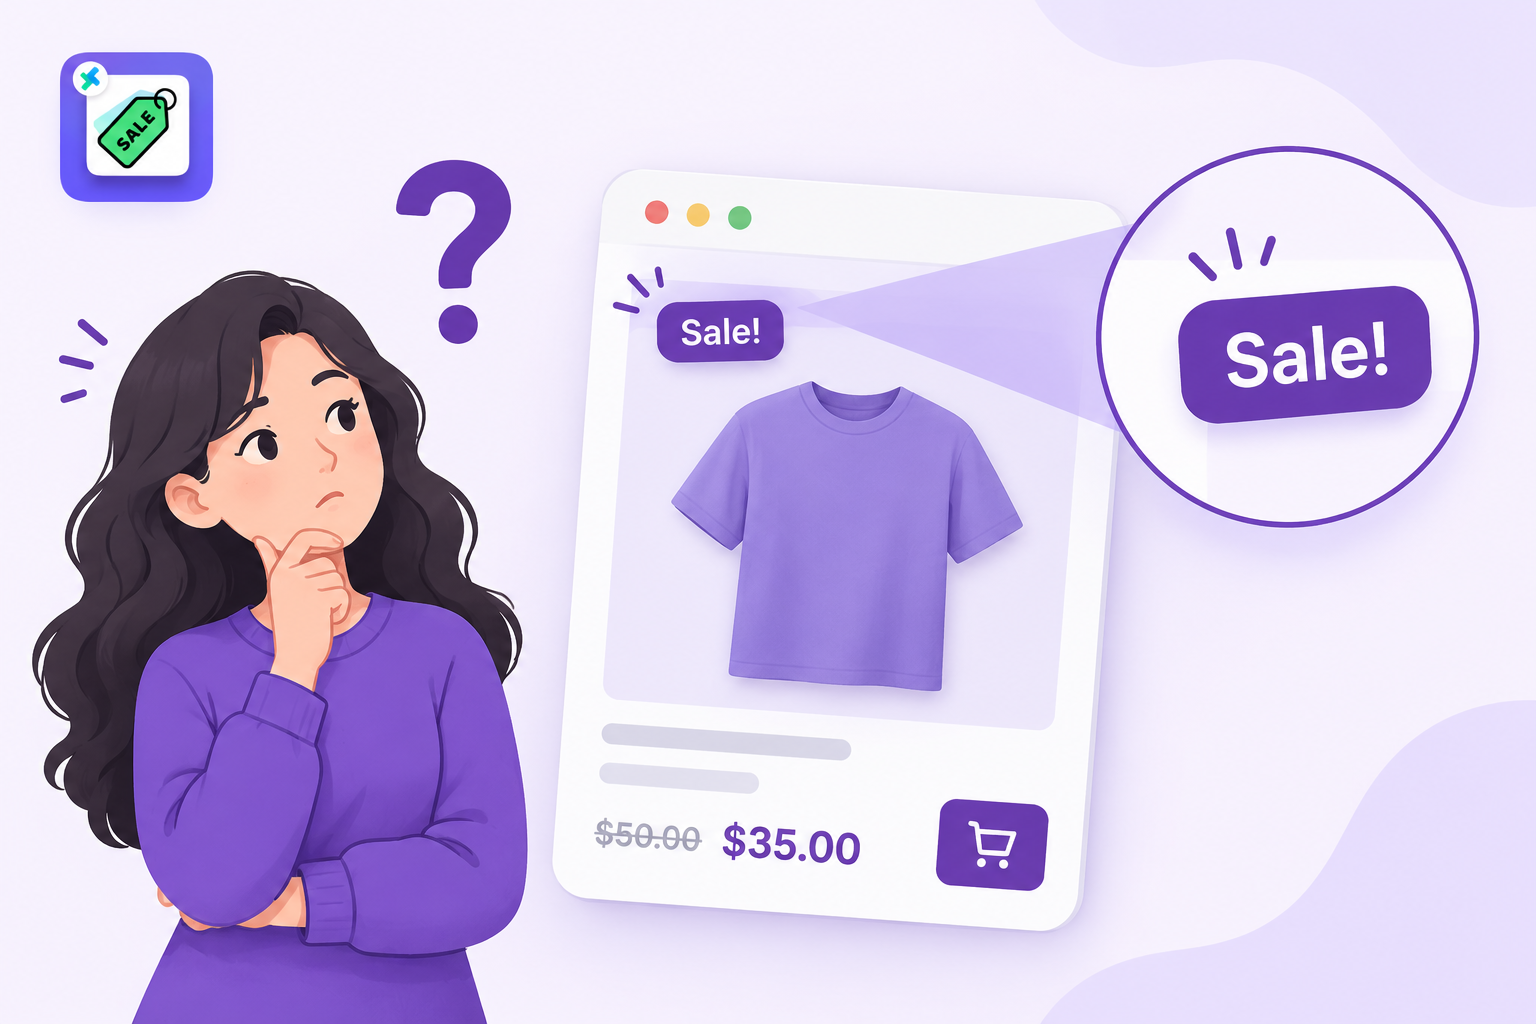
The default WooCommerce sale badge is a “Sale!” label that appears on a product once you enter a sale price. It shows on the shop page, category pages, single product pages and related-product grids. WooCommerce outputs it as a span with the class onsale, passed through the woocommerce_sale_flash filter.
You can see the source in WooCommerce’s own sale-flash.php template. The template checks whether the product is on sale and then echoes the filtered markup. Because the output runs through a filter, you can swap it, empty it or rebuild it without touching core files. The hook list lives in the WooCommerce code reference.
Two things to know up front:
- The badge only appears for the native sale price field. If you discount products another way, for example with a pricing-rules plugin, the default badge may not appear at all. Our older guide on custom product badges explains that gap.
- The wording is fixed. There is no setting in WooCommerce to change “Sale!”.
Why change or remove it?
Most stores change the badge for one of four reasons:
- Generic wording. “Sale!” does not say how much shoppers save. “Save 25%” does.
- Brand clash. The default circle and colour rarely match your theme.
- Layout problems. It can cover the product image, a wishlist icon or another badge.
- No context. It cannot say when the deal ends or which products qualify.
Visible discounts matter. A Shopify guide on promotional pricing cites a 2024 survey in which nearly 70% of consumers would buy from a competitor that offered lower prices. If the price is that decisive, the badge that announces your deal should work harder than a bare “Sale!”.
Method 1: Use the Acowebs Product Labels plugin
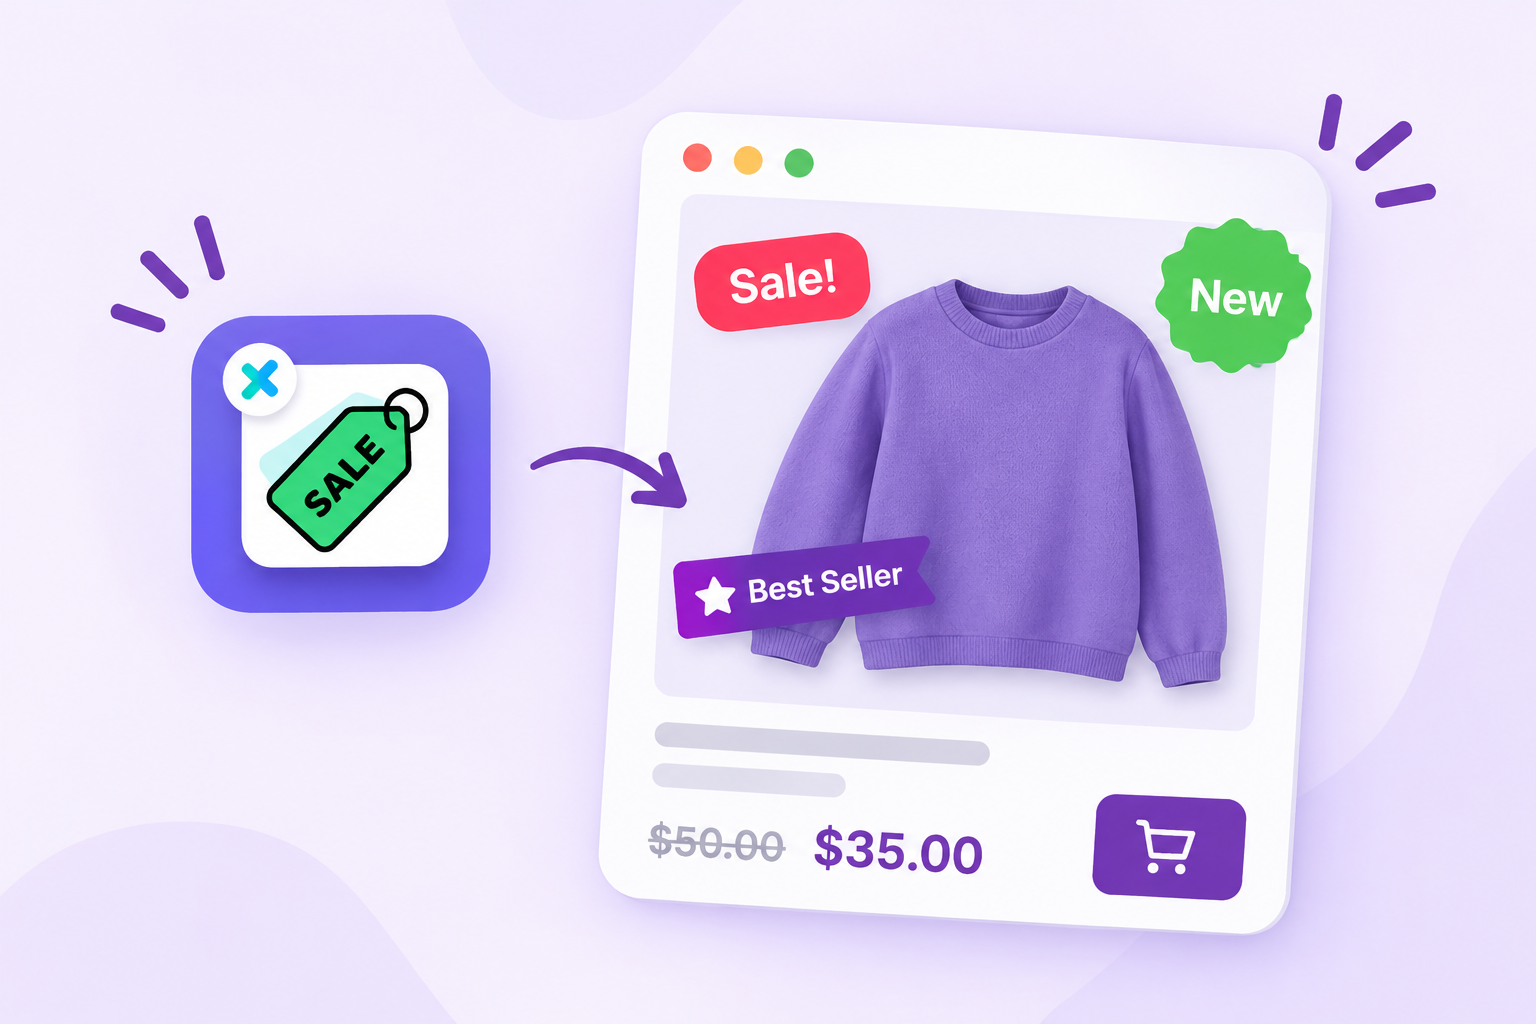
A plugin is the better route when you want percentage-style wording, rules by category or price range, scheduled campaigns and real designs, all without touching code. WooCommerce Product Labels by Acowebs replaces the default badge with badges you control from a normal admin screen.
What the plugin gives you, based on its product page and documentation:
- 150+ predefined badge designs, including seasonal sets, or upload your own badge image.
- Full styling: label text, colour, font size, position, rotation and opacity, with a live preview.
- Product rules: assign a badge to products on sale, to a product list built from categories or tags, and exclude specific products.
- Scheduling: set a start and end date, or limit a badge to certain weekdays.
- Sale timers to show a countdown on the shop and product pages.
- WPML and Polylang support for multilingual stores.
How to create your sale badge
- After installing and activating the plugin, open Badges in your WordPress dashboard and click Add New Badge.
- Enter a Title (for example, “Summer Sale 25%”). It is only for your own reference.
- Choose a Badge Type (CSS badge, image badge or advanced badge) and pick a design.
- Type your badge text. Short, specific wording works best: “Save 25%”, “Deal”, “$10 Off”.
- Set the position and opacity, and check the live preview.
- Open Products Selection and choose where it shows: products on sale, or a product list built from categories, tags or specific products, with exclusions.
- If the deal has an end date, open Schedule, enable it and set start and end times. You can add a timer in Timer Settings.
- Click Publish, then check your shop page.
The exact steps are in the Acowebs knowledge base guide, How Do I Create My First Product Badge in WooCommerce?. For campaigns, see setting up a scheduler for your badge and enabling a timer.
A note on the default badge: If you want to see only your new badge, also hide the built-in one with the one-line filter from Method 3 or the CSS from Method 2, so shoppers do not see two badges on the same product.
Percentage wording: for a fixed-rate promotion, type the percentage straight into the badge text (“Save 25%” on a 25%-off category). For a badge that calculates a different percentage on every product, use the PHP snippet from Method 3.
Pricing: the plugin starts at $49 for one site for one year of updates, with a 30-day money-back guarantee. There is also a free version with fewer options (three configuration tabs versus six in the premium version).
Method 2: Restyle or hide it with CSS
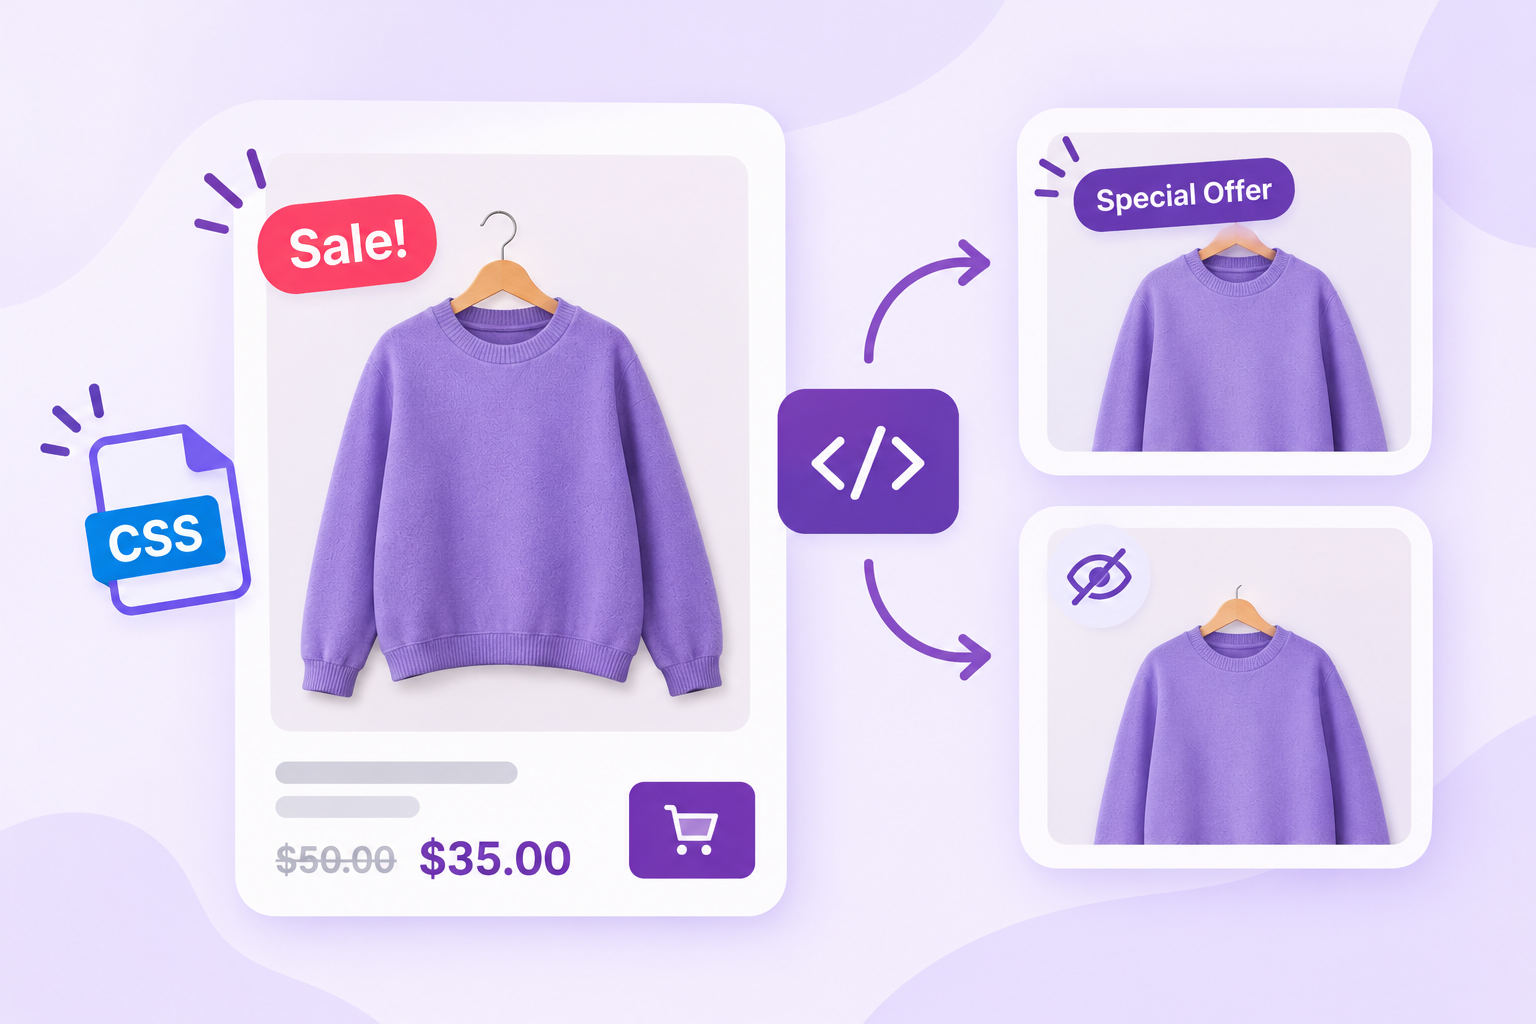
CSS lets you recolour, resize or hide the badge in about two minutes. It cannot change the text. Use it when the wording is fine and you only want it to look right.
- In WordPress, go to Appearance > Customize > Additional CSS.
- Paste one of the snippets below.
- Click Publish and refresh your shop page.
Restyle the badge (swap the colours and shape for your brand):
.woocommerce span.onsale {
background-color: #d63638;
color: #ffffff;
border-radius: 4px;
min-height: 0;
min-width: 0;
line-height: 1;
padding: 8px 12px;
font-weight: 700;
}
Hide the badge everywhere:
.woocommerce span.onsale {
display: none !important;
}
Warning: Customizer CSS is stored with your active theme. If you switch themes, copy it across. Check the result on mobile, because some themes use different selectors there.
Limitation: CSS only hides the badge visually. The span is still in the page source. And you cannot reword “Sale!” with CSS in any reliable way. For that, use Method 3.
Method 3: Use the woocommerce_sale_flash PHP filter
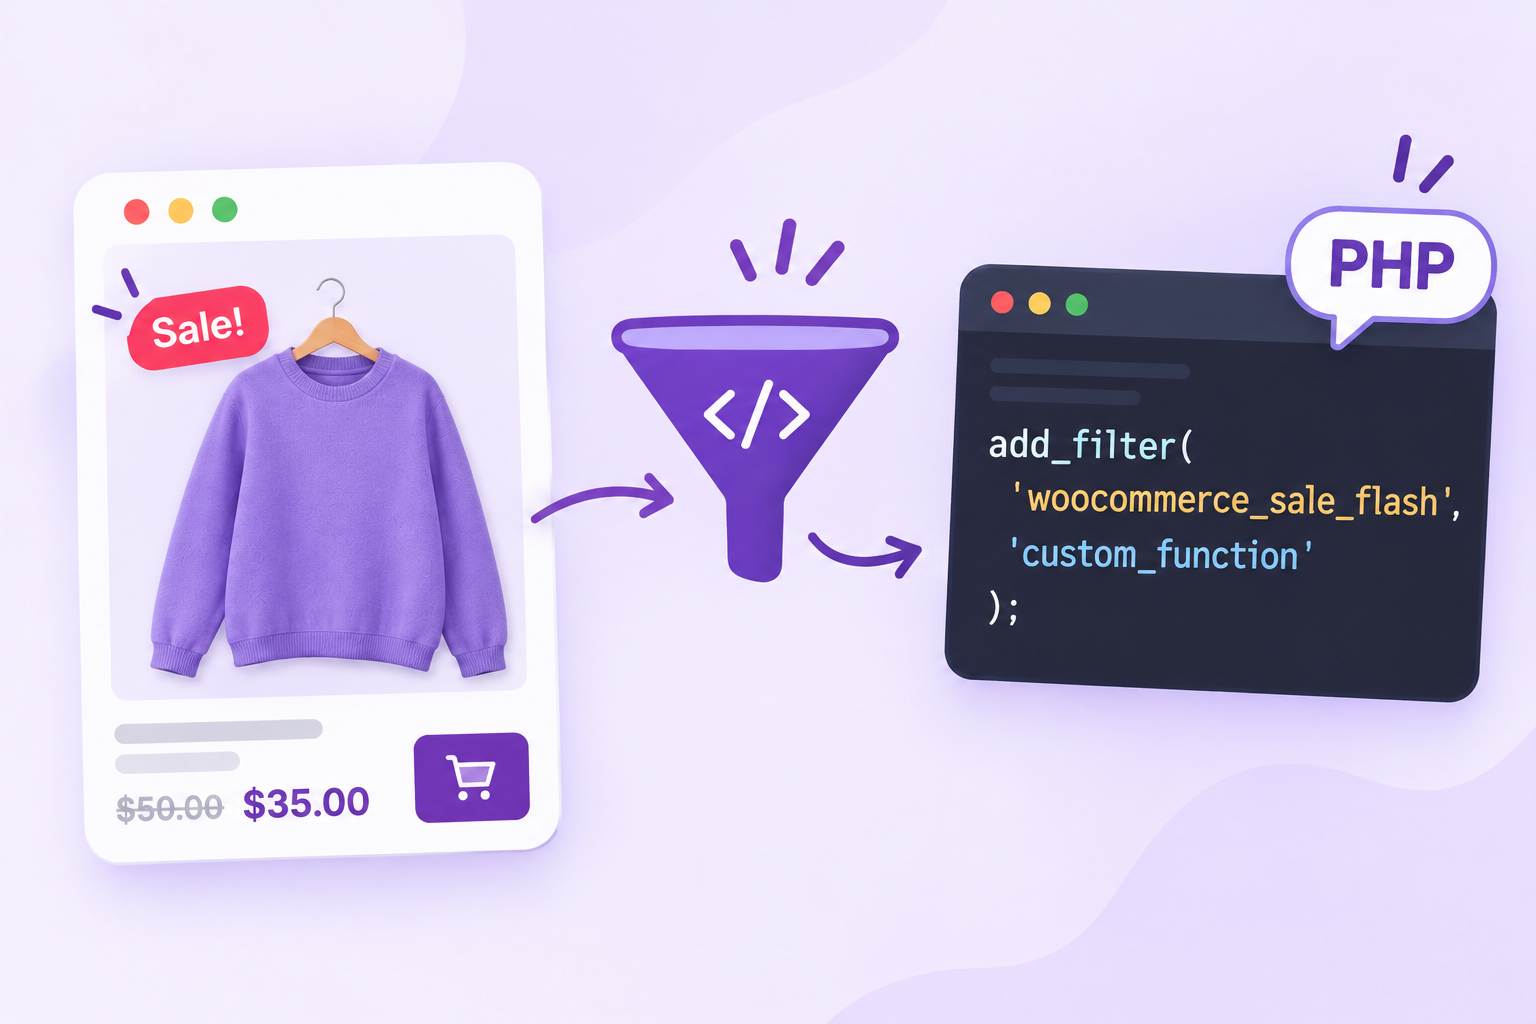
A PHP filter is the cleanest way to remove the badge or change its text, and it can calculate a percentage. Put the code in a child theme’s functions.php or a snippets plugin. WordPress explains why in its guide to child themes: they keep your changes safe when the parent theme updates.
Warning: A PHP typo can take your site down. Back up first, use a child theme or snippets plugin, and test on staging if you can.
Remove the sale badge
add_filter( ‘woocommerce_sale_flash’, ‘__return_false’ );
That one line stops WooCommerce printing the badge on shop, category and product pages. Your sale price and strikethrough regular price still display as normal.
Change “Sale!” to custom text
add_filter( ‘woocommerce_sale_flash’, ‘acowebs_custom_sale_text’, 10, 3 );
function acowebs_custom_sale_text( $html, $post, $product ) {
return ‘<span class=”onsale”>’ . esc_html__( ‘Special Offer’, ‘your-text-domain’ ) . ‘</span>’;
}
Swap “Special Offer” for “Limited Deal”, “Clearance” or anything else. Keeping the onsale class means your existing CSS from Method 2 still applies.
Show the discount percentage
add_filter( ‘woocommerce_sale_flash’, ‘acowebs_percentage_sale_badge’, 10, 3 );
function acowebs_percentage_sale_badge( $html, $post, $product ) {
$percentages = array();
if ( $product->is_type( ‘variable’ ) ) {
foreach ( $product->get_children() as $variation_id ) {
$variation = wc_get_product( $variation_id );
if ( ! $variation || ! $variation->is_on_sale() ) {
continue;
}
$regular = (float) $variation->get_regular_price();
$current = (float) $variation->get_price();
if ( $regular > 0 ) {
$percentages[] = round( ( ( $regular – $current ) / $regular ) * 100 );
}
}
} else {
$regular = (float) $product->get_regular_price();
$current = (float) $product->get_price();
if ( $regular > 0 ) {
$percentages[] = round( ( ( $regular – $current ) / $regular ) * 100 );
}
}
if ( empty( $percentages ) ) {
return $html;
}
$max = max( $percentages );
$label = $product->is_type( ‘variable’ ) ? ‘Save up to ‘ . $max . ‘%’ : ‘Save ‘ . $max . ‘%’;
return ‘<span class=”onsale”>’ . esc_html( $label ) . ‘</span>’;
}
Variable products need special handling because each variation can have a different price. The snippet checks every on-sale variation and shows the biggest saving, so a $50 shirt in three sizes with different sale prices still gets one honest badge: “Save up to 30%”.
Show the badge only in certain categories
add_filter( ‘woocommerce_sale_flash’, ‘acowebs_sale_badge_by_category’, 10, 3 );
function acowebs_sale_badge_by_category( $html, $post, $product ) {
return has_term( ‘clearance’, ‘product_cat’, $product->get_id() ) ? $html : ”;
}
Replace clearance with your category slug. Sales products in other categories get no badge. Note that variations are not categorised, so this checks the parent product.
Method 4: Theme settings and the block editor
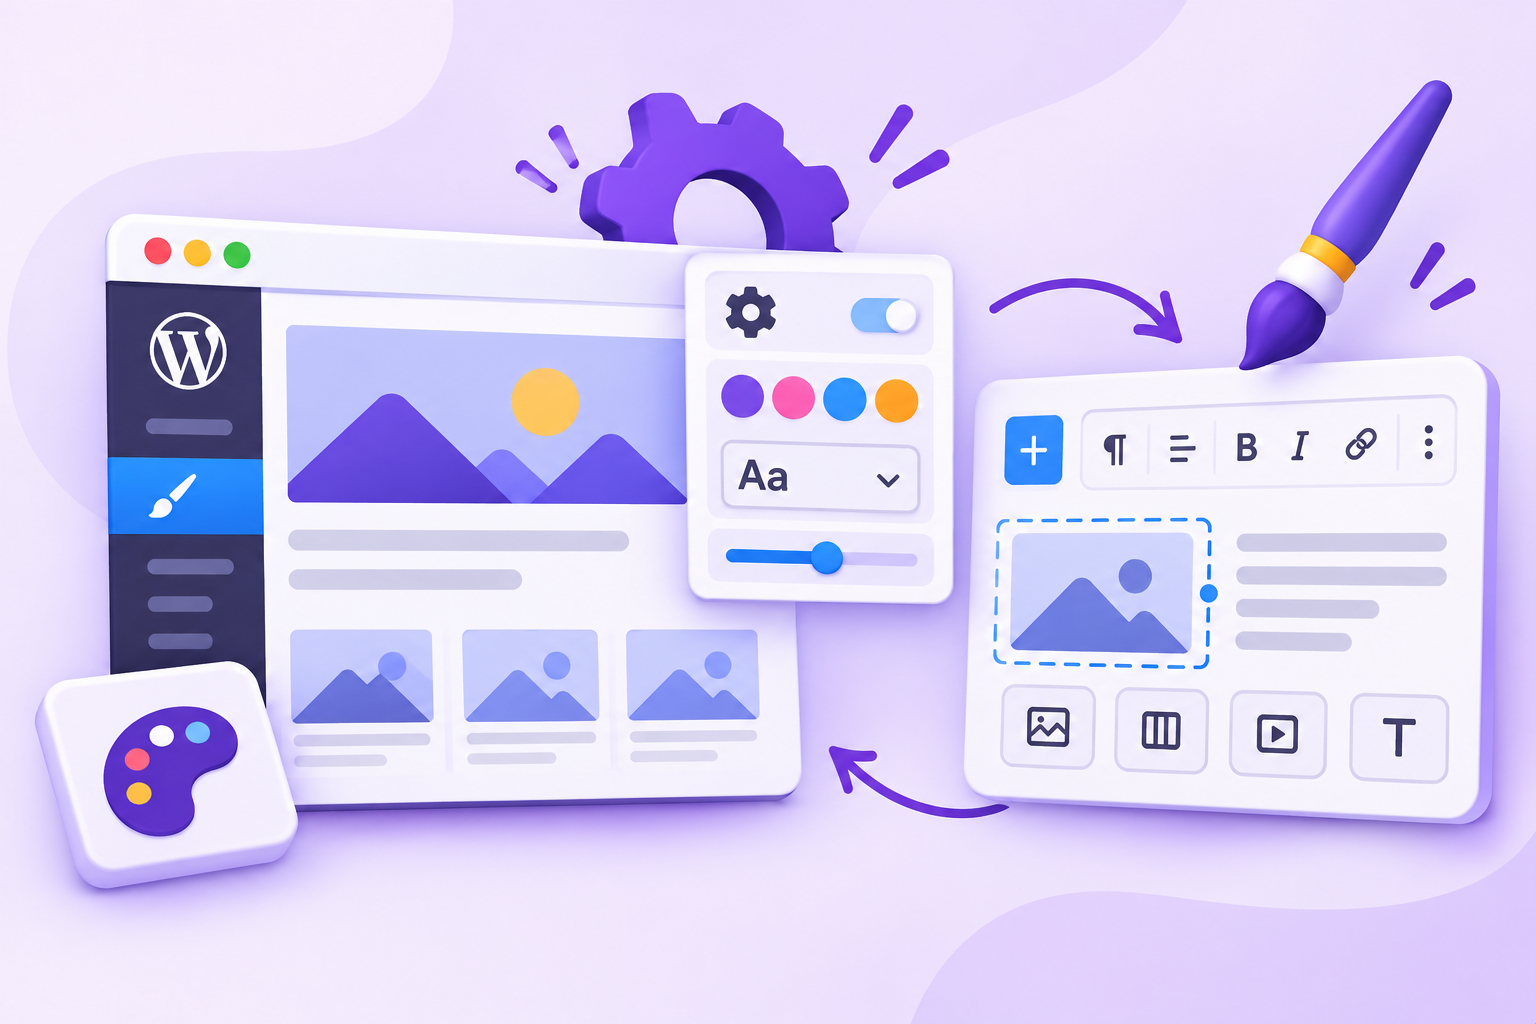
Some themes and block-based stores let you style or switch off the sale badge without code. It is the fastest route if your setup supports it, but the options are limited and differ from theme to theme.
- Classic themes: check Appearance > Customize and your theme’s options panel for a WooCommerce or “Shop” section. Look for a sale badge toggle, colour or text-style setting. The name varies by theme, and many themes offer nothing.
- Block themes and product blocks: open Appearance > Editor and edit your product archive or single product template. If the template uses WooCommerce’s product blocks, the sale badge appears as its own block that you can select, restyle or delete from the layout.
- Page builders: product widgets in builders such as Elementor often have their own sale-badge switch in the widget settings.
Two caveats. These controls change style or visibility, not the wording or the discount logic. And block names and options shift between WooCommerce versions, so confirm what you see in your own editor before relying on a tutorial, including this one.
CSS vs PHP vs plugin
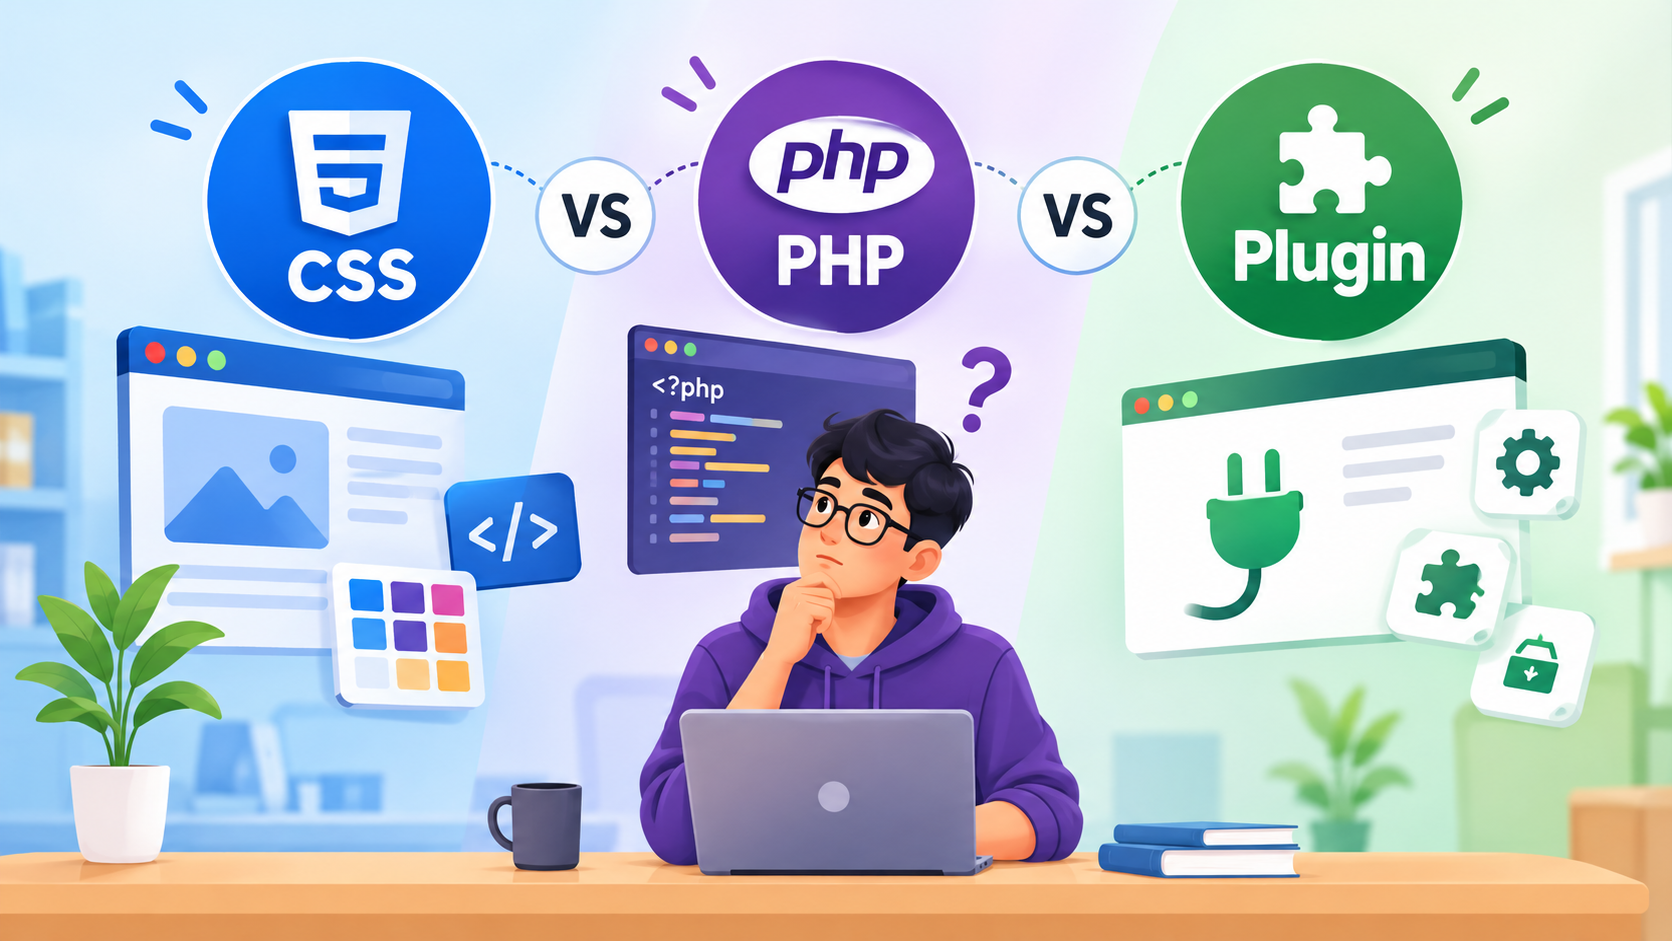
CSS is the quickest and PHP is the most precise, but a plugin is the only option that handles designs, scheduling and rules without code. This table compares the three code-free-to-code-heavy routes.
| CSS | PHP filter | Acowebs Product Labels plugin | |
| Difficulty | Easy | Medium (needs a child theme) | Easy |
| Change the text | No | Yes | Yes |
| Remove the badge | Hides it visually | Removes it from the page | Replace or hide the default |
| Percentage badge | No | Yes, with a custom snippet | Type a fixed % per badge; use PHP for per-product maths |
| Per-category rules | No | Yes, with a custom snippet | Yes, via product lists and exclusions |
| Scheduling and timers | No | Custom code needed | Built in |
| Designs | Basic restyle | Basic | 150+ designs or your own image |
| Maintenance | Check after theme changes | Check after theme or WooCommerce updates | Plugin updates handle it |
Common problems and fixes
Most badge problems come from a theme template, a page builder or a cache. Work through these in order.
The badge is still showing after I removed it. Your theme may bypass the filter by using its own template for the product card, or a page builder widget may print its own badge. Use the CSS in Method 2 as a fallback, and check the builder’s widget settings. WooCommerce explains how themes override templates in its template structure documentation.
The badge does not show on variable products. A variable product only shows the badge when at least one variation has a sale price. Check each variation and its sale schedule dates. Also confirm the sale price is lower than the regular price.
The badge overlaps the image or another badge. Move it with CSS (top, left, right) or reposition it in the plugin’s position settings. Do not run two badge systems at once.
My changes are not showing. Clear your page cache, any server cache and your CDN, then hard-refresh the browser. Caching plugins and CDNs are the most common cause of “it did not work”.
My PHP snippet crashed the site. Restore from your backup, or rename the child theme folder over FTP to reactivate the parent theme. Then re-add the code and look for a missing semicolon or bracket.
Best practices for sale badges
A good badge is specific, readable and honest.
- Show real value. “Save 25%” beats “Sale!”. A dollar amount works too, like “$10 Off”.
- Keep it readable on mobile. Use high-contrast colours, at least a 12px font, and short text so it does not cover the product photo.
- Do not stack badges. One clear badge per product. If you need two, put them in different corners.
- Use honest urgency. A countdown timer should match a real end date. Fake deadlines damage trust. Our guide to FOMO in ecommerce covers this.
- Plan your campaigns. Use a holiday discount schedule so badges go live and expire on time.
Conclusion
The default WooCommerce sale badge is easy to live with and hard to love. CSS fixes how it looks, a PHP filter fixes what it says (and can show a percentage), and theme or block settings give you a quick toggle on some stores. When you want “Save 25%” badges, category rules, scheduled campaigns and polished designs without maintaining code, a plugin is the better choice. WooCommerce Product Labels by Acowebs covers each of those from one admin screen, with a free version to try first. WooCommerce runs a large share of online stores. W3Techs reports it is used by 7.8% of all websites and 47.5% of all e-commerce systems it tracks (as of 17 October 2026, W3Techs). With that many stores competing, a badge that states the deal clearly is a cheap way to stand out.
Acowebs are the developers of the WooCommerce Product Labels which let customers include custom product labels or product badges for WooCommerce products. WooCommerce sales badges plugin provides you with different label styles and customizations for labels. It offers a easy-to-use UI to add labels to the selected products or categories and woocommerce email customizer using which you can easily build and customize WooCommerce emails with a drag-and-drop user interface.-
FAQs
How do I remove the sale badge in WooCommerce without a plugin?
Add add_filter( ‘woocommerce_sale_flash’, ‘__return_false’ ); to a child theme’s functions.php. Or hide it with .woocommerce span.onsale { display: none !important; } in Additional CSS.
How do I change “Sale!” to custom text?
Use the woocommerce_sale_flash filter to return your own <span class=”onsale”> with new wording, as shown in Method 3. A plugin such as Acowebs Product Labels lets you type the text in a settings screen instead.
Can I show the discount percentage instead?
Yes. A PHP snippet can calculate the percentage from the regular and sale prices, and for variable products it can show “Save up to X%”. See Method 3 for the code.
Does hiding the badge affect the sale price display?
No. The badge and the price are separate. The strikethrough regular price and the sale price keep displaying when you hide or remove the badge.
Can I show the badge only for certain categories?
Yes. Use a filter that checks the product category, as in Method 3, or assign a badge to a product list of categories in the Acowebs plugin and exclude any products you do not want.