After installing the Aco Wishlist for WooCommerce plugin, you can see a new menu “Wishlist” in the WordPress admin menu bar.
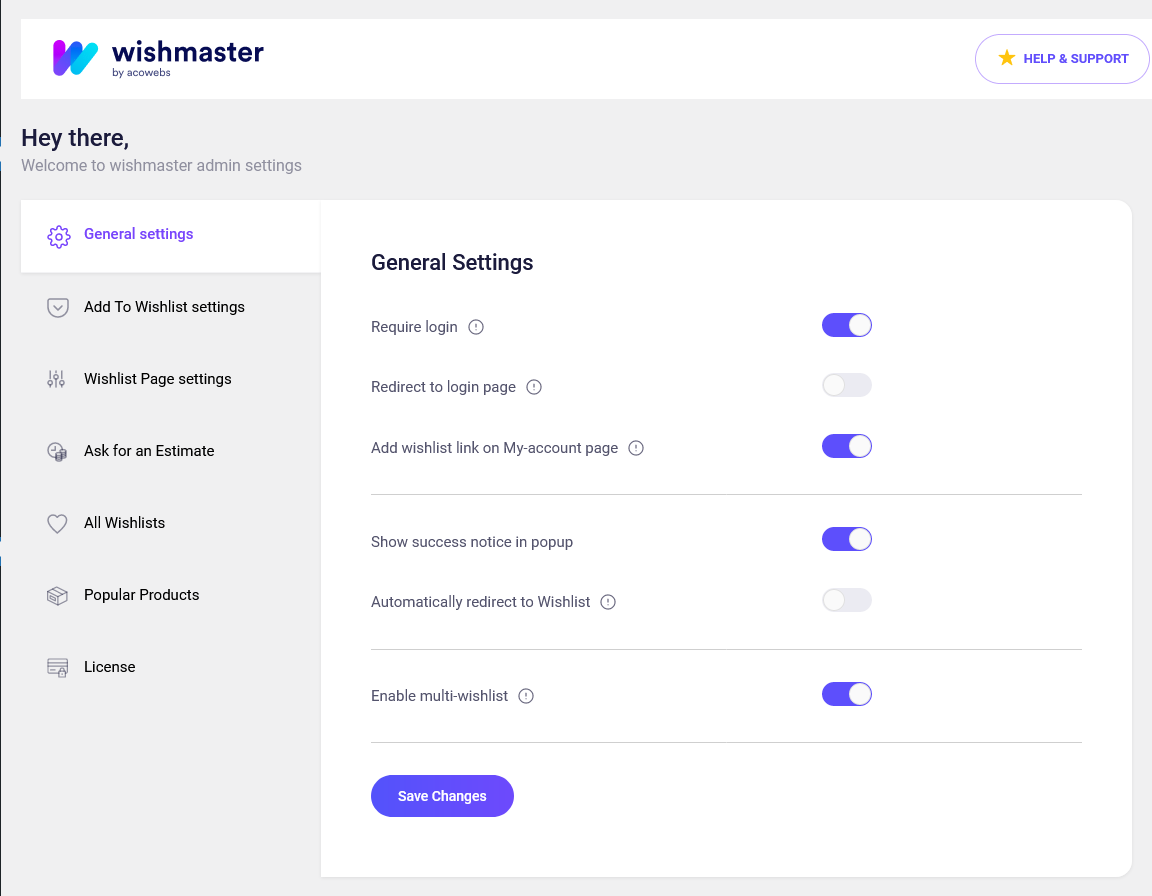
General Settings
Require login: here you can control the wishlist’s functionality only for logged users
Redirect to login page: If you set require login, then you can redirect directly to the login page with this setting.
Add wishlist link on My-account page: You can add wishlist link to my-account page links
Add wishlist link on My-account page: You can add wishlist link to my-account page links
Show success notice in popup: This is for a single wishlist case. Not applicable for multi wishlist.
Automatically redirect to Wishlist: User will be redirected to wishlist page after 5sec from adding product to wishlist.
Enable multi-wishlist: Allow users to create multiple wishlists.
Add to wishlist settings
Product listing Button Settings
Show in Product Listing: Enable add to wishlist functionality in shop/product listing page.
Button position: Place for showing add to wishlist button. Available positions are – After ad to cart button, Before add to cart button, Above the image, and use shortcode.
If you choose to use shortcode then, use this shortcode “[awwlm_add_to_wishlist]” to display the Add to wishlist link or button.
Product Page Settings
Product Page Settings – Button position: Place for showing add to wishlist button on the product details page. Available positions are – After ad to cart button, Before add to cart button, After summary and use shortcode. If you choose to use shortcode then, use this shortcode “[awwlm_add_to_wishlist]” to display the Add to wishlist link or button.
After product is added to wishlist: What to show after a button is added to wishlist. Options available are- show view wishlist link, show add to wishlist and show remove from wishlist. For the case of multi-wishlist, we recommend to use show add to wishlist button.
Text customization
Here you can have options to change text for Add to Wishlist button, Product added to wishlist text, Browse wishlist text, Remove wishlist text and Product already in wishlist text
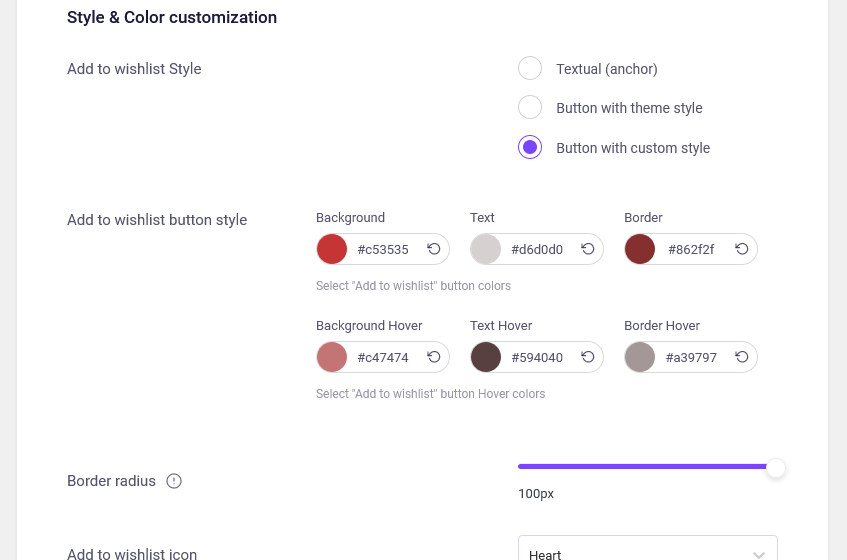
Style & Color customization
Add to wishlist Style: Here you can set how the wishlist button should look like. Following options are available:
Textual (anchor): It will look like a normal hyperlink style.
Button with theme style: Look like theme button style.
Button with custom style: Here you can set your own styling. Following options will appear.
Here you can set add to wishlist button properties like background color, text color, border color, background hover color, text hover color, border hover color, and border radius value.
Add to wishlist icon: Here you can set add to wishlist icon. Options available are – none, heart, heart filled and custom. If you choose custom, then the option to upload an icon will appear.
Added to wishlist icon: Here you can set the icon for the added button/link. Options available are – none, heart, heart filled and custom. If you choose custom, then the option to upload an icon will appear.
Custom CSS: Any additional CSS styes can be added here.
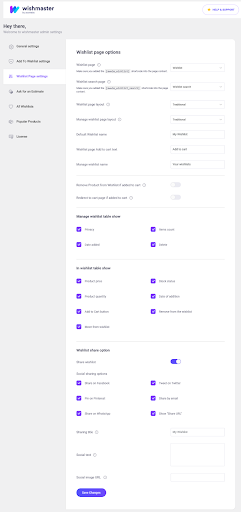
Wishlist page settings
Wishlist plugin page: Here you can select the wishlist page. Make sure that you have added the “[awwlm_wishlist]” shortcode into the page content.
Wishlist search page: Here you can select the wishlist search results page. Make sure that you have added the “[awwlm_wishlist_search]” shortcode into the page content.
Wishlist page layout: Here you can choose the layout for the wishlist page. Options available are-
Traditional: Normal table style display.
Modern: Grid style display.
Manage wishlist page layout: Here you can choose the layout for the manage wishlist page. Options available are-
Traditional: Normal table style display.
Modern: Grid style display.
Default Wishlist name: Here you can set the default wishlist page title.
Wishlist page Add to cart text: Here you can set the add to cart button text displaying on the wishlist page.
Manage wishlist name: Here you can set the manage wishlist page title.
Remove Product from Wishlist if added to cart: If you enabled this setting, then the product will be automatically removed from wishlist after added to cart from wishlist page.
Redirect to cart page if added to cart: If you enabled this setting, then the you will be automatically redirected to cart page after added to cart from wishlist page.
Manage wishlist table show: Here you can control the items that are displaying on the manage wishlist page. Options available are- Privacy, Items count, Date added and Delete.
In wishlist table show: Here you can control the items that are displaying on the wishlist page. Options available are- Product price, Stock status, Product quantity, Date of addition, Add to Cart button, Remove from the wishlist and Move from wishlist.
Wishlist share option
Share wishlist: Setting to enable wishlist social media share option.
Social sharing options: Here you can select the social media to share. Options available are- Facebook, Twitter, Pinterest, Share by email, WhatsApp, and Share URL.
Sharing title: Wishlist title used for sharing (only used on Twitter and Pinterest)
Social text: The message you want to publish when you share your wishlist on Twitter and Pinterest.
Social image URL: It will be used to pin the wishlist on Pinterest.
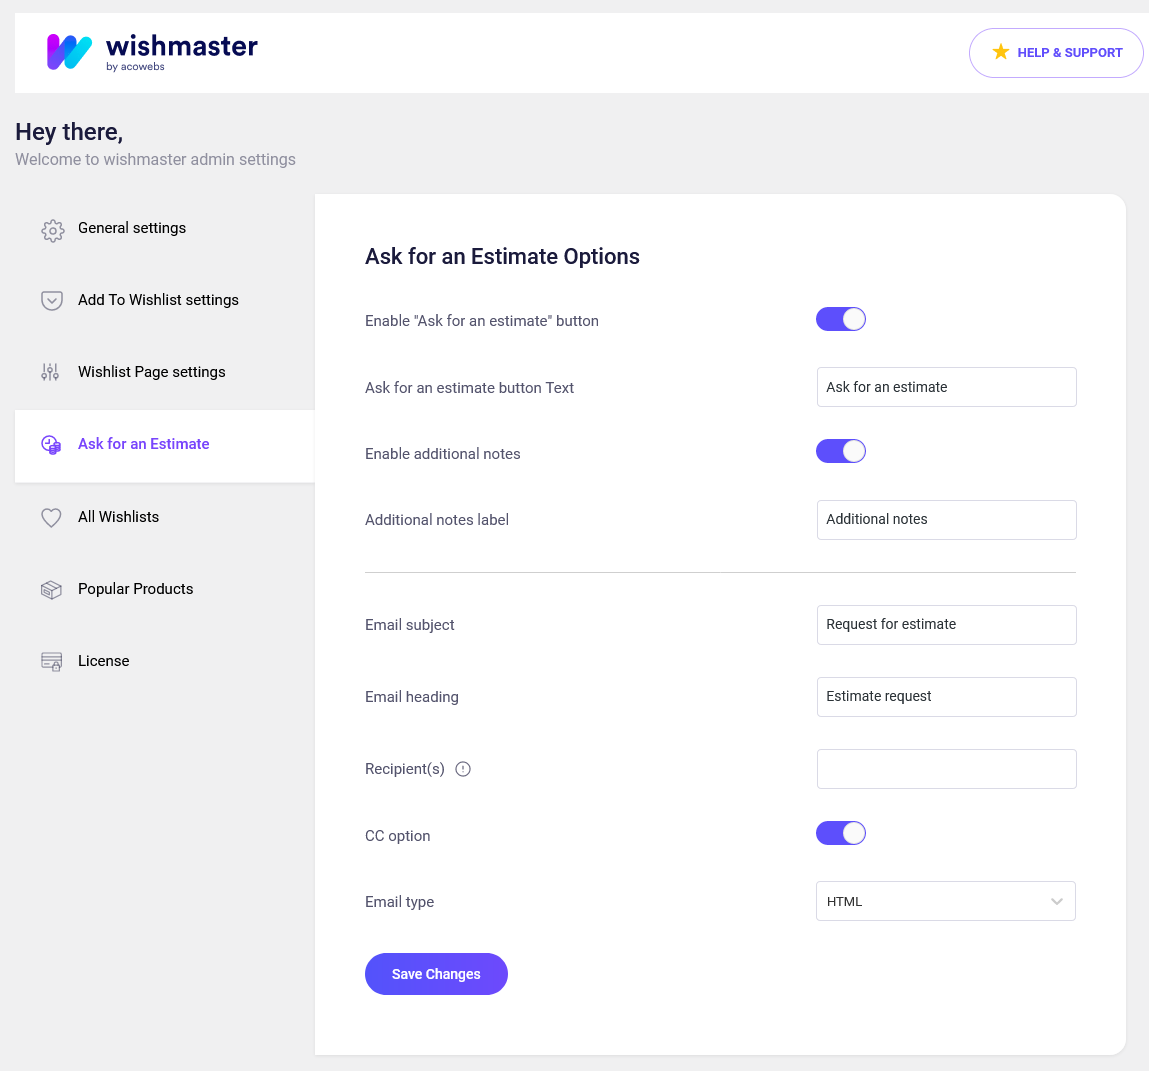
Ask for an Estimate settings
Enable “Ask for an estimate” button: This settings enables “ask for estimate” email.
Ask for an estimate button Text: Text for ask for estimate button.
Enable additional notes: This will add an additional note option to ask for an estimate form.
Additional notes label: label for additional notes.
Email subject: Subject to “ask for an estimate” email.
Email heading: Heading for “ask for an estimate” email.
Recipient(s): “ask for an estimate” email receivers. Add comma after each email incase of multiple receivers.
CC option: Enable CC option for “ask for an estimate” email.
Email type: type for “ask for an estimate” email.
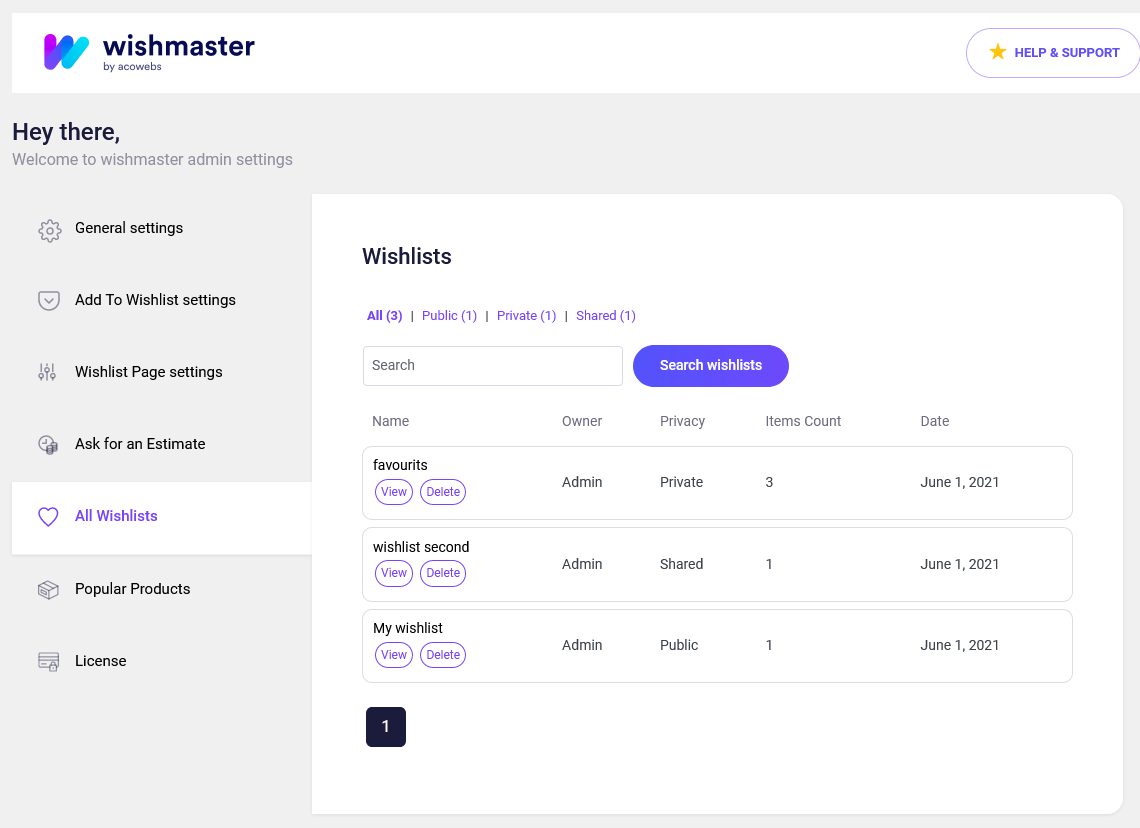
All wishlists
Here you can find all the active wishlists on your website.
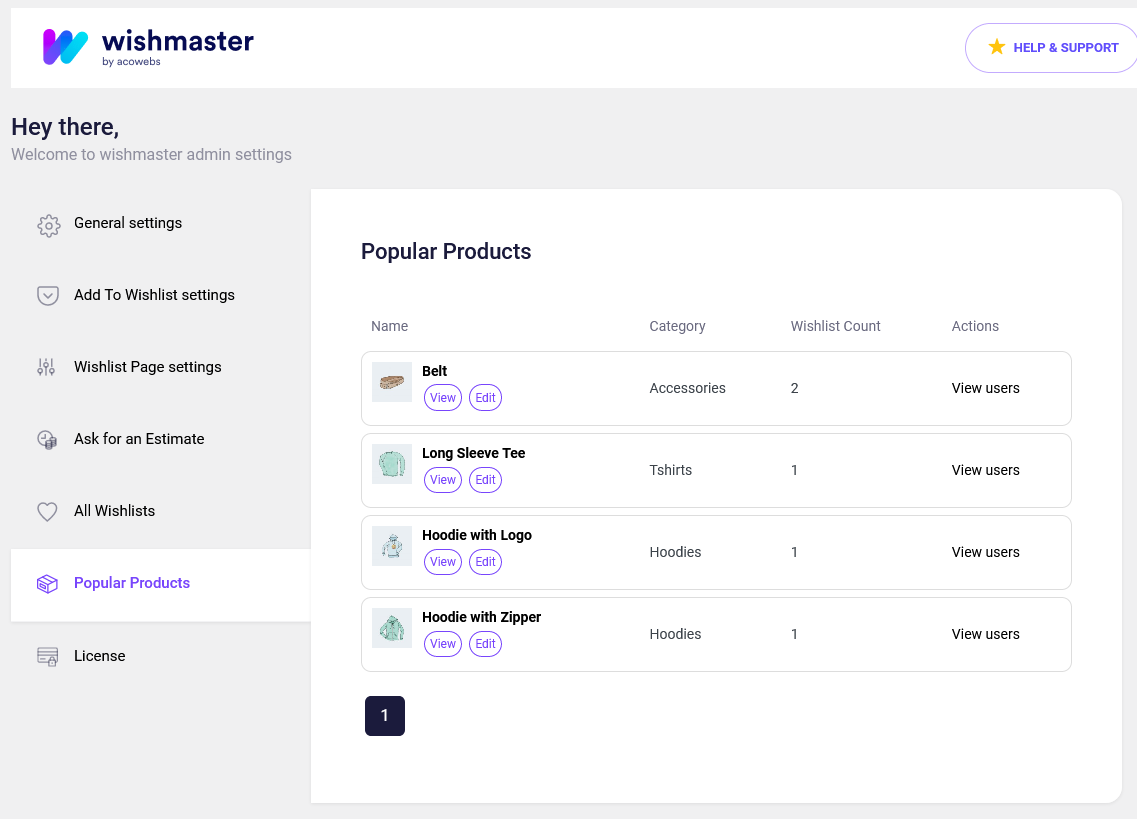
Popular Products
Here you can find popular products ( products that are added most times).


 Login
Login
 Cart
Cart BUY THIS PLUGIN