- Woocommerce
- Shopify Apps
- WordPress
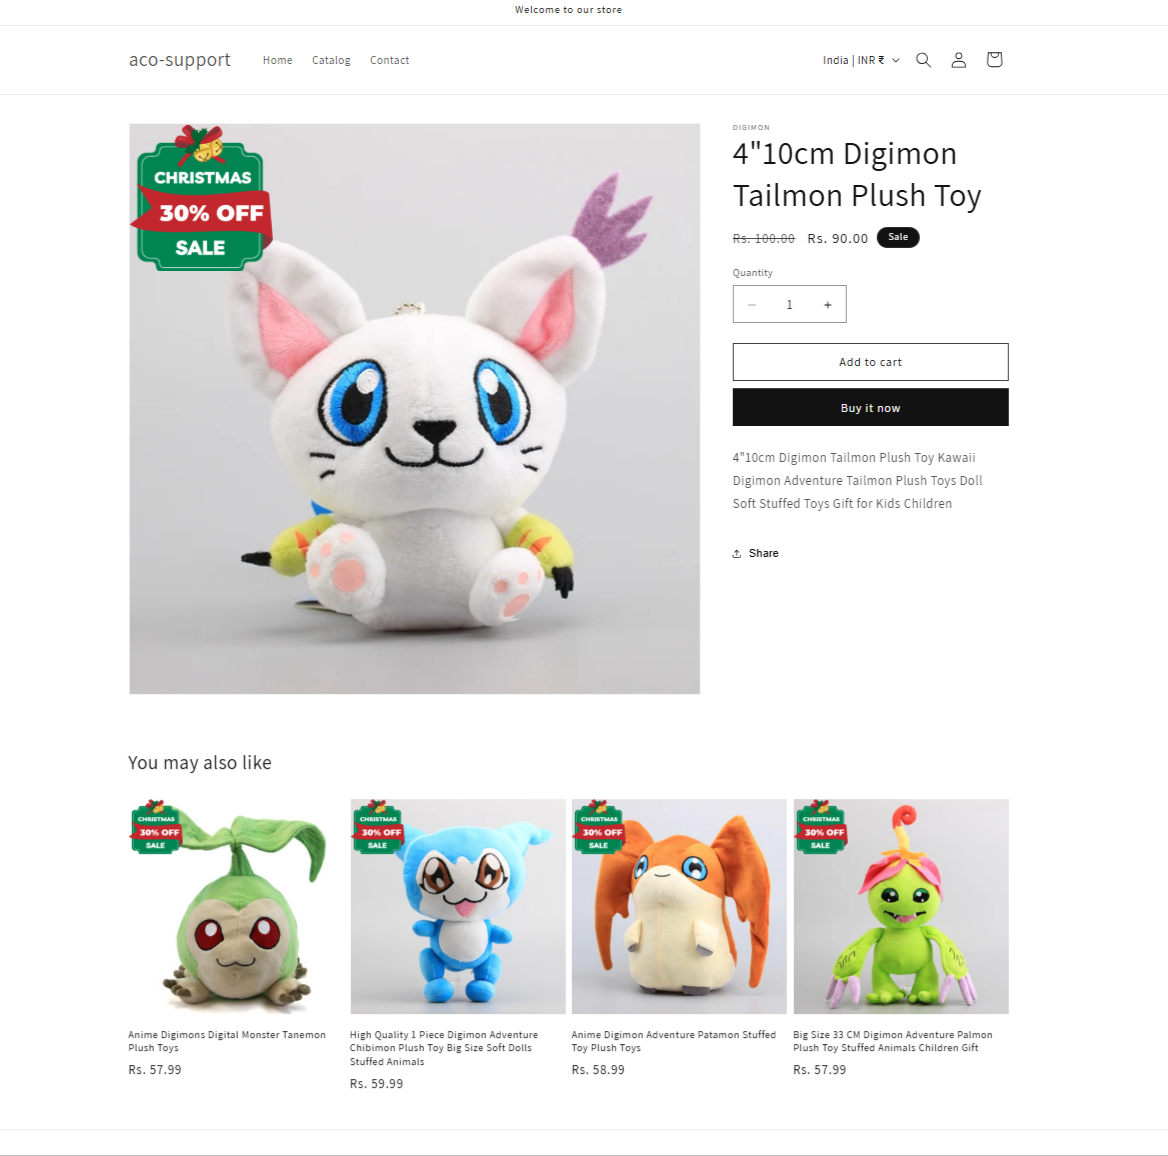
Want to highlight your products with labels like Promotional Badges, Pre-Purchase/Launch Badges, or Stock Status Badges?
The Labeler App makes it easy to add eye-catching badges to your product images using a large collection of ready-made designs. This helps your products stand out, attract more attention, and boost sales.
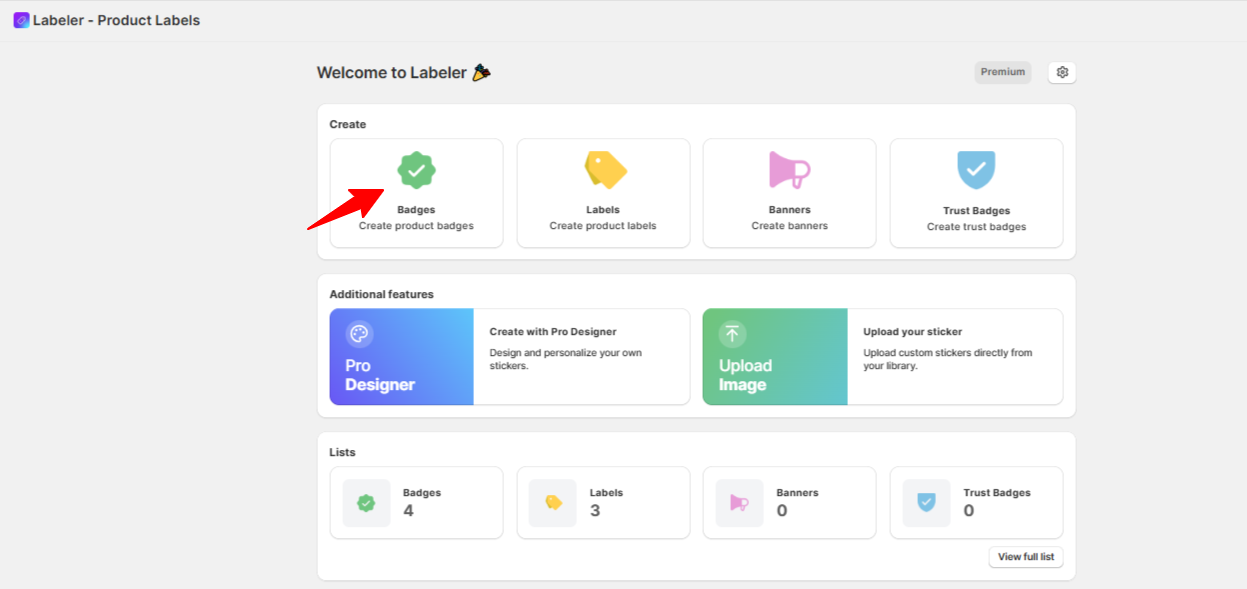
Open the App Dashboard.Click “Create Product Badges” under the Create section on the dashboard.
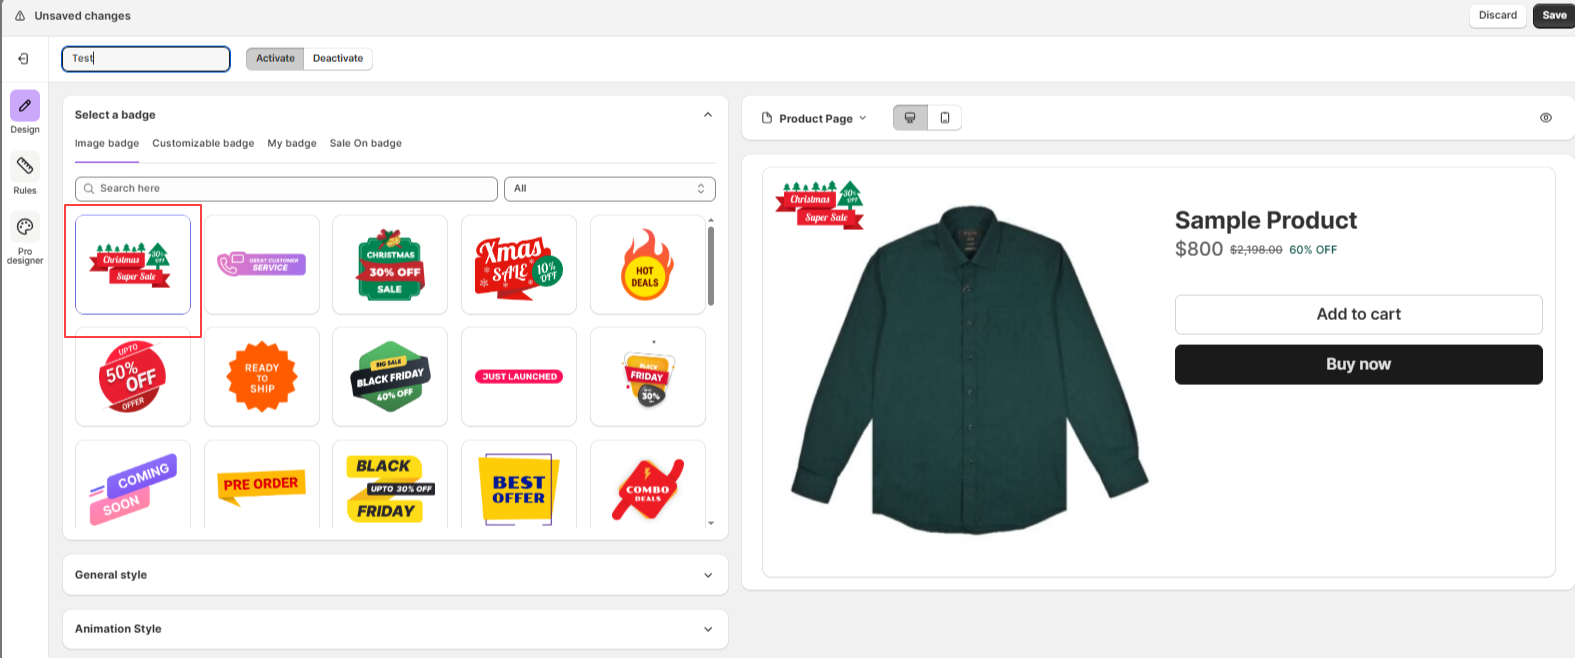
After selecting the type, a badge configuration screen will appear with the Image Badge option selected by default. Enter a badge title to get started.
Then, scroll down to choose an image badge from the collection.
Here, I have chosen the first image badge. You can select according to your preference.
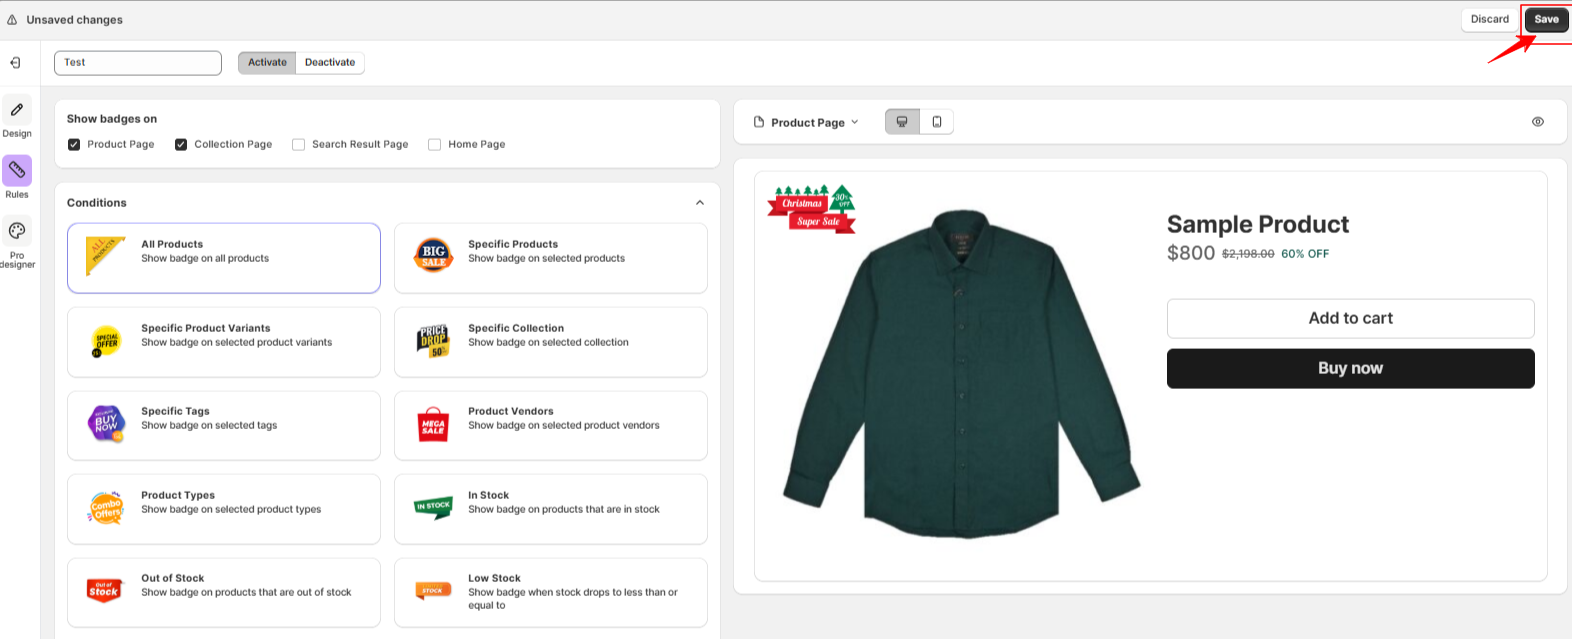
After selecting the image badge, click on Rules to assign the badge to products. Here, you can select the conditions where you want the Image Badge to appear. Once done, Click on save
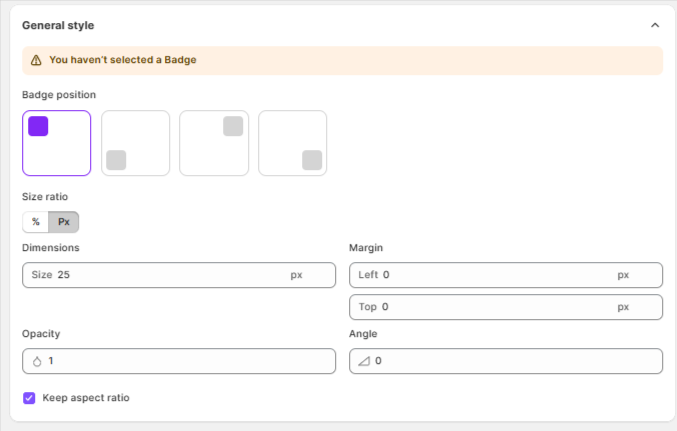
When creating an Image Badge, you’ll find several styling and positioning options. Here’s what each of them means and how to use them:
You can add animation effects to your badge to make it more eye-catching. Here’s a breakdown of the animation settings:

The badge will display on your product images in the position and style you configured, helping your products grab attention instantly!
If you have questions about our plugin(s), are experiencing issues with any of our plugin


 Login
Login
 Cart
Cart BUY THIS PLUGIN