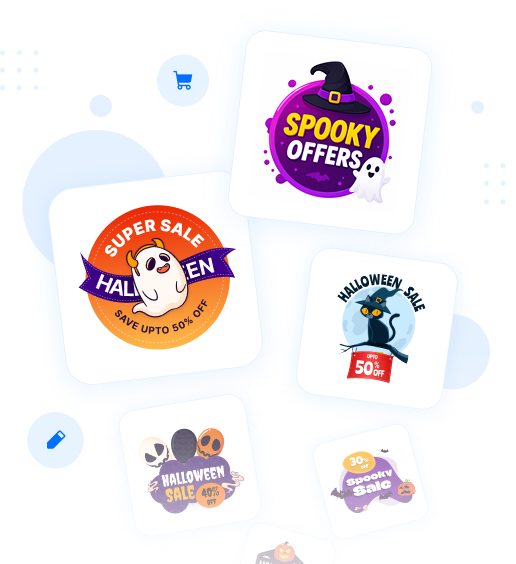
Want to highlight your products with labels featuring festive or currently trending badges?
The Labeler App makes it easy to add stylish, trending stickers from a large variety of popular designs. This helps your products stand out, grab customer attention, and create a more engaging shopping experience.
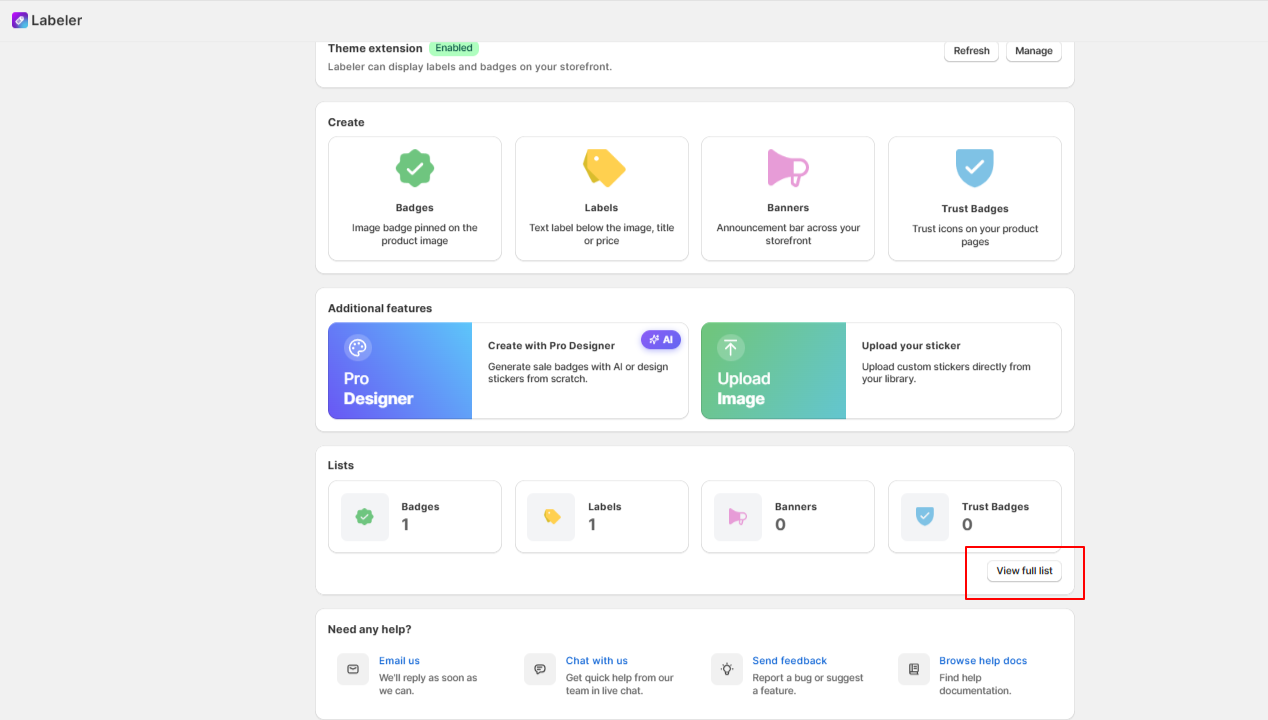
From the Dashboard, scroll down to the Lists section. Click “View full list” to view the trending stickers.
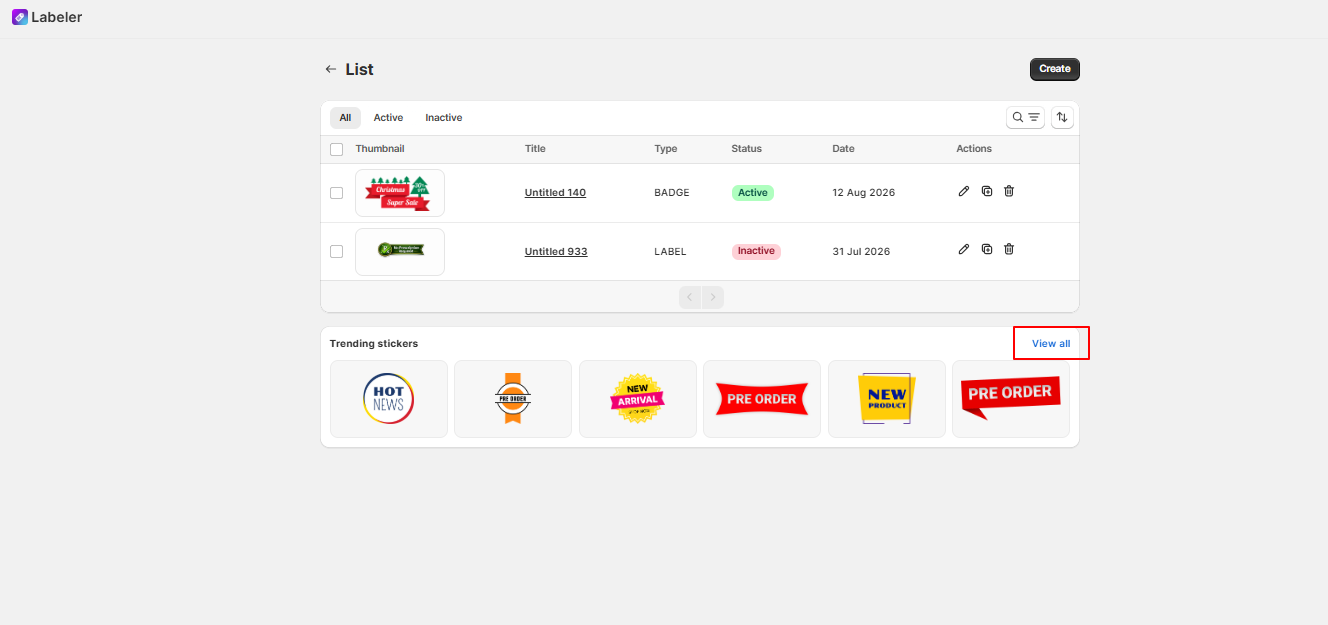
From the List page, click “View all” next to Trending stickers to browse all available sticker designs.
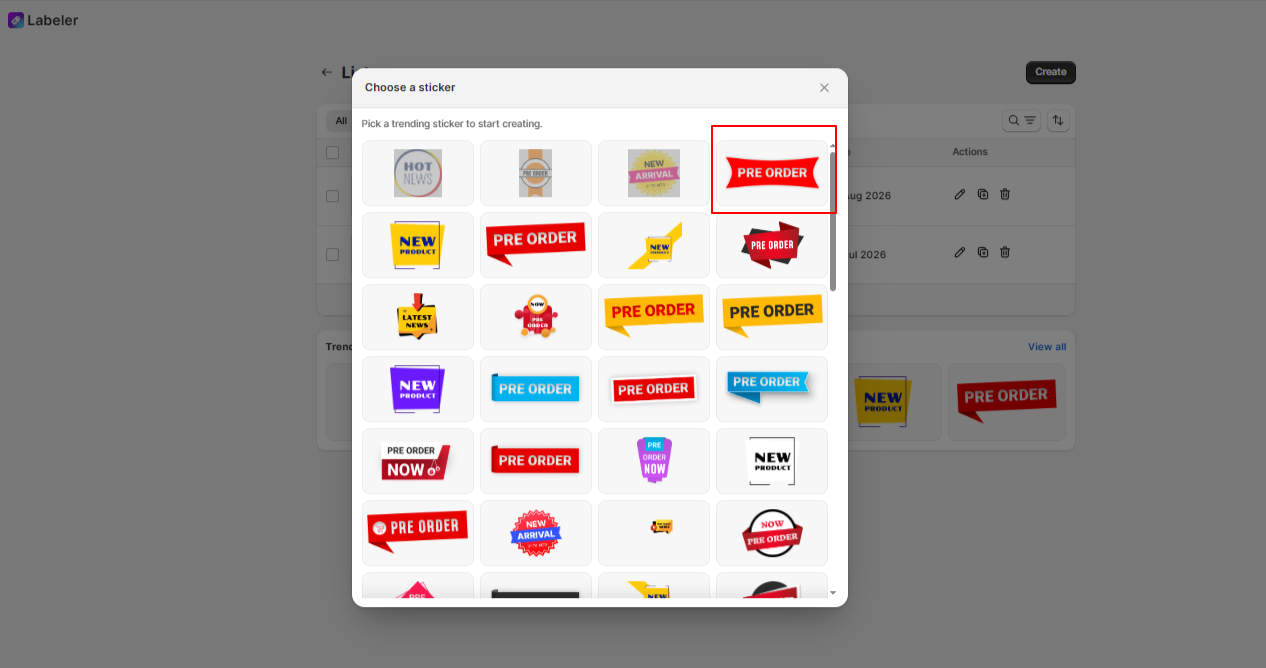
In the Choose a sticker window, select a sticker design from the available trending stickers to start creating your sticker.
Here, I selected the PRE ORDER badge
After selecting a sticker, choose the product type where you want to use it. You can select Badges, Labels, or Banners.
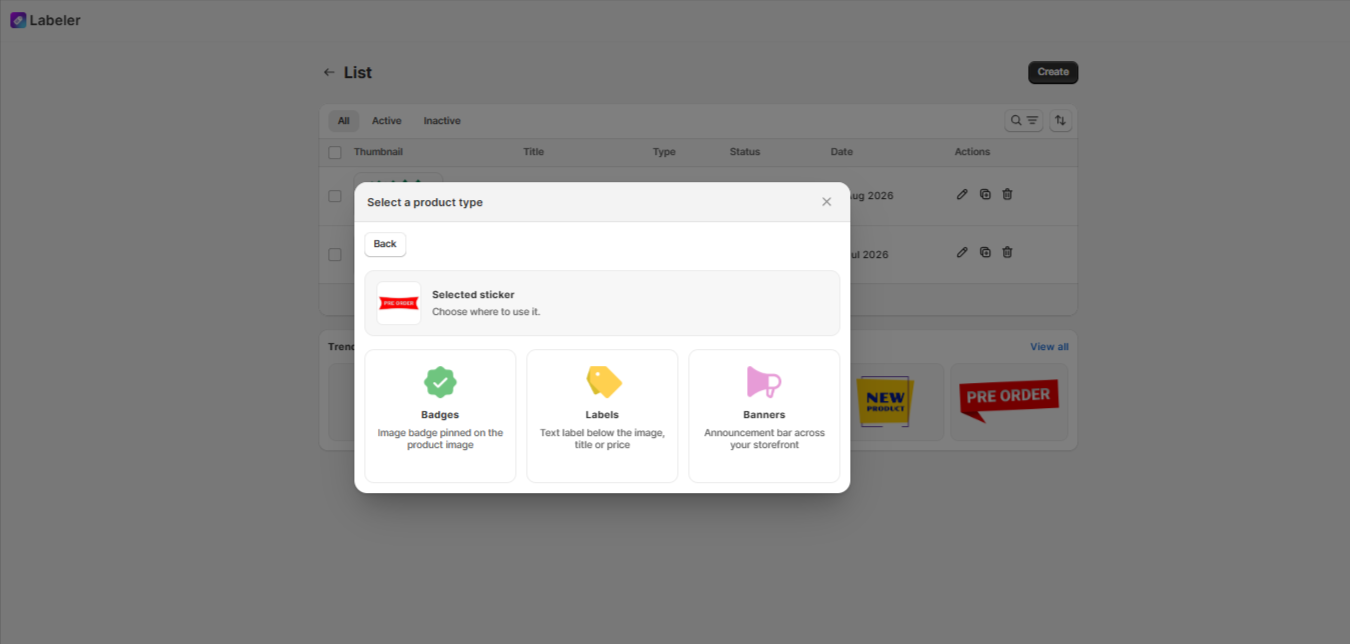
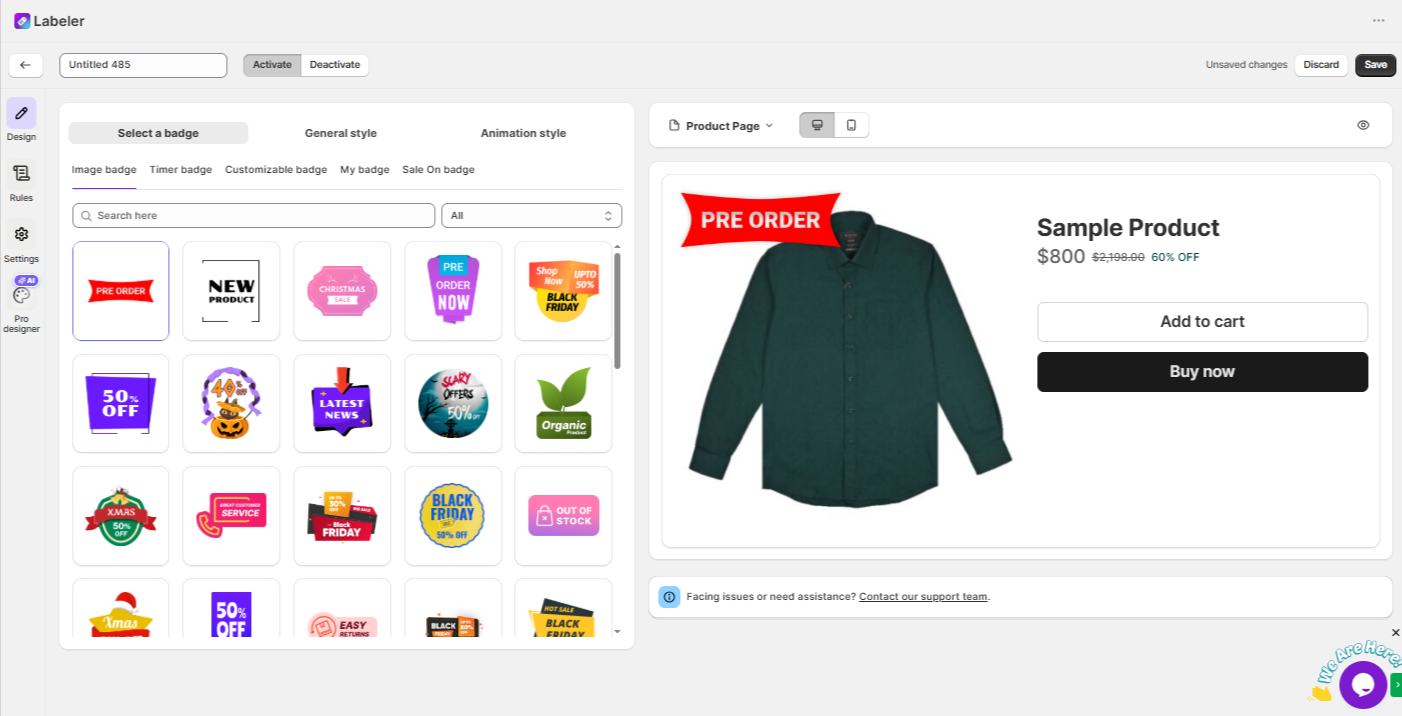
Here, I selected a Badge. The badge editor opens, allowing you to choose a badge design and customize its general style, animation style, and other badge settings. The selected badge is also displayed in the product page preview.
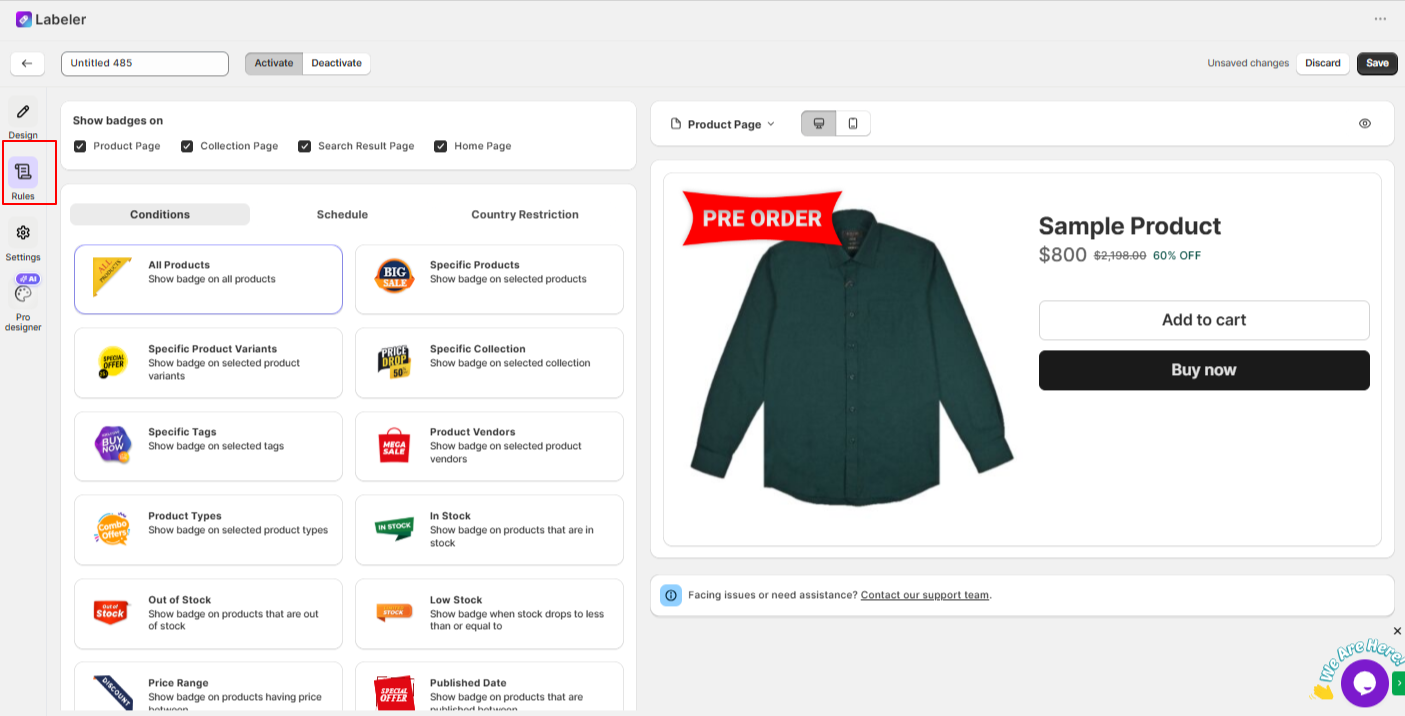
Then, click on Rules to assign the badge to products. Here, you can select the conditions where you want the Image Badge to appear.
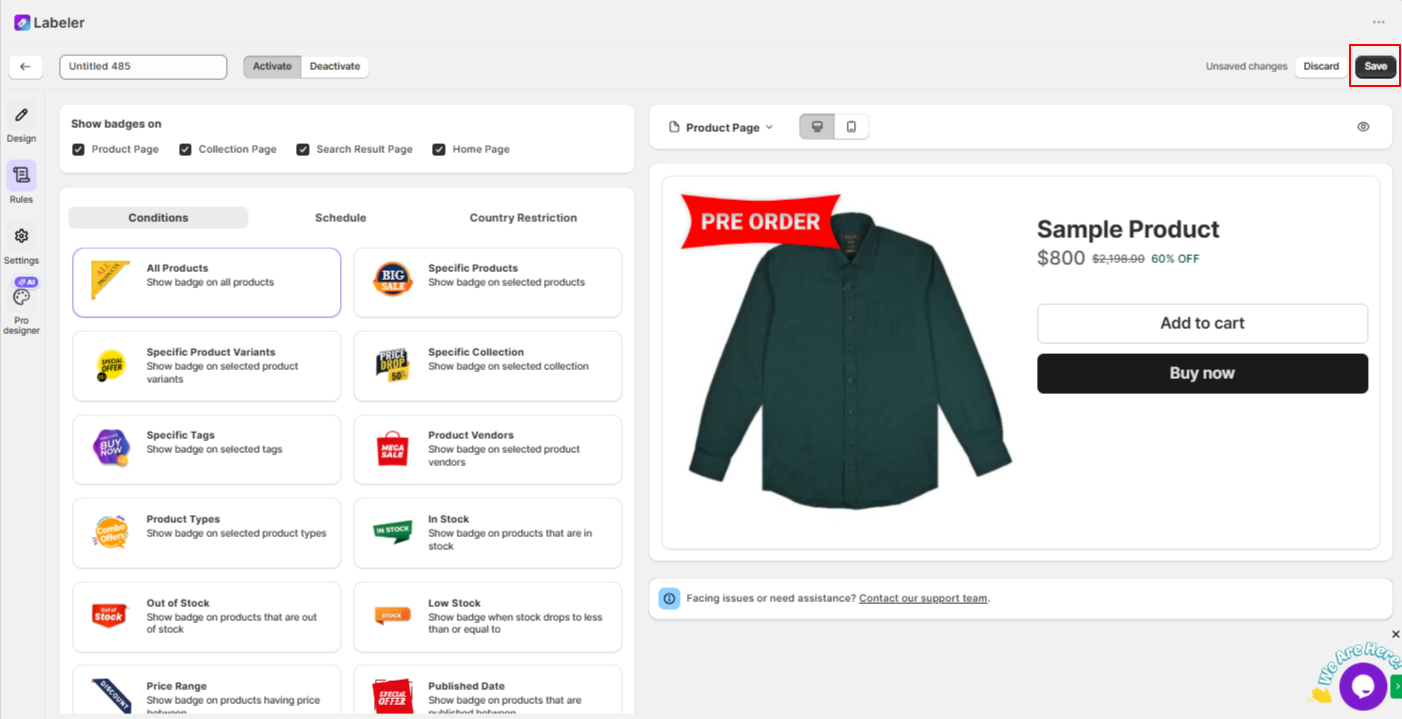
Once you’re done, click “Save” to apply the changes.
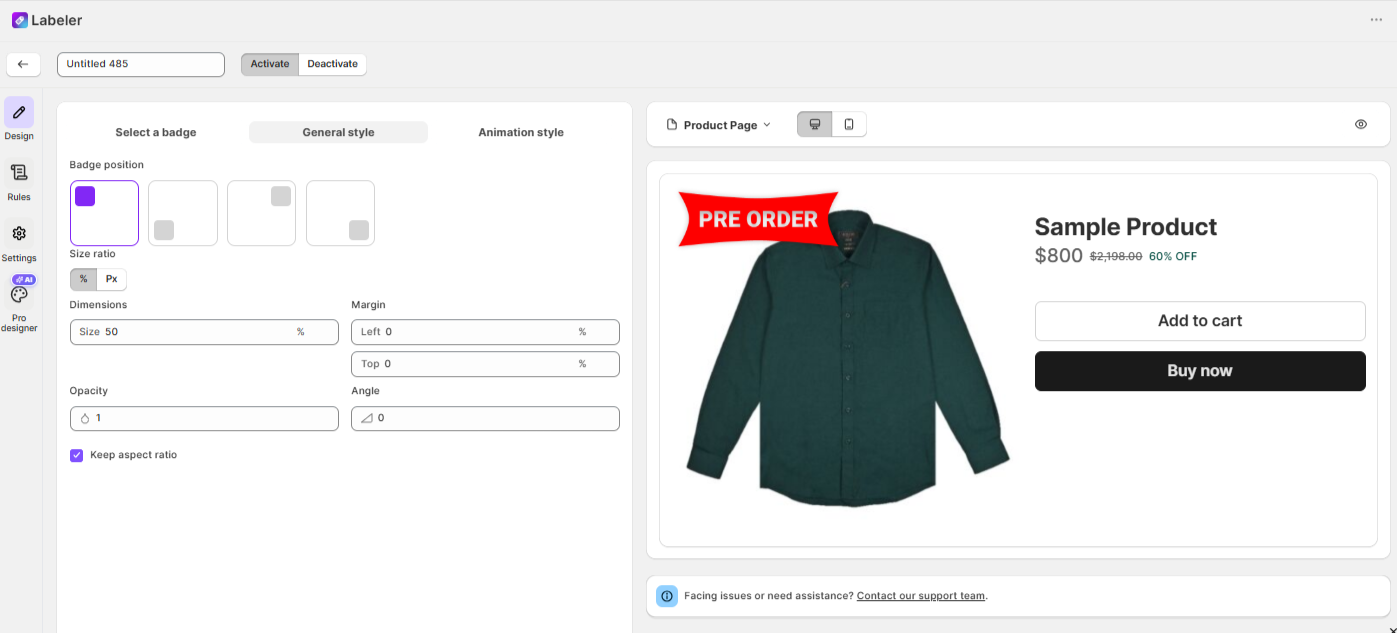
When creating an Image Badge, you’ll find several styling and positioning options. Here’s what each of them means and how to use them:
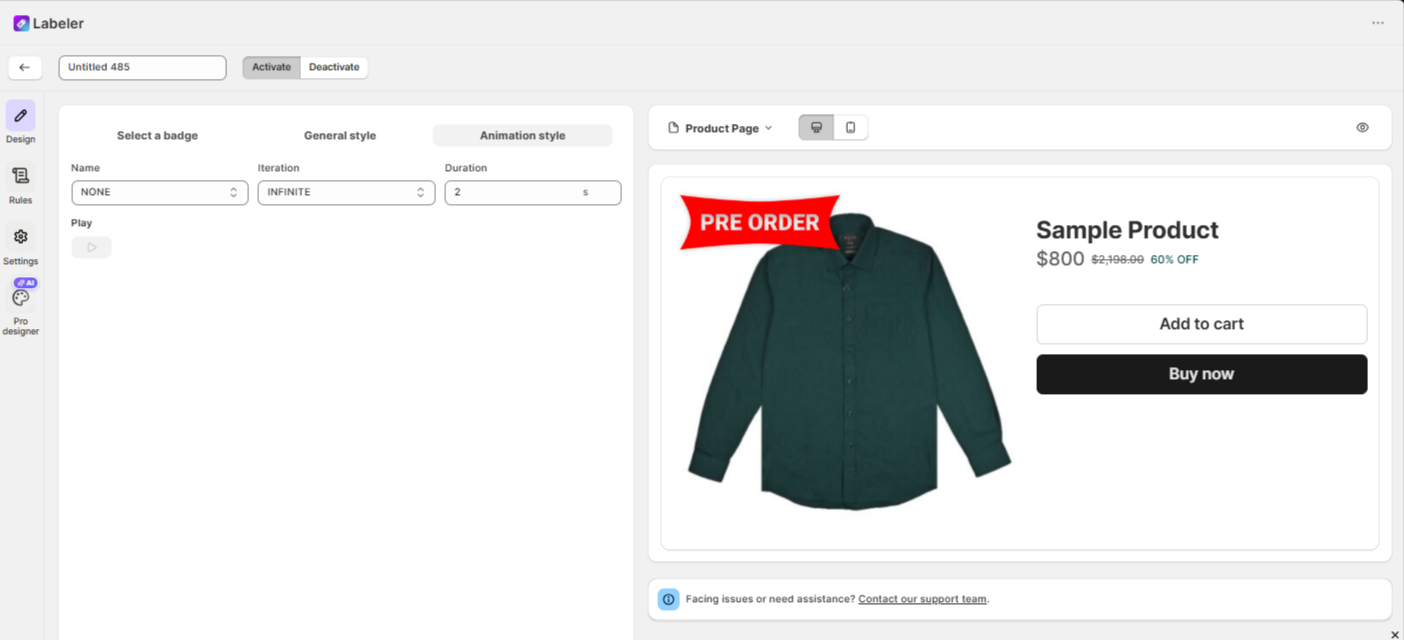
You can add animation effects to your badge to make it more eye-catching. Here’s a breakdown of the animation settings:
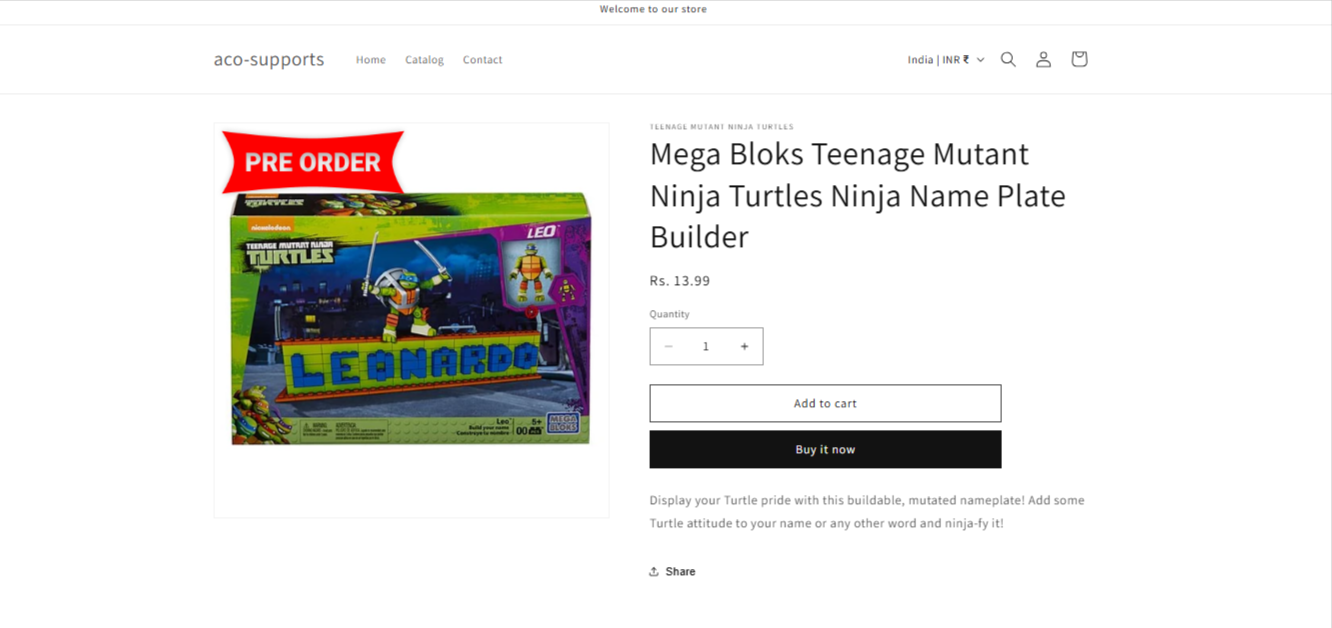
The badge will display on your product images in the position and style you configured, helping your products grab attention instantly!
If you have questions about our plugin(s), are experiencing issues with any of our plugin











 Login
Login
 Cart
Cart BUY THIS PLUGIN