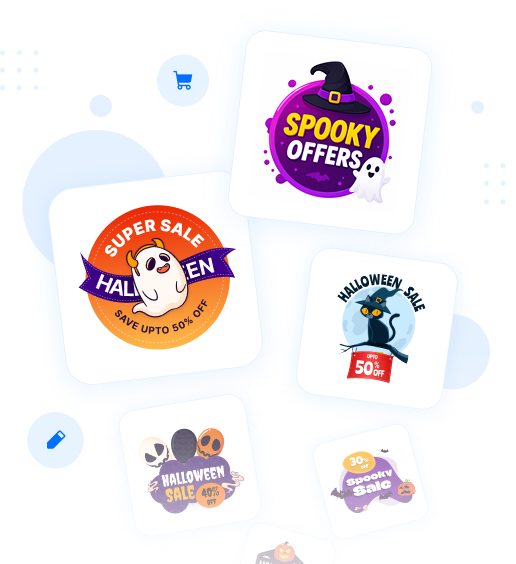
The AI Generation feature in Labeler allows you to create custom image badges or labels using a simple text prompt. You can describe the design you want, generate it with AI, and then use the generated badge in your Labeler designs.
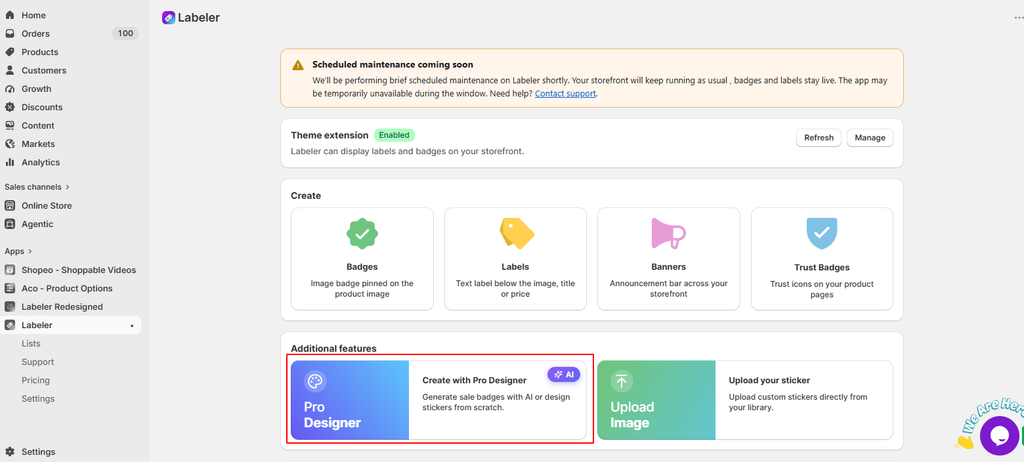
From your Shopify Admin, go to Apps → Labeler. Under the Additional features section, select Create with Pro Designer.
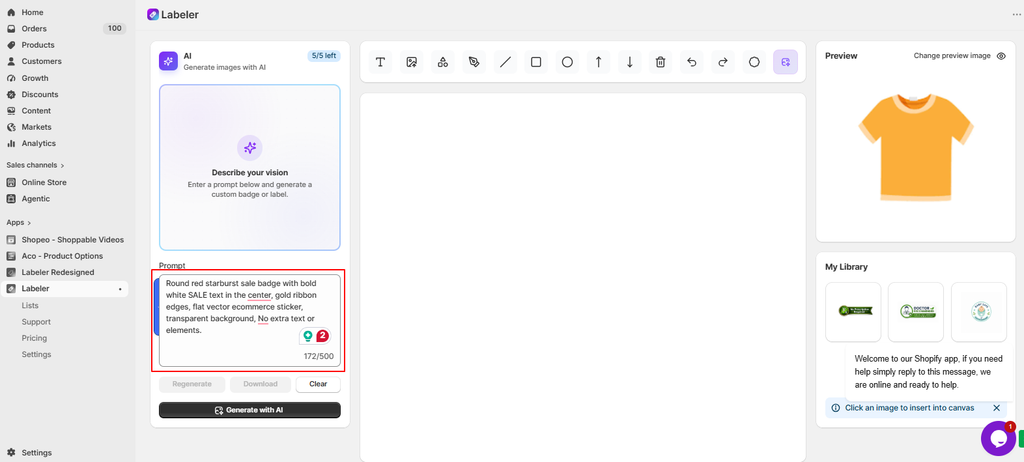
In the Pro Designer, you will find the AI – Generate images with AI section. Enter a description of the badge or label you want to create in the Prompt field.
For example:
Round red sale badge with bold white SALE text in the center, gold ribbon edges, flat vector ecommerce sticker, transparent background.
The prompt can describe the shape, text, colors, style, and background of your desired badge.
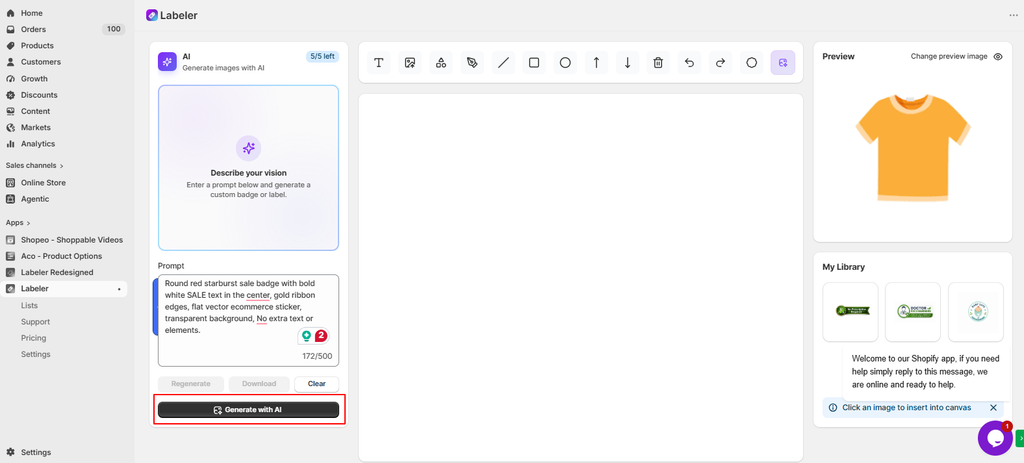
After entering your prompt, click Generate with AI.
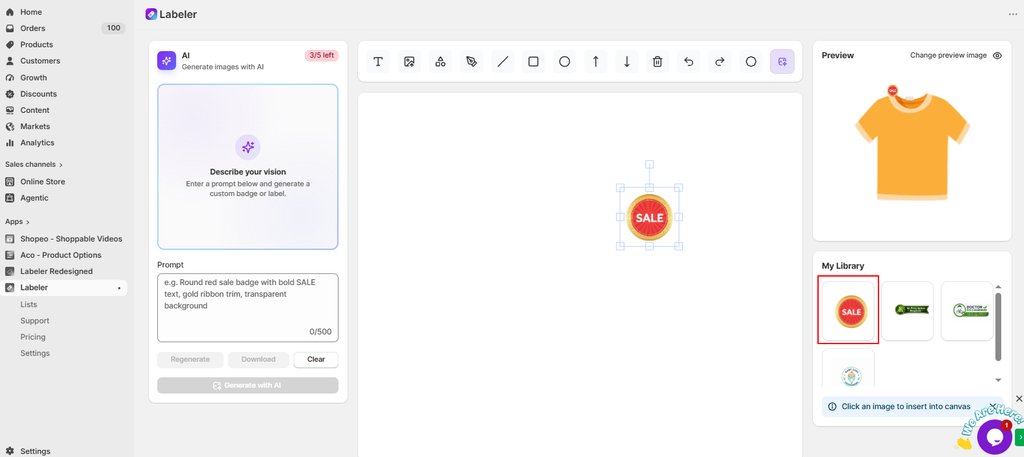
The AI will generate a badge based on your description. The generated image will appear on the designer canvas, and the badge will also be added to My Library.
Once the badge has been generated, you can review it on the canvas. To use the generated badge, click the image from My Library.
The selected badge will be inserted into the canvas, where you can position or adjust it as required.
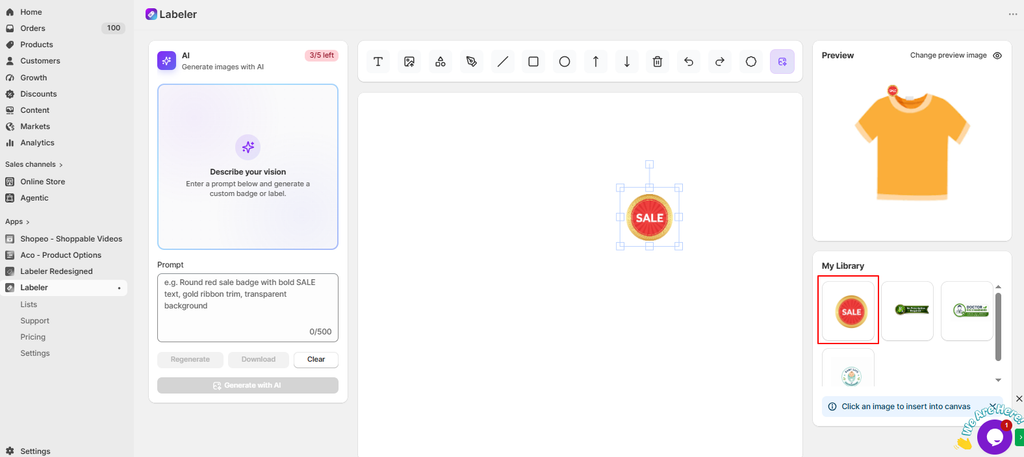
After inserting the generated badge into the design, click Save in the top-right corner to save your changes.
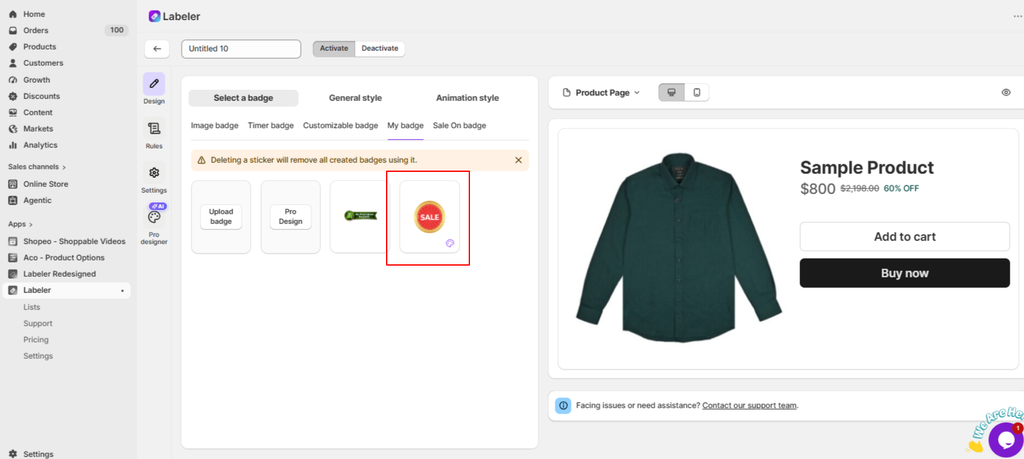
To use the AI-generated badge later, go to Badge Settings → Design. Under Select a badge, click the My Badge tab to find and select your generated badge.
Your generated badge will be available there and can be selected for use in your badge design.
If you have questions about our plugin(s), are experiencing issues with any of our plugin












 Login
Login
 Cart
Cart BUY THIS PLUGIN