Login
Login
 Cart
Cart
Footwear eCommerce stores constitute a large part of the fashion eCommerce revenue. The ease of buying things at your comfort has popularized the eCommerce industry in recent years. With this being the trend, opening an online shoe store is more profitable than a traditional brick-and-mortar store.
If you are a shoe seller new to business or looking to expand your physical store to the digital dimensions, this blog will guide you step by step to creating an online shoe store that takes you towards the world of eCommerce.
Benefits of opening an online store
Opening an eCommerce shoe store takes your business to a global audience by breaking geographical boundaries. A brick-and-mortar store limits your audience to the location that your store is located in. The fact that an online store works 24 hours a day is appealing to customers as they can shop anytime, anywhere, at their convenience. These features of the online store lead to more sales.
The product specifications, including the shoe size, the material used, etc., and other customer reviews and ratings on the website can help customers make the right decisions. Besides, customers can ask questions and leave feedback on the businesses’ websites or social media accounts. Timely interaction with customers can leave a lasting impact on them and help build customer loyalty and satisfaction. To reach the right audience, online businesses use data analytics to find the types of users that interact more with the business. These data are used to create targeted marketing campaigns. Additionally, online stores can easily stay updated on the latest trends.
Setting up and maintaining an online store is much less hassle than a physical store. You can save pennies on the cost of the building and its maintenance. Moreover, product storage space is limited in a physical store compared to the digital space of an online store. An eCommerce website, if designed well, can provide users with a delightful shopping experience.
Website development and maintenance can be challenging for non-experts. However, WordPress helps individuals create a fully-fledged ecommere store without the need for coding skills. Let’s now look at the benefits of using WordPress for eCommerce.
WordPress for eCommerce and the basics of building an online store
WordPress is an open-source content management system that allows you to create and manage blogs, websites, and eCommerce stores. Its easy-to-use interface helps users create and manage eCommerce stores without advanced skills.
A simple website can be transformed into a fully functional eCommerce website with the help of plugins like WooCommerce. All the functionalities of an eCommerce website, like carts and payments, can be added with the help of additional plugins, and additionally, you can choose from a variety of themes to customize the eCommerce store according to your business. WordPress itself is free, but there are paid plugins and themes; however, building an online store is way cheaper than custom-built online stores.
The steps involved in creating an e-commerce store are given below ;
- Purchasing a domain name
- Purchasing a hosting plan
- Connecting the domain with the hosting plan
- Creating a website using WordPress
- Installing the themes on WordPress
- Installing the WooCommerce plugin to make your website into an eCommerce store
Now, let’s move on to the detailed process of building an online shoe store using WordPress. There are several domain registrars and hosting providers out there that are beginner-friendly and simplify your website development process. We are choosing Hostinger, a popular hosting provider, to create a website here.
Purchasing a domain name
The first step towards creating an online store is purchasing a domain name. A domain name is a human-readable website address. Google.com and Nike.com are examples of domain names. People search using this domain name to visit your store. Hence, it is ideal to make the name of your business and domain name the same.
Domain names can be purchased from domain registrars like Hostinger. Check for their fees and registration periods before choosing a domain registrar. Hostinger offers discounts for longer registration periods, which is a profitable deal. Hostinger also has 24/7 customer support and a user-friendly interface.
Here is a step-by-step process for purchasing the domain name from Hostinger;
- Check the availability of domain names using a domain name checker tool.
- If the domain name is available, you can add it to the cart or choose from the suggested domain names.
- After completing the payment from the cart page, you will be redirected to the domains page in hPanel. Here, click on the setup button at the bottom right of the page.
- Review and edit the details, if needed, and click on Finish registration.
- You will be redirected to the domain overview page to access all the domain settings.
- You will receive a verification email on the email you provided. Verify within 15 days to retain your domain.
Purchasing a hosting plan
The next step is to purchase a hosting plan. A hosting provider hosts your website and its data on a web server. Hosting is like reserving a space to store your website and its data. The first step is choosing a hosting provider. A hosting provider manages your website’s technical and required services to make it visible on the Internet. You can also purchase the hosting plan from Hostinger.

- Choose from the available hosting plans from your hosting provider. Hostinger provides single web hosting, premium web hosting, and business web hosting. Go through the plans and select a suitable one. Click on Add to cart.
- Create a Hostinger account by entering your email address
- Fill in the details on the payment page and purchase the plan.
- After purchasing the plan, go to the home section of the hPanel, where you will find the setup button. Clicking on the setup button will start the onboarding process.
Creating a website using WordPress
- After purchasing the hosting plan, you will be redirected to a page. Click on the Start Now button and answer questions such as, ‘Who are you creating the website for?’, ‘ Who is creating the website? ‘, and ‘Which type of website do you want to build? ‘
- The next step is to create a new website or migrate a website. Select on Build a website.
- Up next is selecting a platform. Select on the WordPress option.
- In the next step, create a WordPress account by filling out the email id and password. Click on Continue.
- The next step is selecting a Template. You can choose a template or skip for now and look into it later.
- The next step is to name your website. Here you will find three options- Claim a free domain, Buy a domain, and Use an existing domain. Select the ‘Use an existing domain’ option as we have already purchased the domain. Type the domain in the box provided.
- A box including the details of your domain, server location, etc. You have the edit option here if you wish to bring any changes.
- After this, click on Finish Setup.
Connecting the domain with the hosting plan
If you purchased your domain and hosting from different providers, you must navigate to the Domain Name Server settings and change the nameserver values to point to the hosting provider’s nameserver records. This is important so that your website is accessible online. But if the domains are from Hostinger, these nameservers are already set automatically. The nameserver for hosting plans from Hostinger is as follows.
- ns1.dns-parking.com
- ns2.dns-parking.com
Installing themes on WordPress
WordPress has a variety of themes that you can apply to your website to make it visually appealing. Apart from the aesthetic appeal, these themes can enhance the website’s appearance and functionality. You can select from a range of free and paid premium themes on WordPress to suit your brand identity and maintain a professional touch. Phlox is a theme best suited for your online shoe store website.

Phlox is a fast, responsive, and free theme suitable for any kind of website and WooCommerce store. In addition to the customisation options, the theme is also compatible with WPML and is optimised for SEO. The theme is highly compatible with Elementor, a page builder plugin on WordPress with customisable layouts and easy drag-and-drop features.
Here are the instructions for installing the Phlox theme,
- Go to the WordPress dashboard and click on appearance. Now select Add New Theme from themes.
- Search for Phlox on the search bar. Bring the cursor to the theme and click on the preview button to get a glimpse of the design.
- Click on the install button
- After installing, click on the activate button to get started with the new theme.
- After successful installation, you can see the Phlox in the options, click on it to get the Phlox dashboard. Here, you can start customizing the Phlox theme.
Installing the WooCommerce plugin
WooCommerce is a WordPress plugin that converts your website into a fully functional eCommerce store. The features required for an online store, such as inventory management, payment gateways, tax calculation, shipping, and several other features are available on the WooCommerce plugin. Given below are steps to install the woocommece plugin.
- Select the Add new plugin from the plugins tab on the WordPress dashboard.
- On the search bar, type WooCommerce and once the search results appear, click on the install button.
- After filling in the necessary details on the WooCommerce tab, Click on Let’s go!
Installing additional plugins
Your WooCommerce website can be optimized using plugins to improve the store’s performance and provide an interactive user experience. Plugins can expand your store’s functionality and help simplify the shopping experience. This leads to an enjoyable shopping experience for the customers. Satisfied customers can thus lead to improved sales. Let us introduce you to a couple of plugins that enhance the performance of your online store.
WooCommerce Quick View
The WooCommerce quick view provides an interactive user experience by allowing users to get a quick view of the products without opening the whole product page. The users can view and get the necessary product details without going to the detail product page but with the help of the next and previous buttons within a product quick view box. This can save a lot of time from waiting for the product pages to load completely and level up the user’s shopping experience.
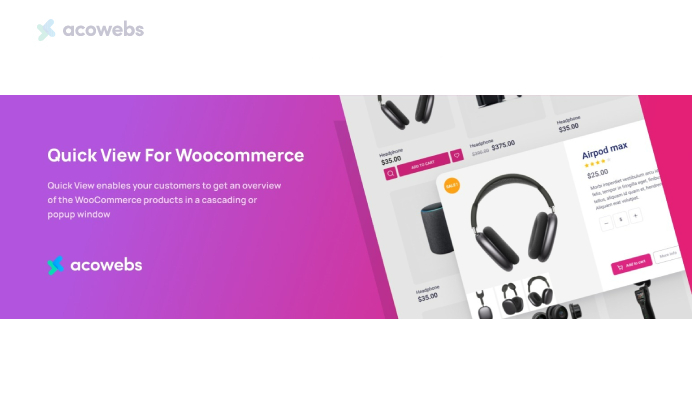
With this plugin, the users can view the product, select the specifications like shoe size and color and also add the product to cart without going into the product page and reloading every time.
It is fully customisable and you can choose the product details to be displayed in the quick view window. The common specifications while purchasing a shoe like the shoe size, image, color variations, price, etc. can be added here. Additionally, you can choose to display the quick view as modal window or cascading window.
WooCommerce Wishlist
When customers find a product they like but don’t want to purchase it right away, they add the item into the wishlist to purchase them later. This WooCommerce wishlist plugin helps to engage the customers by allowing them to add products on the wishlist and revisit them later.
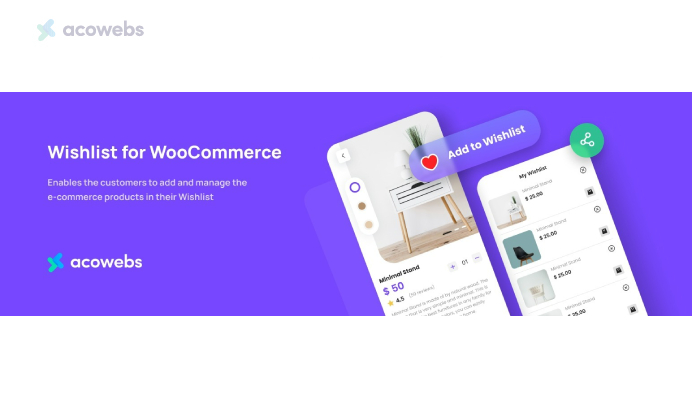
The plugin helps customers with saving products on multiple wishlists, which makes shopping easier. They can also share their wishlists on social media, and thereby attracting customers and increasing sales. Influencers make use of this option to share their shopping list with their followers and this helps popularise the store. The users can also add, edit, delete, and set privacy mode to the wishlist.
While adding the products on the wishlist, instead of adding the general product, they can choose the variations like the size or color of the product and then wishlist with these specifications. This simplifies the shopping experience as the customer can directly purchase from product from the wishlist.
How to install additional plugins
- Upon purchasing the plugin, you will receive a zip file of the plugin.
- On the WordPress dashboard, towards the left side, there is a plugon section.
- Select and click on upload plugin under add new.
- Attach the zip file and click on install button.
- Finish the installation process by clicking on the activate plugin button.
- Add the licence key that you received while you purchased the plugin. Click ‘Activate’.
- Check the settings page of product add ons and look for licence activation. If the status is active, then the activation is completed.
To add more plugins to your eCommerce store, check out the Acowebs WooCommerce plugins.
Additional WooCommerce settings
If you have carefully followed the above steps, now you will have an online store ready. Before adding products and finally launching the online shoe store, there are a few settings that you should check out. These are the basic and crucial options in an eCommerce store.
Payment – Inorder to set a payment gateway, head to the WordPress dashboard and select the settings from WooCommerce. On the top, you will find payments tab. Click on the tab and add the preferred payment gateway.
Set up the tax rates – on the general tab on settings under WooCommerce, tick on the enable tax rates and calculations box. You can noe configure the tax options from the tax tab that appears. You will have a list of options to regarding the tax calculations, tax display, etc., select and add the necessary options and click on save changes.
Shipping – go to the shipping tab and customise the shipping rates. You can click on the add shipping class and fill in the necessary informations like the shipping zones, shipping class, and shipping destinations.
Add products – to add products to your eCommerce store, go to the product section on the WordPress dashboard and click on add new. Enter the product details like name and description. Also while adding the product image, use product gallery options if you are uploading multiple product images. Upload the products in CSV file format. Add products one at a time or add in large quantities by using the import option in the product section. Explore the various tabs and options and add the necessary details like product specifications and price.
Finally you can manage and gain insights on your eCommerce store easily by visiting the customers, orders, store analytics, coupons and system status tabs on the WooCommerce within the WordPress dashboard.
Conclusion
Online stores are the most feasible shopping option in the digital age. So businesses have been switching to online mode and securing their space in the digital world with websites and online stores. Manually setting up a website can be a hassle, if you are not an expert in coding. But with WordPress, WooCommerce and other plugins, the website and eCommerce store development is as easy as ever. Hope you got a clear idea on creating an online shoe store by following the steps mentioned in this article.
Acowebs are the developers of Woocommerce Custom Product Addons which is a optimized, lightweight, and fruitful plugin that is simply the best to add extra product options using its custom form builder easily. WooCommerce custom fields also comes with drag and drop form builder, 22+ field types and custom price formula.