
A retailer sells products from multiple brands such as Nike, Adidas, Puma, and Reebok. The merchant wants each brand to display its own badge so customers can easily identify products while browsing the store.
Instead of manually assigning badges to every product, the merchant wants badges to be applied automatically based on the product’s brand.
As new products from different brands are added regularly, manually assigning and updating brand badges becomes time-consuming.
Without brand-specific badges, customers may find it harder to recognise products from their favourite brands while browsing collection or product pages.
The merchant needs an automated way to display the correct badge for each brand.
Acowebs Shopify Labeler includes the Product Vendors rule, which automatically displays badges based on the product’s vendor (brand).
The merchant simply creates a badge for each brand, selects the corresponding vendor, and publishes it.
From that point onwards, Labeler automatically displays the correct badge on every product belonging to that brand. Any new products added under the same vendor automatically receive the badge.
Open the Labeler app and click Create Badges.
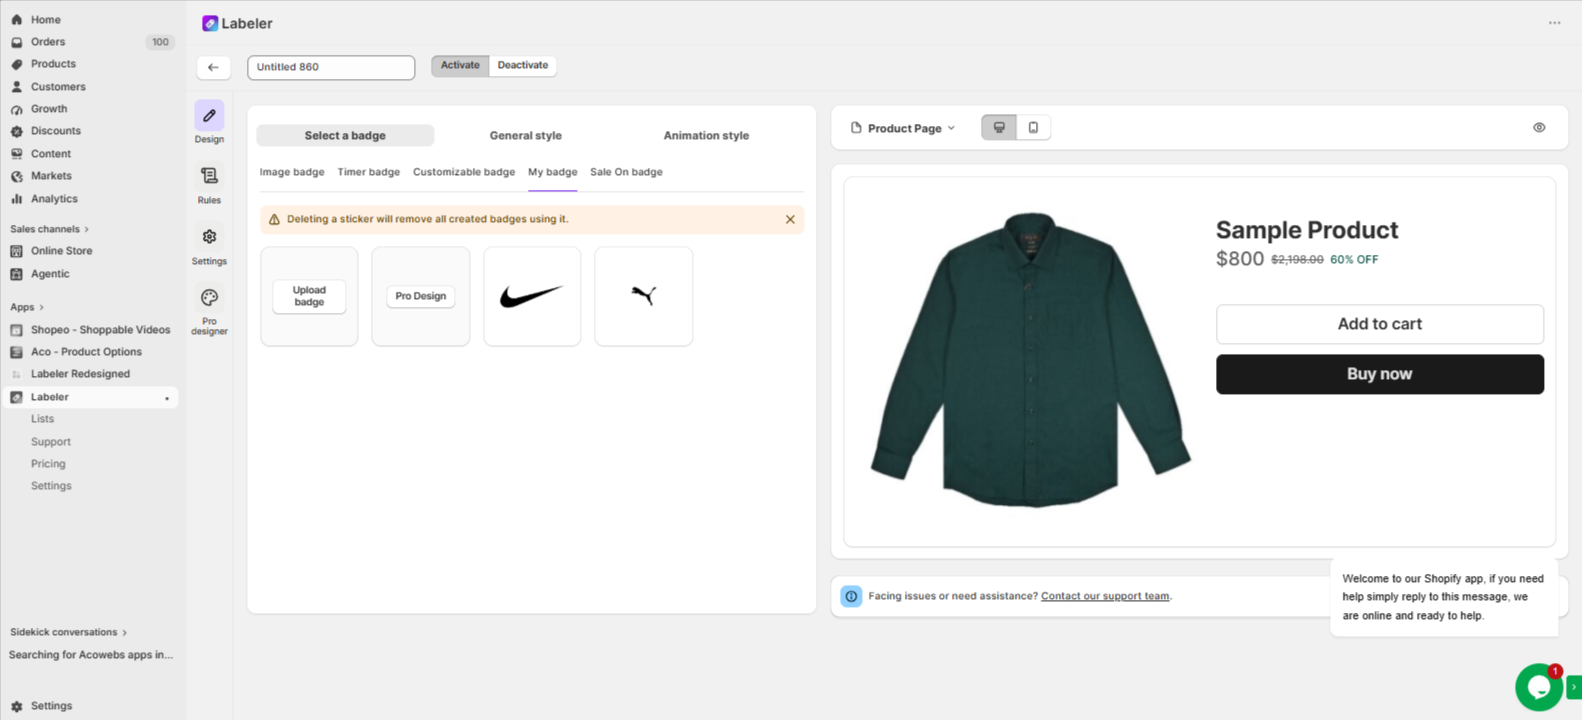
Go to the Design tab and upload a badge for the brand, such as Nike, Adidas, Puma, or Reebok.
This creates the badge that will automatically appear on products from the selected brand.
Screenshot: Brand badge uploaded in the Design tab.
Open the Rules tab.
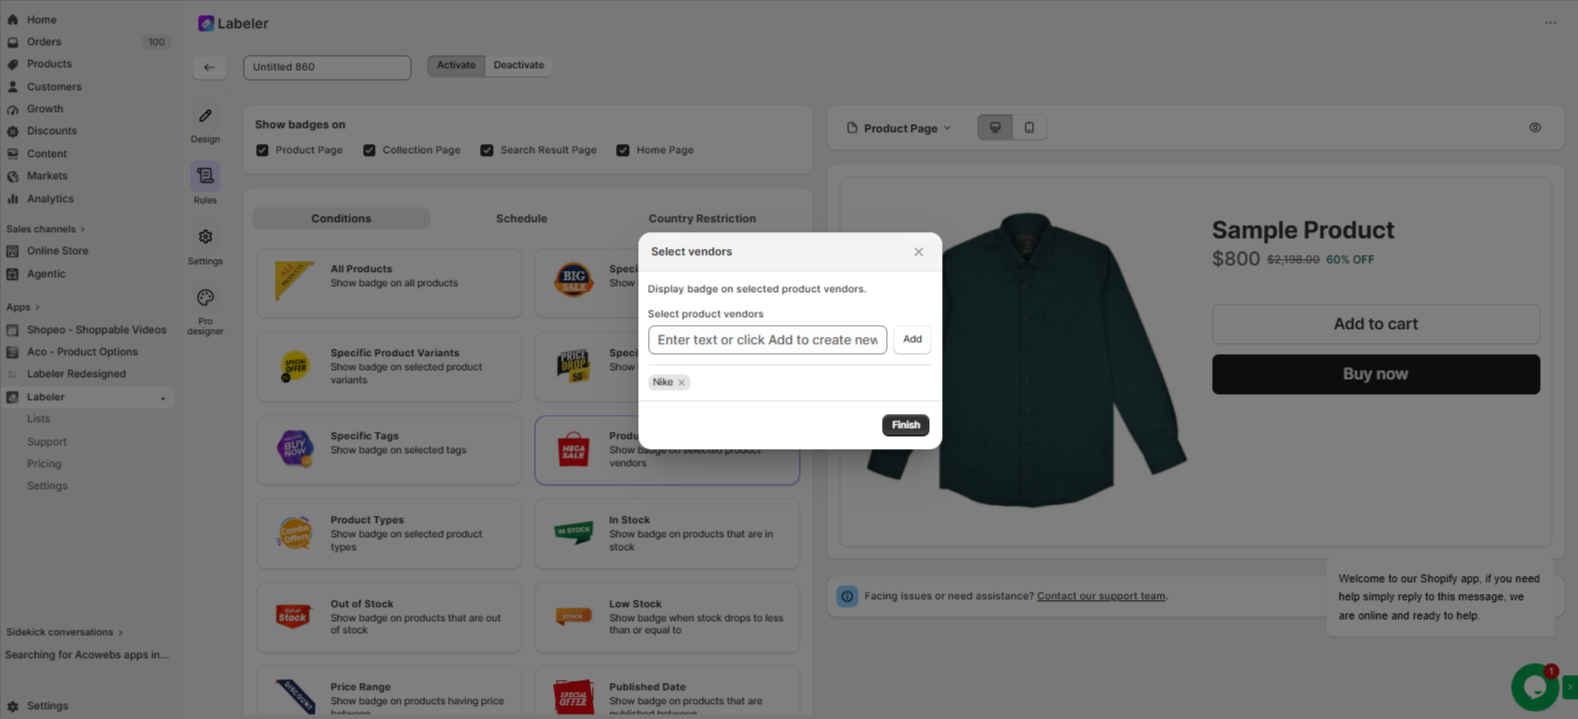
Under Conditions, select Product Vendors.
This rule automatically identifies products based on their Shopify vendor, so you don’t need to manually select individual products.
Screenshot: Product Vendors rule selected.
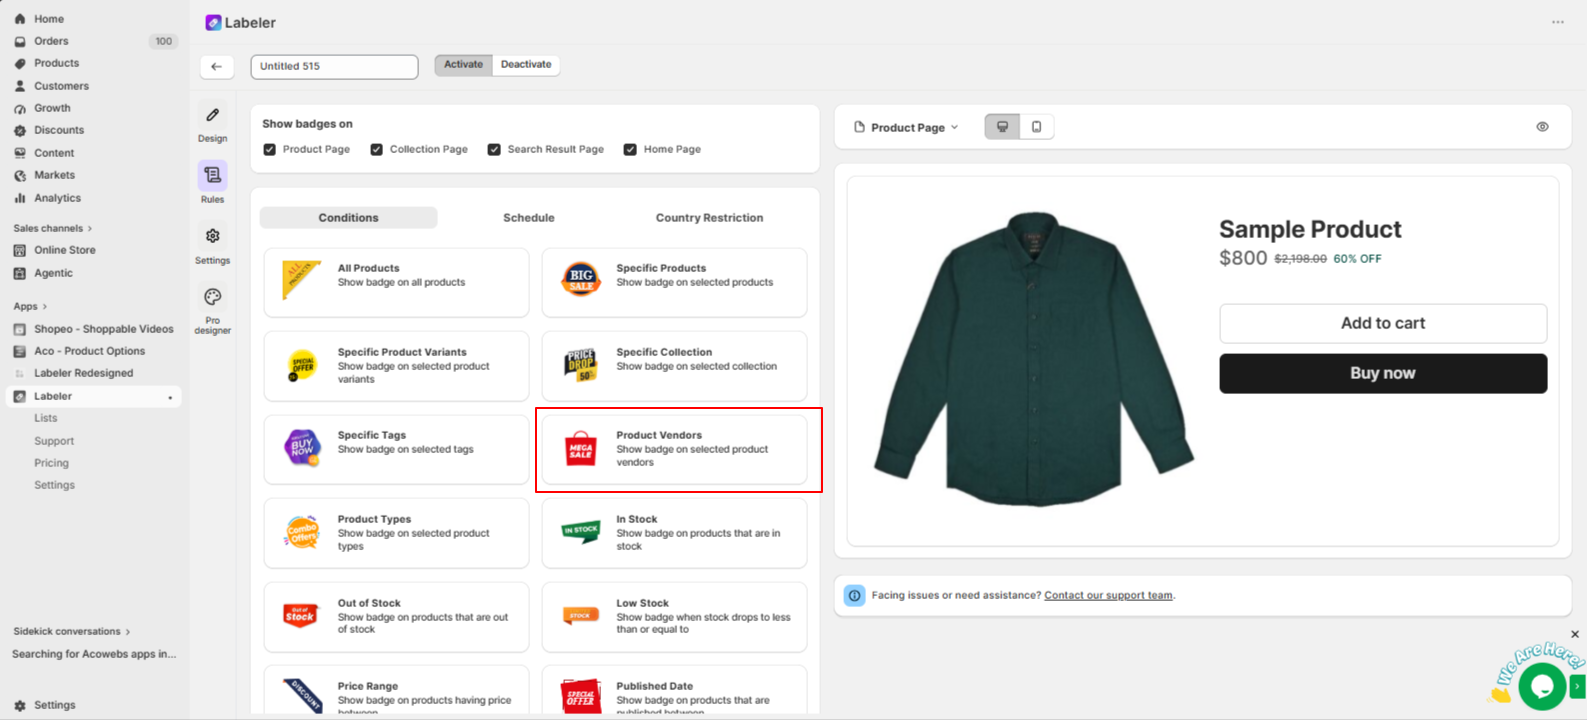
Choose the vendor (brand) you want to apply the badge to and click Finish.
For example, select Nike to display the Nike badge on all Nike products.
This tells Labeler to automatically display the selected badge on every product belonging to that brand. Any new products added under the same vendor will automatically receive the badge.
Screenshot: Vendor selected.
Click Save to publish the badge.
Repeat the same steps for each additional brand by creating a different badge and selecting its corresponding vendor.
From this point onwards, every product automatically displays the correct brand badge based on its vendor.
Screenshot: Brand badge displayed on the collection page.
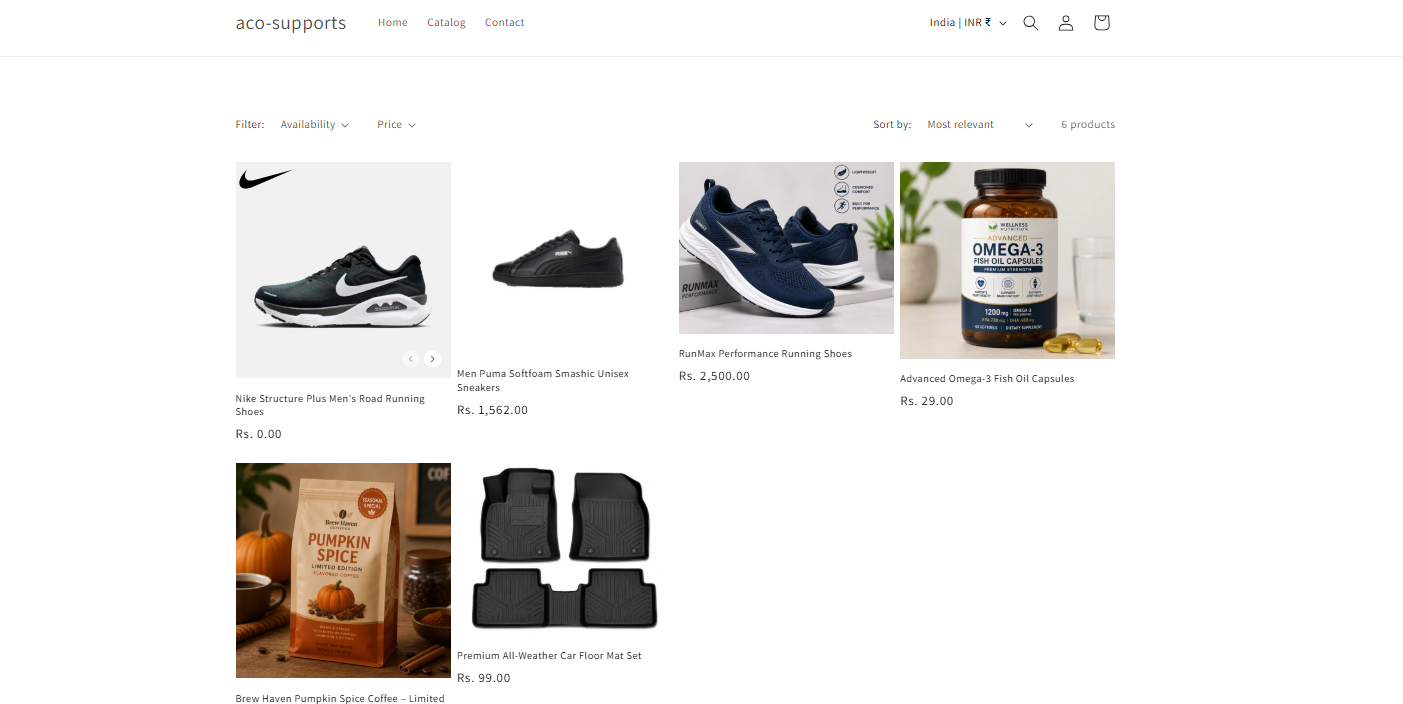
Once the configuration is complete, products from different brands are automatically highlighted with their own badges.
Customers can quickly identify products from their favourite brands while browsing, improving product visibility and making shopping easier. At the same time, the merchant no longer needs to manually assign badges, even as new products are added to the store.
If you have questions about our plugin(s), are experiencing issues with any of our plugin



















 Login
Login
 Cart
Cart BUY THIS PLUGIN